What Is Moa Red Dot – Meaning And Accuracy Explained
MOA in red dot sights stands for Minute of Angle, an angular measurement where 1 MOA equals about 1 inch at 100 yards. Your choice of MOA directly affects how precisely you can aim.
Smaller dots like 2-3 MOA improve long-range accuracy, while larger dots around 6 MOA speed up target acquisition in close quarters. Understanding how MOA size interacts with distance and lighting will help you optimize your sight’s performance for any shooting scenario.
It’s all about finding the right balance that works for you and the conditions you’re shooting in.
Key Takeaways
- MOA (Minute of Angle) is an angular measurement equal to 1/60th of a degree, used to describe red dot reticle size.
- At 100 yards, 1 MOA roughly corresponds to 1 inch of target coverage by the red dot.
- Smaller MOA reticles (2-3 MOA) provide greater precision for long-range shooting.
- Larger MOA reticles (4-6 MOA) enable faster target acquisition, ideal for close-range or rapid engagements.
- Adjusting reticle brightness and understanding distance effects optimize visibility and shot accuracy with MOA red dots.
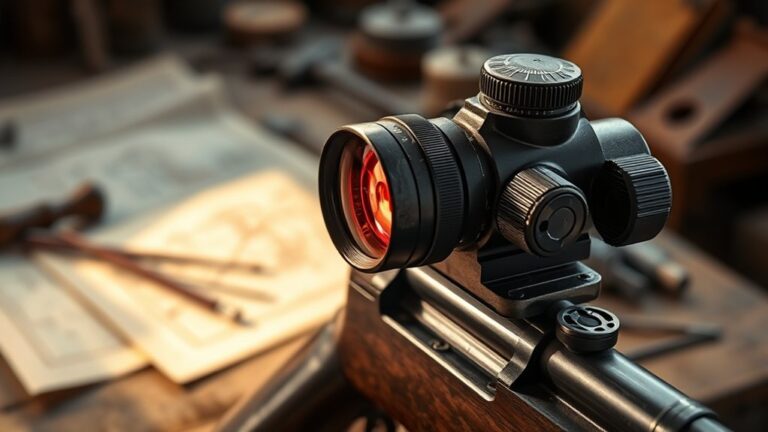
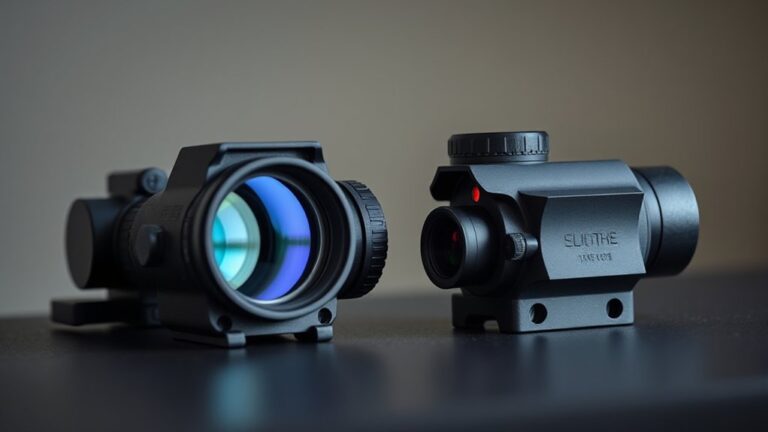
What Does MOA Mean in Red Dot Sights?
While MOA might sound complex, it simply stands for Minute of Angle, an angular measurement equal to 1/60th of a degree. In red dot sights, MOA refers to the reticle size, representing the angular measurement of the dot’s visual diameter.
MOA, or Minute of Angle, is an angular measurement defining the size of the red dot’s reticle.
At 100 yards, 1 MOA roughly equals 1 inch, allowing you to estimate reticle size and sight adjustments accurately.
Choosing a smaller MOA, like 2 MOA, grants you a finer reticle ideal for precision shooting and enhanced shooting accuracy.
On the other hand, a larger MOA, such as 6 MOA, offers quicker target acquisition but less precision.
Understanding MOA in red dot sights lets you select the most suitable reticle size that balances target acquisition speed with the precision your shooting scenario demands.
How MOA Size Affects Your Shooting Accuracy
Because the MOA size directly influences how you perceive and engage targets, selecting the appropriate reticle diameter is crucial for optimizing shooting accuracy.
Smaller MOA sizes, such as 2 or 3 MOA, offer a finer reticle that enhances precision at longer distances, enabling you to achieve superior aiming accuracy.
Conversely, larger MOA sizes, like 4 or 6 MOA, produce a bigger reticle size that covers more of the target. This makes it easier to acquire targets quickly but can compromise fine precision.
A 3 MOA reticle, appearing about 3 inches at 100 yards, balances speed and precision effectively.
Ultimately, the MOA size you choose will determine your ability to precisely aim at distant targets versus quickly acquire closer ones. This directly impacts your shooting performance in varied scenarios.
Comparing MOA Sizes: When to Choose Small vs. Large Dots
When selecting between small and large MOA dots, you need to take into account the shooting context and your targeting priorities. Smaller MOA sizes (2-3 MOA) offer superior precision for long-range shooting, allowing fine adjustments and accurate shot placement.
Larger dots (4-6 MOA) excel in rapid target acquisition at close quarters. They trade some precision for quicker target acquisition. Choosing the right dot size is all about balancing your need for precision versus speed, depending on the engagement distance and scenario.
| MOA Size | Best Use Case |
|---|---|
| 2 MOA | Extreme precision |
| 3 MOA | Balanced precision & quick target acquisition |
| 4 MOA | Fast target acquisition |
| 6 MOA | Rapid target acquisition & self-defense |
| Small vs Large MOA | Precision vs speed trade-off |
How Distance Changes the Perceived Size of Your MOA Red Dot
Choosing the right MOA size depends not only on your shooting context but also on how distance affects the reticle’s appearance. The MOA red dot’s actual size stays constant, yet its perceived size changes with distance due to angular measurement principles.
Selecting the right MOA size requires understanding how distance alters the reticle’s perceived dimensions.
For example, a 3 MOA reticle covers about 3 inches at 100 yards, but at 200 yards, it spans roughly 6 inches on the target. This increased perceived size influences your precision and target coverage, especially at longer ranges.
Understanding this dynamic helps you select the appropriate MOA red dot for your shooting needs, ensuring the reticle matches your target size and distance.
Accurately accounting for this relationship is vital for maintaining effective shot placement and optimizing your sight’s performance.
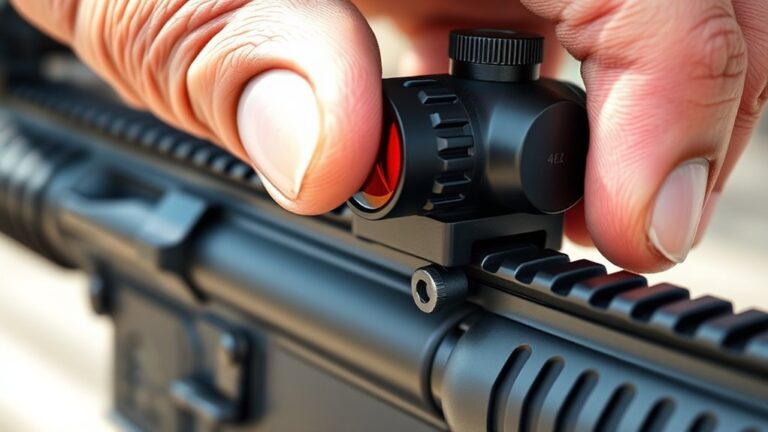
Adjusting Red Dot Brightness for MOA and Lighting Conditions
You’ll want to adjust your red dot’s brightness to keep it clearly visible no matter the ambient light. If it’s too bright, the reticle can wash out, and if it’s too dim, it might blend into the background.
Both situations make it harder to quickly acquire your target.
Getting the brightness right also means thinking about the MOA you’ve chosen. When you understand how brightness works with your specific dot size, you can maintain consistent precision whether you’re in bright daylight or low-light conditions.
It’s all about finding that sweet spot for your setup.
Brightness Impact On Dot
How does adjusting the brightness of your red dot sight impact the visibility and effectiveness of the MOA reticle? Proper brightness settings guarantee the reticle remains clearly visible across varying lighting conditions.
In bright daylight, increasing brightness prevents the red dot from appearing dim or blending into the background, which helps with rapid target acquisition.
On the other hand, in low-light or nighttime scenarios, reducing brightness minimizes glare and keeps the reticle from obscuring the target, preserving accuracy.
Excessive brightness in dark environments causes washout, while too low brightness under bright conditions makes the reticle hard to see.
Using auto-brightness features can optimize reticle visibility by adapting to ambient light, balancing visibility with battery life.
Optimizing Visibility Settings
Although ambient lighting varies widely, adjusting your red dot brightness to match these conditions guarantees the MOA reticle remains distinct without overwhelming the target. Proper reticle visibility optimizes target acquisition and shooting accuracy by maintaining clarity under diverse environments.
When fine-tuning your red dot sights, consider these key points:
- Increase brightness in bright daylight for enhanced reticle visibility, avoiding glare in low light.
- Reduce brightness during dusk, dawn, or indoor settings to prevent reticle washout and distraction.
- Utilize auto-brightness features when available; they automatically adapt reticle intensity to ambient lighting, ensuring consistent performance.
How to Pick the Right MOA Red Dot for Your Shooting
You’ll want to pick a dot size that matches how and where you usually shoot. Smaller MOA dots are great for precision when you’re aiming at targets that are farther away.
On the other hand, larger dots make it easier to quickly find your target if you’re shooting up close.
Think about the type of firearm you’re using, the environment you’ll be in, and your eyesight. All these things can help you choose the best dot size to get the most out of your red dot sight.
Dot Size Impact
When choosing the right MOA red dot for your shooting needs, understanding the impact of dot size is essential. Dot size directly influences precision, target coverage, and faster target acquisition, depending on your shooting distance.
Consider these key factors:
- Smaller MOA dots (e.g., 2 MOA) offer finer aiming points, maximizing precision for long-range shots but with reduced visibility.
- Larger MOA dots (e.g., 6 MOA) increase target coverage and speed up target acquisition, ideal for close-quarters engagements.
- Mid-sized dots (around 3 MOA) balance precision and visibility, covering roughly 3 inches at 100 yards, suitable for varied shooting scenarios.
So, when choosing the right MOA red dot, think about your specific shooting distance.
Also, decide if you want to prioritize speed or accuracy in your engagements. Matching dot size to your needs makes all the difference.
Shooting Context Choices
Selecting the right MOA red dot goes beyond understanding dot size impact. You need to evaluate your specific shooting context. It’s all about balancing reticle size with shooting distance and how quickly you need to acquire your target.
Smaller MOA (1-2) helps with precision at long range by minimizing reticle coverage. On the other hand, larger MOA (4-6) supports fast target engagement in close quarters. Think about your shooting style and eyesight to make sure the reticle is visible and effective, especially under stress.
| Shooting Distance | MOA Size | Ideal Use |
|---|---|---|
| < 25 yards | 4-6 MOA | Fast target acquisition |
| 25-50 yards | 2-4 MOA | Balanced speed and precision |
| > 50 yards | 1-2 MOA | Precision targeting |
| Variable | 2-4 MOA | Versatile applications |
| Any | Depends | Match to eyesight & style |
Common MOA Sizes and Their Best Uses
Four common MOA sizes, 2, 3, 4, and 6, cover a range of shooting applications, from long-range precision to rapid target acquisition. Choosing the right red dot reticle depends on your shooting distance and desired precision.
A smaller reticle size offers a finer aiming point, which helps improve accuracy at extended ranges.
On the other hand, larger dots speed up target acquisition in close quarters. It’s all about finding the balance that works for you.
Consider these typical MOA sizes and their best uses:
- 2 MOA – Ideal for long-range precision, covering about 2 inches at 100 yards.
- 4 MOA – Balances quick target acquisition with moderate precision at close to medium distances.
- 6 MOA – Maximizes visibility and speed for defensive or close-quarters shooting.
Understanding MOA sizes makes sure you pick a reticle that matches your shooting needs precisely. It’s worth taking the time to get it right.
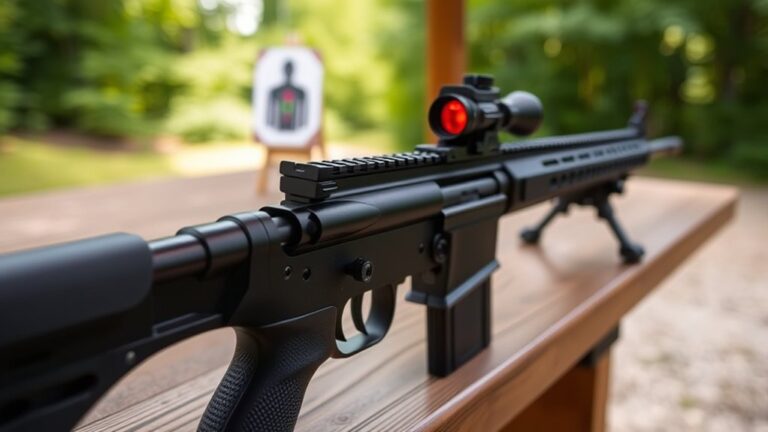
Tips to Improve Your Shooting With the Right MOA Dot
Although choosing the right MOA dot size is essential, mastering your shooting requires consistent practice and proper sight management. Select a MOA size aligned with your typical shooting distance.
Smaller dots like 2 MOA enhance accuracy at longer ranges, while larger dots such as 6 MOA speed up target acquisition at close quarters.
Focus on the reticle and target at the same time to improve aiming speed and precision. Regularly calibrate your red dot sight at your primary shooting distances to maintain consistent zero.
Try exercises like covering one eye and aligning the firearm to build muscle memory with different MOA reticle sizes.
Finally, adjust your red dot’s brightness for ideal visibility without compromising sight clarity. Adapt to varying lighting conditions for reliable target acquisition and shooting accuracy.
This way, you’ll get the most out of your red dot sight every time.
Frequently Asked Questions
How Durable Are MOA Red Dot Sights Under Harsh Conditions?
Moa red dot sights are highly durable under harsh conditions. You’ll find many models built with aircraft-grade aluminum and sealed with O-rings to resist dust, water, and debris.
They often endure drops from 1-3 meters without losing zero or functionality.
Coatings on lenses and housings protect against corrosion and scratches. To maintain durability, you must perform regular cleaning and check seals.
This helps ensure reliable performance in extreme environments.
Can MOA Red Dots Be Used Effectively on Moving Targets?
Imagine trying to catch a hummingbird with tweezers. That’s like using a 2 MOA red dot on a moving target.
You can use MOA red dots effectively on moving targets, but larger reticles like 4 or 6 MOA let you acquire targets faster.
This improves your tracking and accuracy. With higher brightness and some practice, even smaller dots become viable.
What Maintenance Is Required for MOA Red Dot Sights?
You need to regularly clean the lens with a soft cloth or lens solution to maintain clarity.
Tighten mounting screws periodically to keep alignment precise.
Inspect seals and O-rings for damage to preserve waterproof and fog-proof qualities.
Replace batteries promptly when brightness fades or low power indicators show.
Always store your MOA red dot sight in a protective case to prevent physical damage and environmental exposure.
This helps ensure consistent accuracy and reliability.
Are MOA Red Dots Compatible With Night Vision Devices?
You’ll be pleased to know many MOA red dots play nicely with night vision devices, especially those designed with night vision compatibility in mind. Their reticle brightness and specific light wavelengths often minimize interference with NVDs.
To guarantee seamless performance, check if the red dot offers a night vision mode or features band-pass coatings.
Always verify manufacturer specs to confirm compatibility before relying on your MOA red dot for night vision use.
How Does Battery Life Vary Between Different MOA Red Dot Models?
Battery life varies considerably between MOA red dot models based on reticle size, power source, and brightness settings. Smaller reticles like 2 MOA use less power, which helps extend battery life. Solar or hybrid power options can boost operational time even more.
Higher brightness drains batteries faster, so you’ll get less runtime at those settings. Some advanced models can last up to 50,000 hours, while basic versions might only run for a few thousand hours. It really depends on what you need.
You should definitely consider these factors when choosing your optic. It’s all about finding the right balance between performance and battery longevity for your specific use.
Conclusion
Choosing the right MOA red dot isn’t just about size. It’s about matching your shooting needs and environment.
You might worry that smaller dots are too hard to see, but with proper brightness adjustment, they offer superior precision without losing visibility. Understanding how MOA affects accuracy and distance guarantees you pick a red dot that enhances your performance.
Trust the technical details, and you’ll quickly improve your shot confidence and consistency.