How To Mount Red Dot On Picatinny Rail – Installation Guide
First, make certain your firearm is unloaded and the Picatinny rail is clean and clear of accessories. Confirm your mount fits the 21mm rail slots and matches your red dot sight’s footprint.
Position the sight forward for comfort and eye relief, then align it squarely with the bore or iron sights. Secure the mount using proper torque and thread locker to prevent loosening.
Finally, zero your sight at a chosen distance for accuracy. Follow these steps carefully to guarantee reliable performance and precision.
Key Takeaways
- Ensure the firearm is unloaded and the Picatinny rail is clean and clear of obstructions before mounting the red dot sight.
- Verify compatibility of the mount with the Picatinny rail and match the red dot sight’s mounting footprint.
- Securely position the red dot on the rail, aligning it with the bore or iron sights for initial bore sighting.
- Tighten mounting screws evenly using a torque wrench to the manufacturer’s specifications and apply thread locker to prevent loosening.
- Zero the red dot by firing test shots, adjusting windage and elevation turrets in small increments until point of impact matches the point of aim.
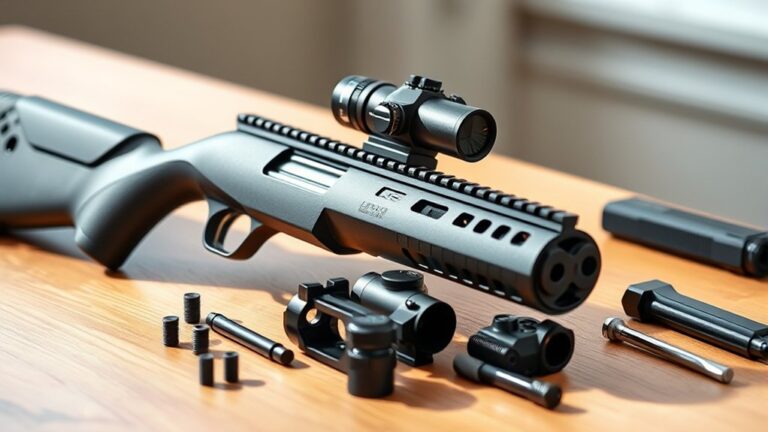
Get Your Tools and Prepare Your Firearm
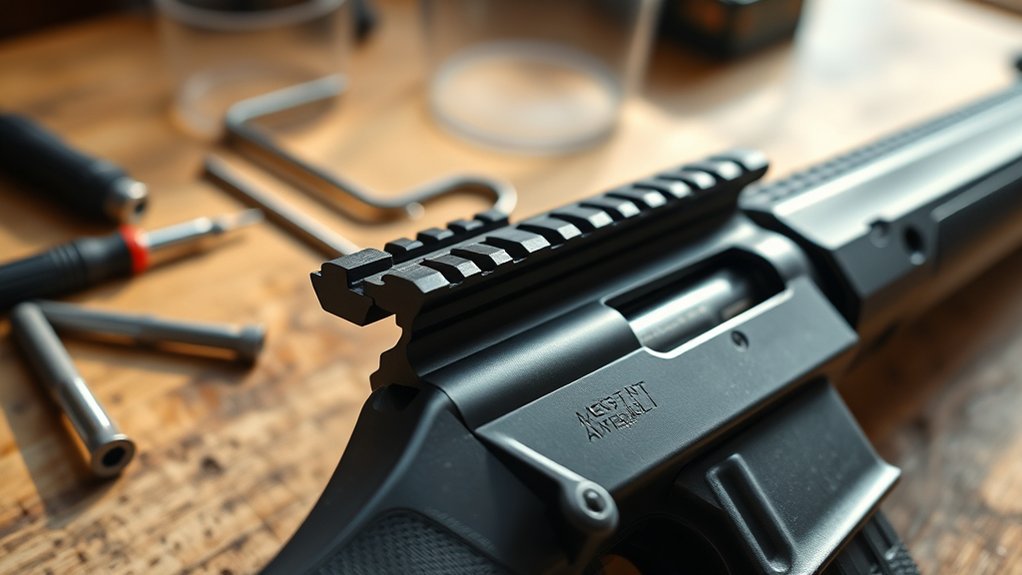
Before you begin mounting your red dot sight, make sure you have all the necessary tools on hand, including a screwdriver or Allen wrench, a torque wrench, and a cleaning cloth.
First, verify your firearm is completely unloaded by removing the magazine and checking the chamber. Safety is paramount.
Next, clear the Picatinny rail by removing any existing sights or accessories to provide a clean, unobstructed mounting surface.
Use the cleaning cloth to thoroughly wipe down the rail, removing all dirt, oil, and debris that could affect the mount’s seating.
Proper cleaning ensures a secure fit and prevents shifting during use.
Having the right tools and a well-prepared firearm will streamline your mounting process and enhance the reliability of your red dot sight.
It really makes the whole process smoother and safer.
Confirm Rail and Mount Compatibility
When mounting your red dot sight, you’ll want to make certain your firearm’s Picatinny rail and the sight’s mount are fully compatible to guarantee a secure fit. First, check that your rail has the standard 21mm slot width and evenly spaced slots.
Next, verify the mount is specifically designed for Picatinny rails, not Weaver or Dovetail systems. Also, confirm the mount’s footprint matches your red dot sight’s attachment points and supports the desired height for proper eye relief.
| Feature | Picatinny Rail Specs | Mount Specs |
|---|---|---|
| Slot Width | 21 mm | Must match rail width |
| Slot Spacing | Evenly spaced | Compatible with spacing |
| Mount Type | Picatinny | Designed for Picatinny |
| Height/Offset | N/A | Supports desired height |
Choose the Right Mount Base for Your Picatinny Rail
Although selecting a mount base might seem straightforward, choosing one that matches your Picatinny rail’s dimensions and your red dot sight’s footprint is critical for a secure, reliable setup.
First, verify the mount base is specifically designed for the Picatinny rail’s 21mm width and uniform slot spacing to guarantee proper fit and stability.
Next, check compatibility by matching the mount’s footprint with your red dot sight’s mounting pattern. This helps prevent any loose or unstable installation.
Also, consider the mount base’s height and shape to maintain proper eye alignment and cheek weld comfort.
Finally, decide between a fixed or quick-detach mount base based on how often you plan to remove or swap your red dot sight.
Prioritizing these factors ensures a precise, solid installation every time.
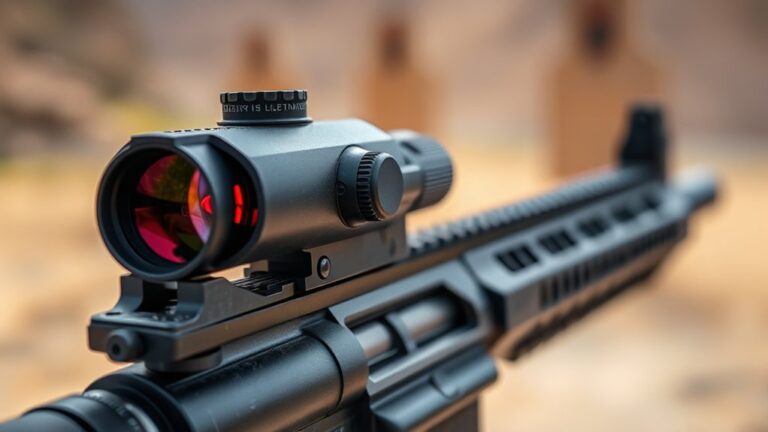
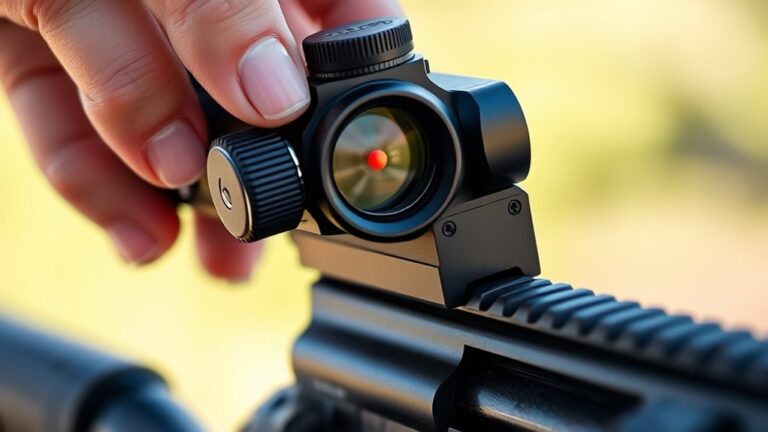
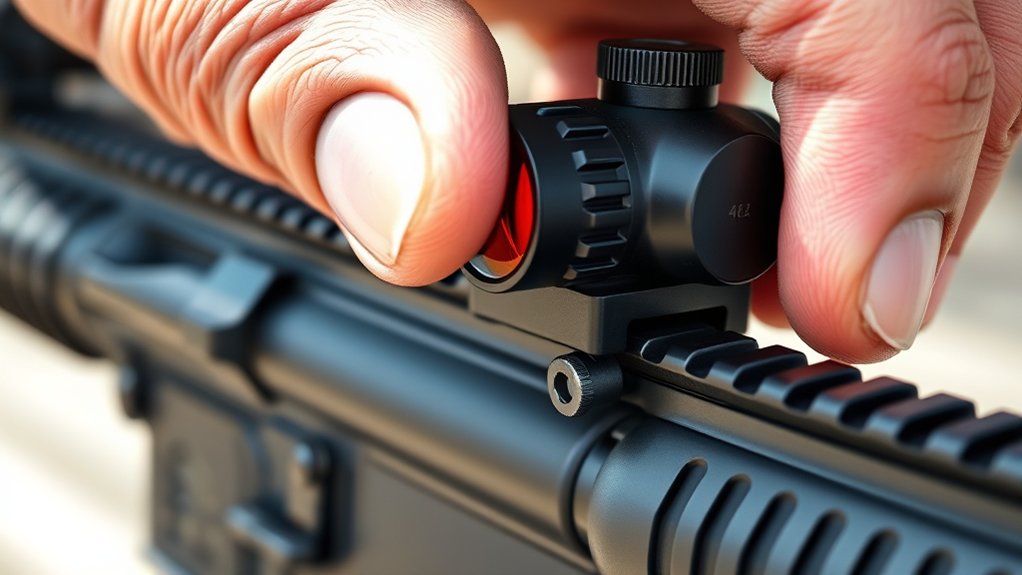
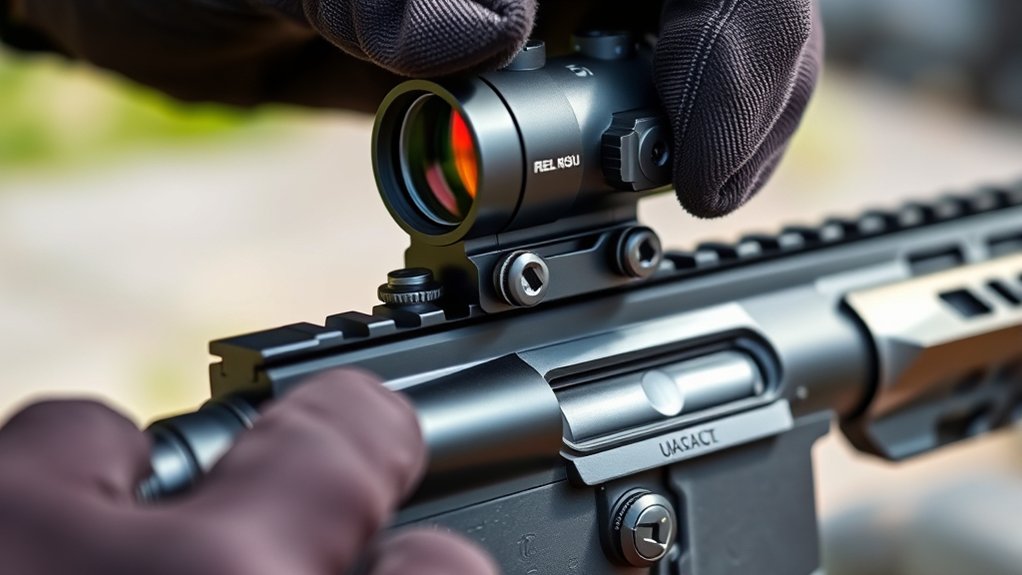
Position the Red Dot Sight on the Rail
You’ll want to position the red dot sight as far forward on the Picatinny rail as possible, just make sure it doesn’t hang over the end of the firearm. This helps guarantee quick target acquisition.
Also, double-check that the sight sits evenly on the rail. That way, it stays aligned and stable—any tilt could throw off your accuracy.
Try experimenting with different placements to find what feels most comfortable for you. It’s all about balancing comfort, eye relief, and getting a clear sight picture to get the best performance.
Optimal Placement Tips
Since proper placement affects both accuracy and comfort, position your red dot sight as far forward on the Picatinny rail as possible without overhanging the muzzle. Ideal placement ensures quick target acquisition and proper eye relief. Center the red dot sight over the bore to maintain alignment and reduce parallax.
Avoid placing it too far rearward to prevent awkward head positioning. Adjust placement to match your natural shooting stance and cheek weld for consistent aiming.
| Placement Area | Effect on Accuracy | Comfort Level |
|---|---|---|
| Forward (near muzzle) | Best for quick target acquisition | High eye relief, natural sight picture |
| Mid-rail | Balanced accuracy and comfort | Moderate eye relief |
| Rear (near shooter) | Reduced accuracy, awkward posture | Low comfort, poor alignment |
| Adjustable | Customize per shooter | Ideal for personal fit |
Alignment and Stability
Proper placement sets the foundation, but guaranteeing your red dot sight aligns perfectly and remains stable on the Picatinny rail is what keeps your shots consistent.
First, position the sight so it sits evenly without tilting or gaps, ensuring it’s properly aligned with the firearm’s bore and iron sights. Use a bubble level if needed for precise alignment.
Next, engage the mounting slots fully with the rail’s cross-slots to achieve a secure mount. Position the sight forward or backward as preferred for balance and quick target acquisition.
Once positioned, tighten screws firmly but carefully.
Finally, test stability by applying gentle pressure to check for wobbling or shifting. This way, you make sure your red dot stays stable under recoil and maintains accuracy every time you shoot.
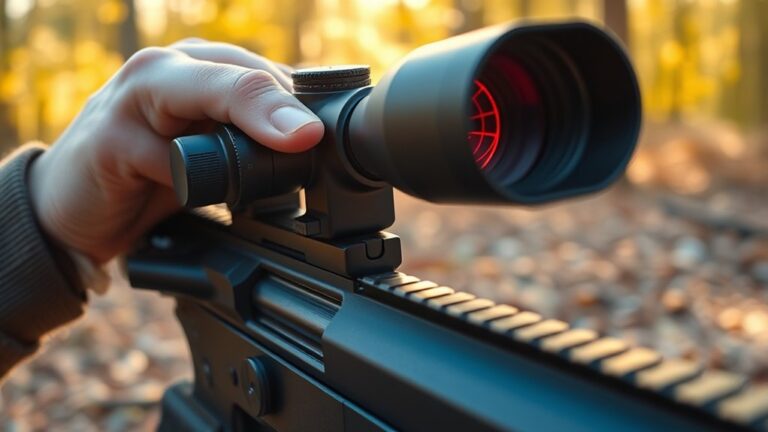
Align and Level the Red Dot Before Securing
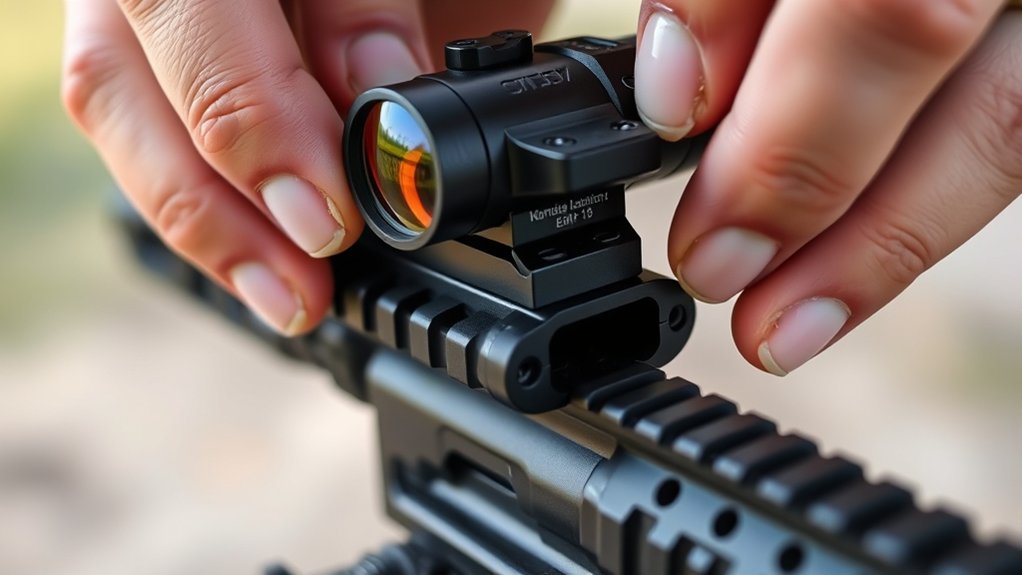
Before tightening the screws, make sure the red dot sight sits squarely on the Picatinny rail without any tilt by checking its level from side to side. Use a bubble level or an alignment tool to verify the sight’s body is perfectly horizontal. Confirm the mount fully engages all rail slots and that the sight sits evenly on the rail surface.
Next, align the red dot’s reticle with the bore or iron sights to prevent canting during use.
As you start tightening the mounting screws, do it gradually in a crisscross pattern. Keep an eye on the level as you go.
This way, your red dot will be properly mounted and maintain precise alignment before you secure it fully.
Following these steps guarantees a reliable and accurate setup every time.
Secure the Mount With Proper Torque and Thread Locker
When you’re ready to secure the mount, use a torque wrench to tighten the screws to the manufacturer’s specified setting. This is usually between 15 and 20 inch-pounds.
Before tightening, apply a small amount of blue Loctite thread locker to the mounting screws to prevent them from loosening due to recoil or vibration.
Tighten the screws in a crisscross pattern to evenly distribute pressure across the mount. This guarantees a firm hold.
Avoid over-tightening, as exceeding the manufacturer’s recommended torque can strip threads or damage the mount and rail.
Using the torque wrench makes sure you apply the correct force, helping you secure the mount reliably.
This method guarantees your red dot sight stays stable and ready for use without risking damage or loosening over time.
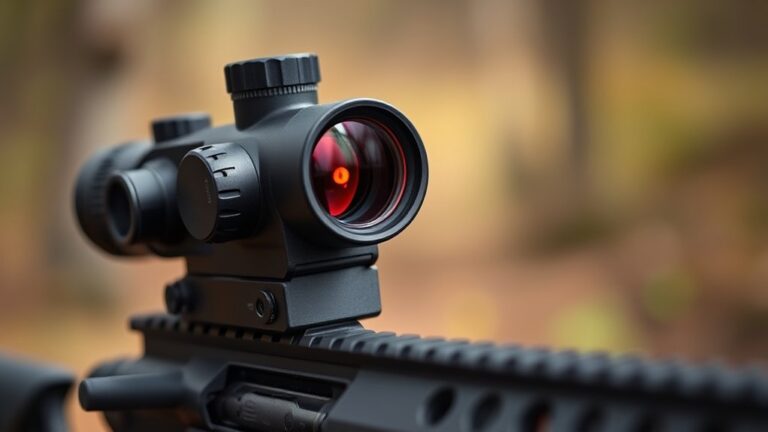
Verify Mount Stability and Alignment
After securing the mount with the correct torque and thread locker, you need to verify that the red dot sight is stable and properly aligned.
First, tighten screws to the manufacturer’s recommended specifications to guarantee mount stability.
Next, check that the sight sits evenly on the Picatinny rail without any tilt or wobble. Gently try moving the sight laterally and vertically; minimal movement confirms a secure attachment.
Moreover, verify the alignment by confirming the sight lines up correctly with your firearm’s iron sights or bore. This step is vital for maintaining accuracy.
Finally, regularly inspect the mount and screws after use to guarantee ongoing mount stability and alignment.
Following these steps ensures a reliable and precise red dot installation on your Picatinny rail.
Zero Your Red Dot Sight for Accurate Targeting
Start by using a bore sighter to get your red dot lined up with the bore. This gives you a solid baseline to work from.
Then, take some shots at 25 or 50 yards, adjusting the windage and elevation turrets as you go. Keep tweaking until the point of aim matches where the bullets actually hit.
And don’t forget to always confirm your zero with live fire—that way, you can be sure your targeting is spot on.
Initial Bore Sighting
Although mounting your red dot sight is essential, zeroing it through initial bore sighting guarantees your shots land accurately on target. Start by securely positioning your firearm on a stable surface to prevent movement during the process.
To bore sight, align the red dot sight’s reticle with the barrel or bore, establishing your initial point of aim. Using a laser bore sighter or visually aligning the bore with a close-range target makes initial adjustments easier.
With the red dot mounted on your Picatinny rail, adjust windage and elevation until the reticle precisely matches the bore’s line of sight at your specified distance.
This alignment ensures your sight is close to zero before live firing, which saves time and ammo during final sighting-in.
Adjusting Windage Elevation
How do you guarantee your red dot sight hits exactly where you aim? Start by zeroing your sight at a close range, like 25 yards, to establish a reliable baseline. Fire a group of shots and observe their impact relative to your point of aim.
Then, adjust the windage and elevation turrets in small increments, typically 1/4 or 1/2 MOA, to fine-tune your point of impact. Use a bore sighter beforehand to speed up initial alignment and reduce live fire adjustments.
Carefully record each turret click value during the zeroing process so you can replicate your settings in future sessions or on other firearms. This methodical adjustment of windage and elevation turrets guarantees precise targeting every time.
Confirming Point Impact
When you zero your red dot sight, you guarantee that the point of aim matches the bullet’s point of impact at your chosen distance. To confirm point impact, you need to verify alignment by firing a series of shots and observing where the bullets strike relative to the red dot. This process assures your zeroing adjustments to windage and elevation are precise.
Follow these steps:
- Shoot at a target from your preferred zeroing range (25, 50, or 100 yards).
- Check if the bullet impacts align with the sight’s mounting and point of aim.
- Adjust windage and elevation screws as needed until the point of impact matches the red dot.
Regularly confirm point impact after any changes to maintain accuracy. It’s a good habit to double-check so your shots stay true every time.
Frequently Asked Questions
Can I Use the Same Mount on Different Firearms?
Yes, you can use the same mount on different firearms, but only if their Picatinny rails share identical dimensions and profiles.
You’ll need to verify compatibility carefully, since slight variations in rail width or slot spacing can affect fit. Sometimes, adapters or spacers help bridge differences.
Always check the mount’s manufacturer specs before switching to guarantee a secure, stable installation across multiple guns.
Don’t assume universal fit without confirmation. It’s better to be safe and double-check than to risk an unstable setup.
How Often Should I Check the Mount’s Tightness?
You should check your mount’s tightness every 500 to 1,000 rounds or at least once a month during regular maintenance.
If you’re using a tactical or high-recoil firearm, inspect it after each shooting session.
Always use a torque wrench to guarantee screws meet the manufacturer’s specified torque.
Environmental factors like heat and moisture can loosen screws over time, so regular checks keep your setup secure and reliable.
Will Weather Conditions Affect My Red Dot Sight’s Performance?
Yes, weather conditions can affect your red dot sight’s performance. Extreme temperatures might cause your sight to lose zero or malfunction if it’s not properly sealed.
Moisture, rain, or snow can damage internal components in open emitter designs.
Rapid temperature changes may lead to condensation inside, which reduces visibility.
To keep your sight reliable, choose a weatherproof model.
Also, regularly inspect seals to maintain peak performance regardless of the environment.
Can I Attach Additional Accessories With the Red Dot Mounted?
You can definitely attach additional accessories with your red dot mounted. For example, a shooter added a tactical light and laser sight alongside his red dot on a Picatinny rail.
This setup enhanced target acquisition in low light.
Just make sure you use compatible mounts and don’t overload the rail’s weight capacity.
Position accessories carefully to avoid blocking your red dot’s view or hindering firearm handling.
Keeping everything balanced and effective is key.
How Do I Clean and Maintain My Red Dot Sight?
You should clean your red dot sight regularly by wiping its exterior with a soft, lint-free cloth to remove dust and fingerprints. Avoid harsh chemicals or abrasives that can damage the lens coating. Use a lens cleaning solution and microfiber cloth for the lens itself.
Make sure to keep the battery compartment dry, check for corrosion, and replace batteries as needed. It’s a good idea to keep an eye on this to avoid any unexpected issues.
Always store your sight in a protective case to prevent damage and dust buildup. This simple step can really help keep your sight in great shape over time.
Conclusion
Now that you’ve anchored your red dot like a ship in calm waters, you’re ready to navigate with precision. A secure mount is your compass, guiding every shot true. Remember, a well-aligned sight transforms your firearm into an extension of your focus.
Keep your tools close and your torque steady. This careful dance guarantees your red dot stays locked in, ready to light up any target with unwavering clarity.