How Do You Sight In A Red Dot – Step By Step Guide
To sight in your red dot, first securely mount it with proper torque and alignment. Choose a zeroing distance based on your firearm—25 yards for pistols, 50 or 100 yards for rifles. Set up a stable shooting area with a clear target.
Then, fire grouped shots to see where they land. Adjust windage and elevation turrets to align the reticle with the impact point. Keep retesting as you fine-tune your aim.
Consistent zeroing and maintenance keep your sight reliable. Take your time to master each step for better precision. It really makes a difference in your shooting accuracy.
Key Takeaways
- Mount the red dot sight securely, aligning it precisely with the firearm’s bore using correct torque and threadlocker on screws.
- Choose an appropriate zeroing distance based on your firearm type, such as 25 yards for pistols or 50 yards for rifles.
- Use a stable rest and clear target at the selected distance, then fire grouped shots to observe point of impact.
- Adjust windage and elevation turrets in small increments to align the reticle with bullet impacts, recording each adjustment.
- Confirm zero by firing multiple groups, measuring impacts, and periodically rechecking to maintain accuracy and reliability.
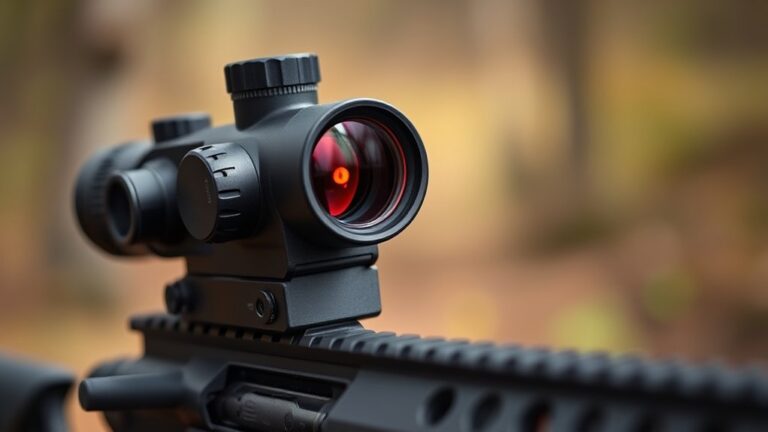
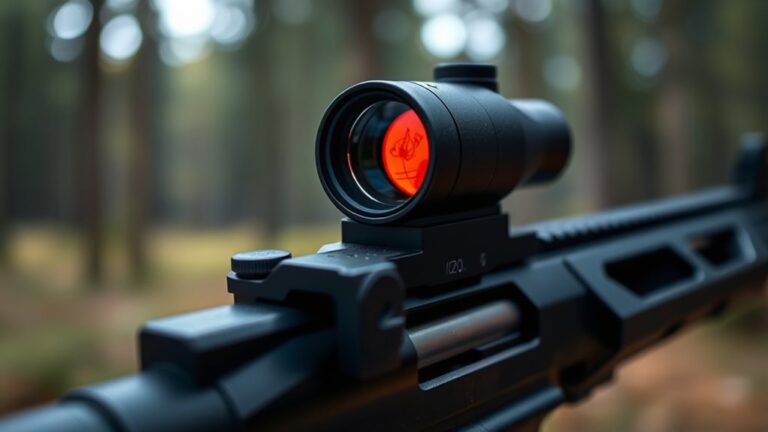
How Red Dot Sights Help You Zero Faster
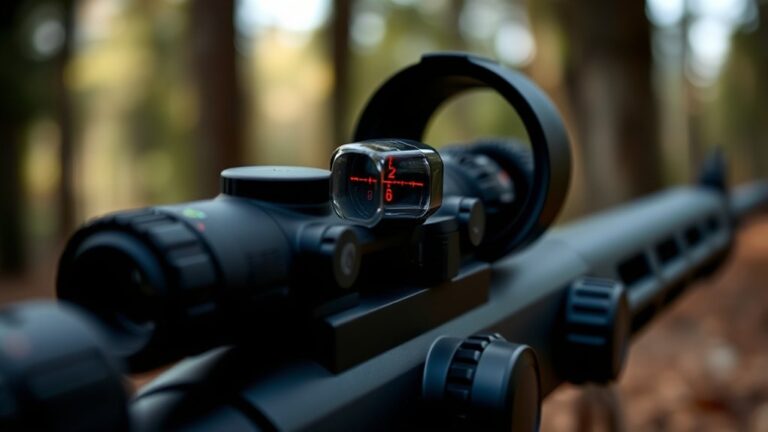
When you zero a red dot sight, the illuminated reticle lets you quickly align with your target without shifting focus between the sight and the target. This single focal plane design helps you maintain simultaneous clarity of the reticle and point of impact, speeding up zeroing.
Because the red dot projects onto the glass rather than magnifies, you can make precise adjustments rapidly without losing sight of your target. Red dot sights provide easy-to-adjust turrets or buttons for fine-tuning elevation and windage, allowing you to correct your point of impact efficiently.
This quick reticle acquisition at varying distances guarantees you zero faster, especially under dynamic or stressful conditions. It really helps boost your shooting accuracy and confidence.
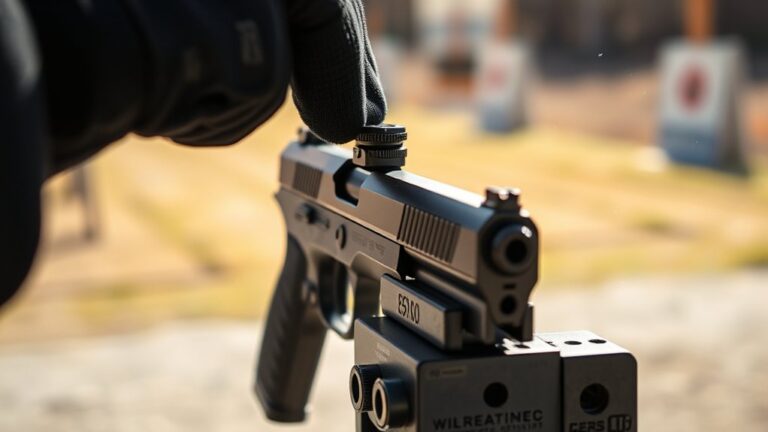
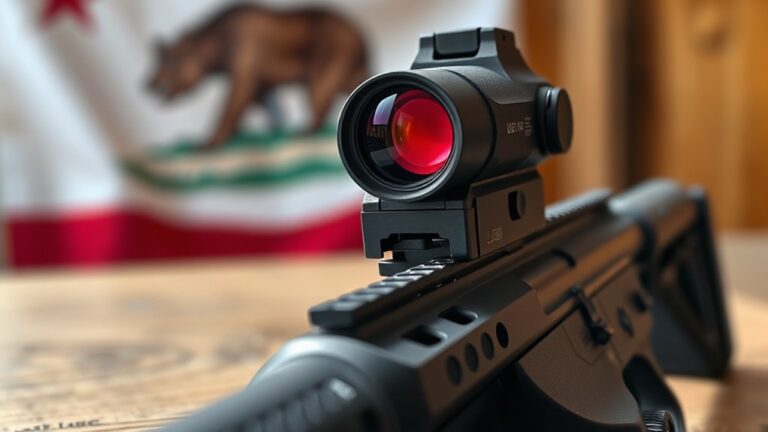
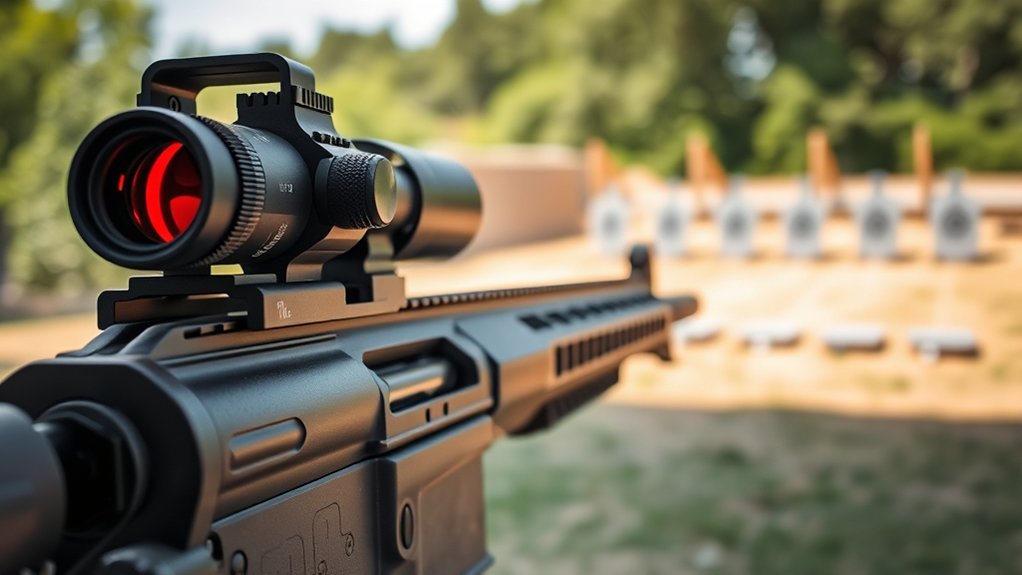
Securely Mount Your Red Dot Sight
Although mounting your red dot sight may seem straightforward, securing it properly is critical to maintaining accuracy and reliability. You need to attach the sight firmly using the correct torque, typically between 15-18 in.-lbs., to prevent shifting. Always align the mount precisely with the firearm’s bore before zeroing.
Use threadlocker on screws to keep them from loosening, and mark screw heads with paint to monitor any movement. Let the adhesive and fasteners cure for at least 12 hours before shooting to ensure stability.
| Step | Action | Tip |
|---|---|---|
| 1 | Place mount on rail | Ensure proper seating |
| 2 | Tighten screws | Use specified torque |
| 3 | Apply threadlocker | Prevent loosening over time |
| 4 | Align with bore | Check alignment carefully |
| 5 | Cure adhesive | Wait 12+ hours before zeroing |
Pick the Best Zeroing Distance for Your Red Dot
When picking your zeroing distance, think about the type of firearm you have and how you plan to use it.
For pistols, zeroing at 25 yards usually gives you the best accuracy, especially for self-defense situations.
Rifles, on the other hand, tend to perform better when zeroed at 50 yards.
This distance helps you cover both close and mid-range targets effectively.
Firearm Type Considerations
Since each firearm type serves different purposes and operates at varying effective ranges, you need to select the appropriate zeroing distance for your red dot accordingly.
For pistols, zeroing at 25 yards typically aligns the point of impact with your sight picture for typical self-defense or range use.
Rifles, especially those used for general shooting, often perform best zeroed at 50 yards. This helps ensure accuracy at common engagement distances.
Shotguns, used primarily for hunting, benefit from a zeroing distance near 25 yards to account for pellet spread and closer targets.
Long-range precision rifles require zeroing at 100 yards or more to match ballistic trajectories effectively.
Tailoring your zeroing distance to your firearm type guarantees your red dot’s point of impact consistently matches your intended target range. It really makes a difference when you adjust it just right.
Zeroing Distance Guidelines
Matching your zeroing distance to your firearm type sets the foundation. But selecting the best zeroing distance for your red dot really depends on your specific shooting scenarios.
For pistols, zeroing at 25 yards aligns the point of aim with the point of impact. This optimizes accuracy for typical engagement ranges.
Rifles usually benefit from a 50-yard zeroing distance. It offers improved precision at extended distances.
If you anticipate close-quarters use, consider a shorter zero, like 10 yards. This helps guarantee your point of aim matches your target up close.
Make sure to regularly verify and adjust your zero at your chosen distance. Doing this keeps your shot placement consistent.
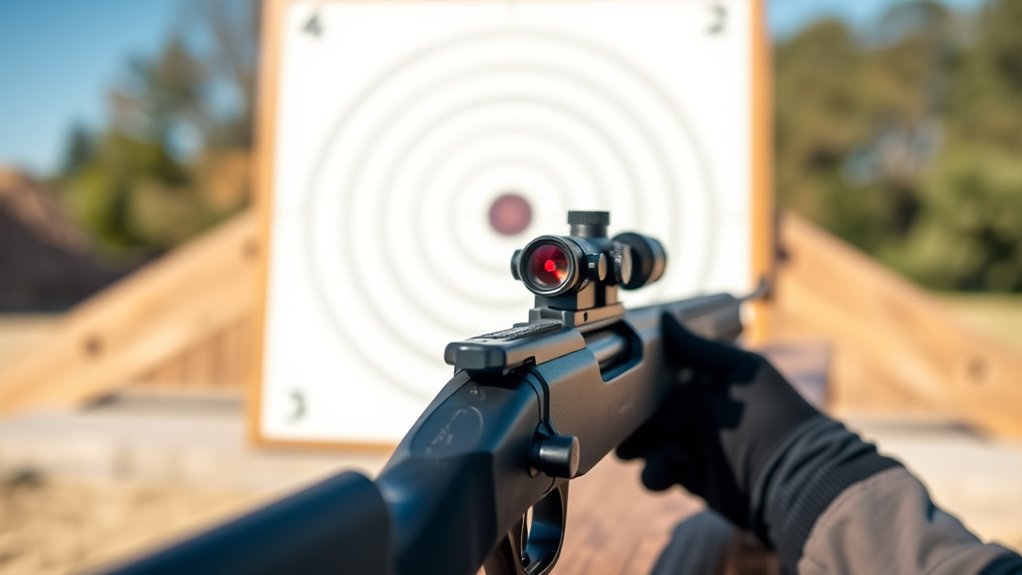
Set Up Your Target and Shooting Area
Choose a stable, flat surface like a bench or shooting rest to keep things consistent while zeroing your red dot. Then, set up your target at the zeroing distance you picked, making sure it’s clearly visible and marked for accurate shot placement.
Before you start shooting, double-check that your shooting area is safe, well-lit, and free of any obstructions.
This way, you can focus on your shots without any worries.
Choose Stable Shooting Environment
When setting up your target and shooting area, prioritize a flat, stable surface like a shooting bench or rest to reduce movement during zeroing. Establish a stable environment free from distractions, wind, and uneven terrain to maintain consistent shot placement.
Position your target clearly and securely at the chosen zeroing distance. Make sure the target is easy to see and placed properly for precise adjustments.
Adopt a solid shooting stance or use supports such as a bipod or sandbag to stabilize your firearm during each shot. Confirm that lighting conditions are adequate and background movement is minimal so you can accurately observe shot impacts.
Position Target At Distance
How far should you place your target for an effective zeroing session? Typically, set your target at a standard zeroing distance such as 25 or 50 yards, depending on your intended use. Positioning your target correctly guarantees accurate shot assessment and efficient zeroing of your red dot sight.
When you position your target at distance, keep these points in mind:
- Use a target with clear markings or grid lines for precise shot placement analysis.
- Place the target at eye level and directly in front of your shooting position to maintain consistent aiming.
- Measure and mark the exact distance from your shooting spot to the target to guarantee accuracy.
- Set up a stable shooting area with a flat surface and use a rest to minimize shooter error during zeroing.
Proper target positioning is essential for a reliable zeroing session. It really makes a difference when you want consistent and accurate results. So take your time setting everything up right.
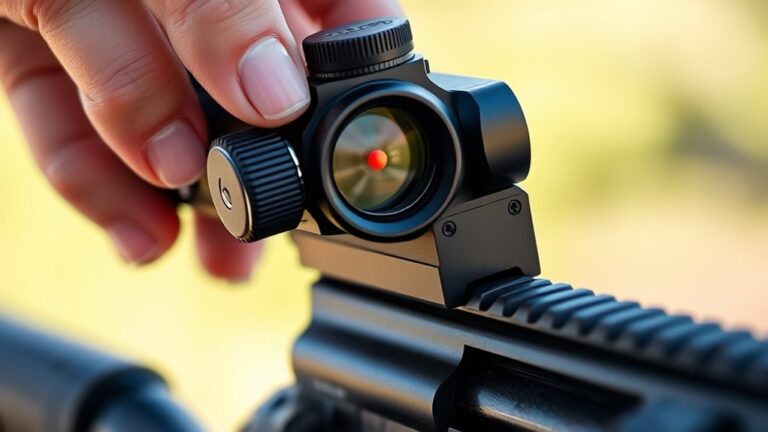
Adjust Your Windage and Elevation
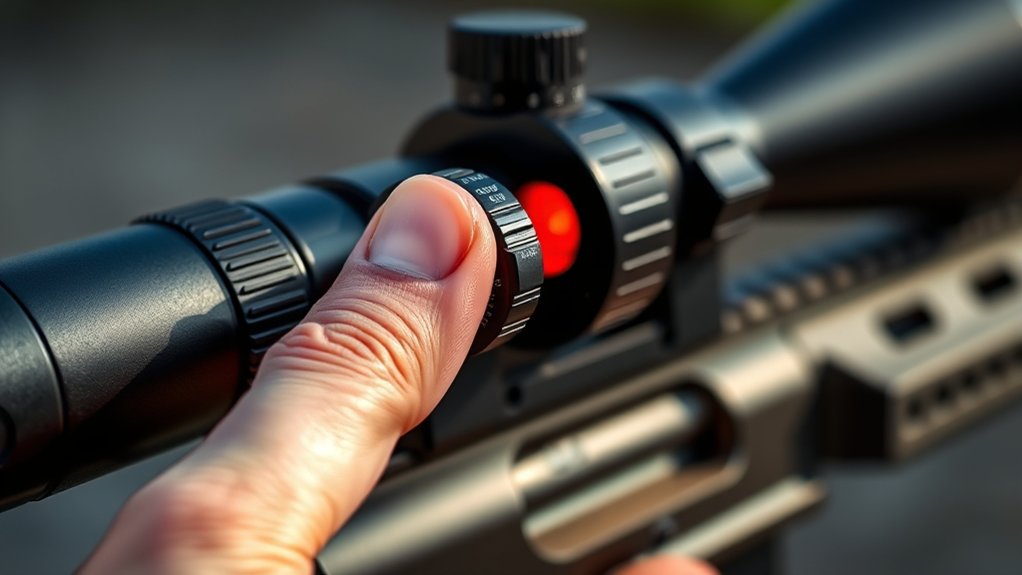
Why does your shot miss the mark? It’s often because your windage and elevation settings aren’t aligned properly. Start by adjusting the windage turret to move the reticle horizontally until your point of impact matches your point of aim laterally.
Next, turn the elevation turret to raise or lower the reticle, aligning the vertical point of impact with your target. Make small, precise adjustments. Usually, one click equals a set MOA, so be careful not to overshoot.
After each change, fire a group of shots to verify alignment before proceeding. Keep track of how many clicks you’ve adjusted for both windage and elevation. This record helps you quickly re-zero your red dot in future sessions, ensuring consistent accuracy every time you shoot.
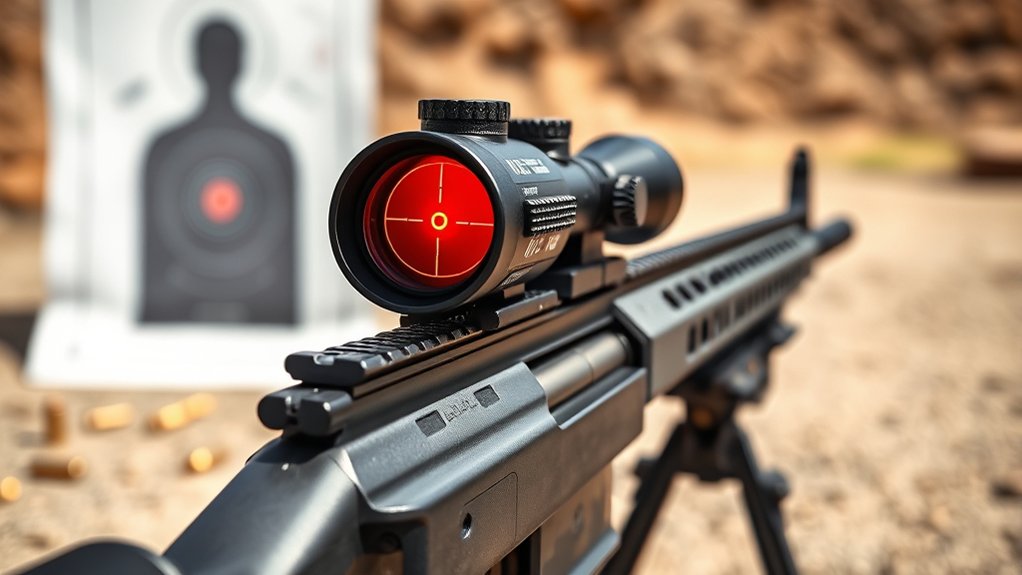
Fine-Tune Your Zero With Grouped Shots
After adjusting your windage and elevation, the next step is to fire multiple shots in a tight group to see how well your red dot lines up with the point of impact. This zeroing process with grouped shots helps you figure out any fine-tuning needed for better accuracy.
Fire tight groups after adjusting to check how well your red dot aligns with the impact point.
It’s best to use a stable platform like a bipod to reduce shooter error and get consistent results. Measure the distance between where you aimed and where the shots actually hit, then adjust your sight based on that.
Once you’ve made adjustments, fire another group of shots to make sure your zeroing is precise and reliable. This back-and-forth helps confirm your sight is dialed in just right.
- Fire grouped shots from a stable rest to minimize variables
- Measure impact deviations relative to your aiming point
- Adjust your sight based on measured discrepancies
- Confirm accuracy by repeating grouped shots after adjustments
This method guarantees you get a precise zero and better shooting accuracy.
Check Your Zero and Save Your Settings
Once you’ve zeroed your red dot, it’s vital to verify your settings by firing multiple groups at the same distance to confirm consistency and accuracy. Use a target with grid lines to measure any deviations precisely. Always record zeroing settings—note turret clicks and exact positions—so you can quickly restore your zero if needed.
Don’t forget to recheck zero periodically, especially after transportation or environmental changes. This helps maintain reliability and keeps your shots on point.
| Action | Purpose |
|---|---|
| Fire Multiple Groups | Confirm consistency |
| Measure Impact Points | Identify deviations |
| Record Settings | Save precise zeroing data |
| Recheck Zero | Ensure ongoing accuracy |
Maintain Your Red Dot for Reliability
Maintaining your red dot sight guarantees consistent performance and accuracy every time you use it. Proper maintenance is vital to preserve your zeroing and ensure reliability in the field. Follow these essential steps to keep your red dot in peak condition:
Regularly clean the lens and housing to remove dirt and smudges that impair visibility and accuracy.
Periodically check and tighten mounting screws with a torque driver to maintain a secure zero.
Replace batteries promptly when the reticle dims or flickers to avoid losing sight of your target.
Mark screws with paint or nail polish after zeroing to detect any loosening during use.
Store your firearm and optic in a dry, protected place to prevent corrosion and damage.
Consistent maintenance extends your red dot’s lifespan and accuracy. Taking these simple steps really pays off, so you can rely on your sight when it matters most.
Frequently Asked Questions
Can I Use Any Type of Ammo When Sighting in a Red Dot?
You shouldn’t use just any ammo when sighting in your red dot. Always use the same type you plan to shoot regularly because different ammo brands and loads can shift your point of impact.
Using consistent ammunition guarantees your zero stays accurate and reliable. If you switch ammo types, you’ll likely need to re-zero the sight.
How Often Should I Re-Zero My Red Dot Sight?
You should re-zero your red dot sight regularly. Typically, this means every 200 to 500 rounds or at least once a year.
Always re-zero after any significant impact or rough handling. If your shots consistently miss the point of aim, it’s time to check the zero.
Changing ammunition, shooting distance, or your firearm setup also means you should re-zero.
Stay proactive and check your zero often to keep your accuracy sharp. Especially after mounting or adjusting the optic, it’s important to make sure everything is dialed in for reliable performance in all conditions.
What Tools Do I Need to Adjust Windage and Elevation?
You’ll need a small screwdriver or the specific adjustment tool that came with your red dot sight to adjust windage and elevation. These tools allow precise turret turns, usually in 1/2 or 1 MOA increments per click.
Avoid using anything too large or sharp that might damage the turrets.
Always make adjustments carefully. Turn the turret clockwise or counterclockwise to shift the reticle exactly where you want it.
Taking your time here really pays off.
Can Environmental Conditions Affect My Red Dot Zero?
Imagine your red dot sight as a delicate pocket watch. Extreme heat or cold can make its parts expand or contract, which can throw off your zero. You need to keep an eye on temperature swings, humidity, and dust.
These factors can fog your lenses, damage the electronics, or block your view. Rapid changes in the weather and high altitudes can dim the dot or cause condensation.
So, it’s a good idea to always keep your sight clean and sealed.
Be ready to adjust for environmental shifts. Taking these steps helps ensure your red dot stays reliable when you need it most.
Is It Possible to Sight in a Red Dot on a Moving Target?
Yes, you can sight in a red dot on a moving target, but it’s tricky and less precise. Start by zeroing your red dot on a stationary target to establish accuracy.
Then, practice tracking moving targets at close range to adapt your aim.
Use a stable platform to maintain steady aim. Focus on improving your target acquisition speed and compensating for target movement rather than trying to zero the red dot solely while it’s moving.
It’s more about learning to lead your shots than perfecting the sight on something that’s constantly changing position.
Conclusion
By following these steps, you’ll gently guide your red dot sight to its ideal harmony, ensuring every shot sings true. Remember, a well-sighted red dot doesn’t just improve accuracy. It quietly boosts your confidence and readiness.
Keep your sight securely mounted and regularly check your zero. Make sure to maintain it diligently. This subtle care transforms your equipment from a mere tool to a trusted partner.
It helps you perform with quiet assurance in every scenario.