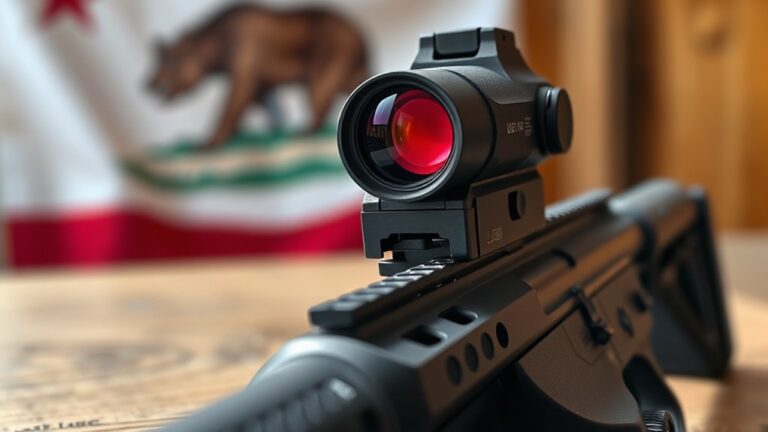
Where To Mount Red Dot – Best Placement Guide
You should mount your red dot as far forward on the receiver’s top rail as you comfortably can to maximize peripheral vision and minimize head movement. Make sure the mount is secure and matches your firearm and optic for zero stability. Adjust the mount height to balance clear sight alignment with a wide field of view.
Positioning the red dot correctly improves target acquisition speed and shooting efficiency. It’s worth exploring ideal mounts and placements to tailor your setup precisely. Taking the time to find the right spot really pays off in performance.
Key Takeaways
- Mount the red dot as far forward on the receiver’s top rail as possible for natural eye alignment and optimal eye relief.
- Use secure, compatible mounts like lever release Picatinny or cantilever for zero stability and easy removal.
- Choose mount height to balance peripheral vision enhancement and comfortable eye alignment for faster target acquisition.
- Adjust placement based on your shooting stance and style to develop muscle memory and improve engagement speed.
- Regularly check and tighten mounts to maintain zero stability and prevent drift during use.
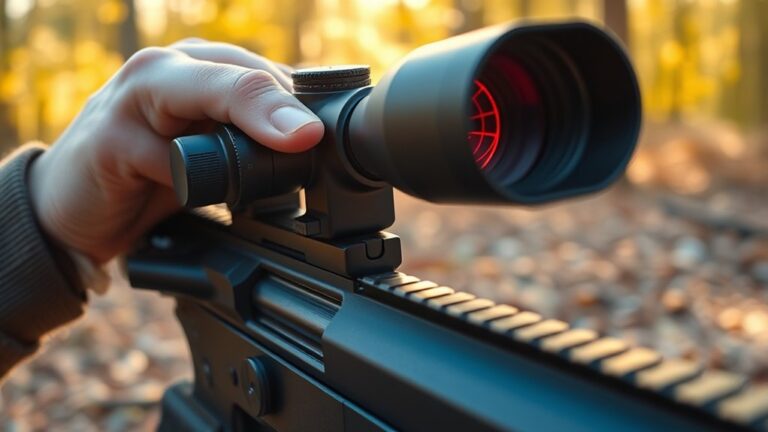
How To Choose The Best Mounting Location For Your AR-15 Red Dot
When choosing the best mounting location for your AR-15 red dot, position it as far forward on the receiver’s top rail as possible to maximize your peripheral vision and situational awareness.
Select a mounting position on the receiver rail that naturally aligns your eye with the optic’s center when you shoulder the rifle. This guarantees ideal eye relief, comfort, and rapid target acquisition.
Avoid side rails or MLOK/KeyMod slots, as these can shift the red dot’s angle and compromise zero stability.
Use a secure mount, like a lever release Picatinny mount, to maintain consistent zero during recoil.
Adjust height and depth carefully to ensure the red dot works harmoniously with backup iron sights.
This will enhance overall shooting ergonomics. Following these steps guarantees a stable, comfortable, and effective red dot setup.
It’s really about finding that sweet spot where everything just clicks together for you.
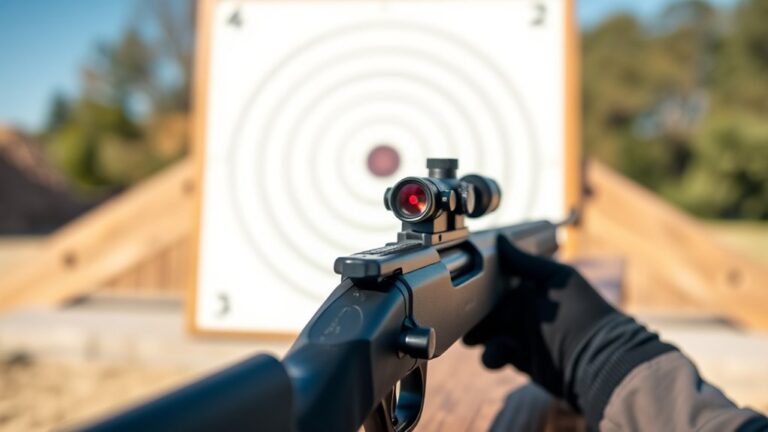
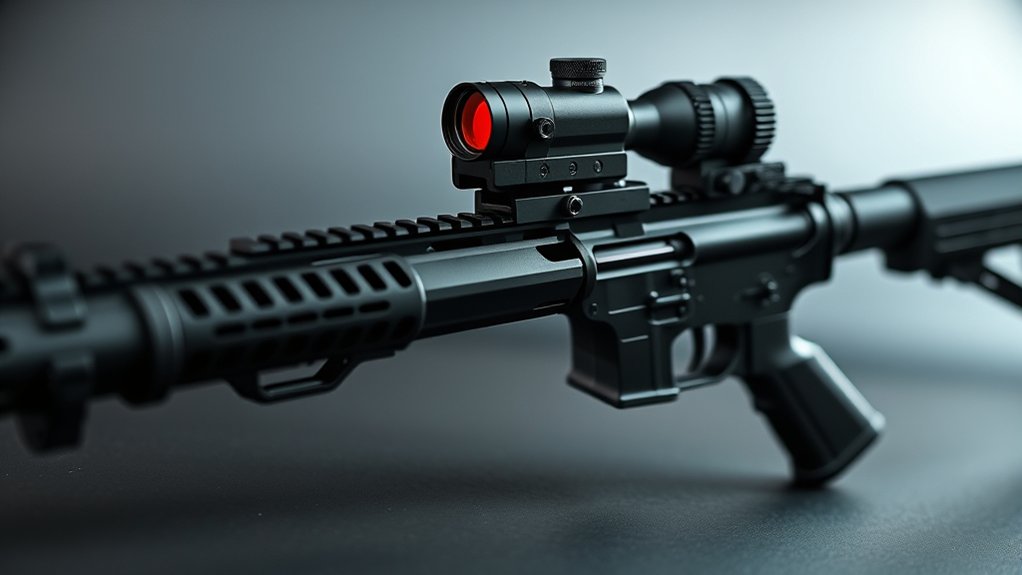
How Forward Placement Improves Target Acquisition On The Receiver
When you mount the red dot forward on the receiver, you actually open up your peripheral vision a lot more. This means you get better situational awareness, which is super important in fast-paced situations.
Plus, placing the optic forward helps keep your zero more stable because it reduces the amount the optic moves when you recoil.
Maximizing Peripheral Vision
Although many shooters overlook optic positioning, mounting the red dot forward on the receiver considerably enhances your peripheral vision and target acquisition speed.
Forward placement reduces obstruction of your peripheral vision by up to 30%, improving situational awareness essential in dynamic environments.
By aligning the red dot closer to your natural eye position, you minimize head movement, allowing faster and more intuitive target engagement.
This positioning expands your field of view, enabling you to track moving targets without losing sight of your surroundings.
Furthermore, placing the optic farther forward limits visual interference from the housing, providing a clearer, unobstructed view.
Prioritizing forward placement in your red dot positioning balances quick reticle focus with broad peripheral visibility.
This setup maximizes your shooting efficiency and responsiveness in any scenario.
Enhancing Zero Stability
Since zero stability directly impacts your accuracy, mounting the red dot forward on the receiver plays a crucial role in maintaining a consistent point of aim during recoil and handling.
This forward placement reduces the lever arm effect, which minimizes movement and vibrations that cause zero shift.
By choosing a rigid receiver mount over a flexible handguard, you increase recoil resistance. This ensures the optic stays aligned even after repeated disassembly or cleaning.
Proper mounting position on the receiver stabilizes the optic against natural rifle vibrations, enhancing shot placement precision.
Prioritizing forward placement on the receiver mount maximizes zero stability. This allows you to acquire targets faster and maintain accuracy throughout extended use and environmental stress.
This strategic positioning is essential for reliable performance in dynamic shooting scenarios.
Choosing The Right Red Dot Mount For Stability And Zero Drift
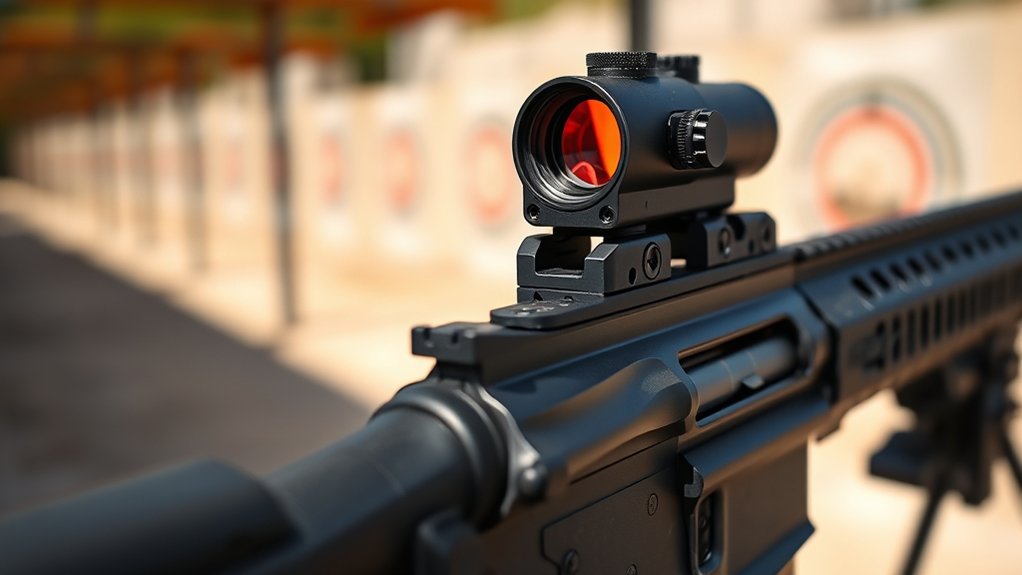
You want to pick a mount that’s fully compatible with both your red dot and your firearm to make sure it fits securely.
It’s a good idea to look for locking mechanisms, like lever release Picatinny mounts, because they help prevent any movement when you’re dealing with recoil.
Also, properly securing and torquing your mount is key—it keeps everything stable and helps eliminate zero drift.
Taking these steps will give you confidence that your setup stays reliable.
Mount Compatibility Importance
When selecting a red dot mount, making sure it’s compatible with both your rifle and optic is key to keeping things stable and preventing zero drift. Proper mount compatibility means your optic stays securely in place and doesn’t move during recoil, which helps keep your zero intact.
You want to match the mount height and type, like whether it’s an absolute or lower 1/3 co-witness, so your sight alignment is spot on. Using a mount designed specifically for your firearm and optic also helps avoid harmonic interference, which can mess with your shot accuracy.
A stable, well-fitted mount won’t loosen over time, so you get consistent performance. Investing in quality mounts made for your setup boosts overall stability and shooting precision. That way, you can count on your red dot’s zero every time you take a shot.
Prioritize compatibility to keep a solid, reliable sight picture.
Secure Locking Mechanisms
Ensuring your red dot mount has a secure locking mechanism directly impacts stability and zero retention. Choosing mounts with dependable locking systems guarantees mount stability and recoil resistance. This prevents zero drift even under heavy use.
You want a locking mechanism that offers a secure attachment to maintain consistent alignment after repeated removals.
Key points to consider:
- Lever locks or quick-detach mounts provide strong recoil resistance.
- Correct torque application preserves zero retention and prevents loosening.
- Robust locking systems reduce accidental dislodgement during movement.
- High-quality mounts maintain stability after repeated installation.
- Regularly check and tighten locking mechanisms to sustain zero accuracy.
Prioritize a locking mechanism designed for durability to ensure your red dot stays firmly in place. That way, you’ll preserve accuracy shot after shot.
When To Use Cantilever Mounts Over The Handguard
Although handguards often serve as a stable platform for mounting optics, cantilever mounts offer distinct advantages when you need quick removal or adjustments without losing zero. You should use a cantilever mount when frequent handguard removal is necessary, such as with heavy or modular handguards. This mount ensures stability and precise optic alignment by extending the sight forward over the handguard.
Its quick detach feature lets you swap or adjust optics efficiently while maintaining zero. So, if you want convenience and reliability, cantilever mounts are the way to go.
| Feature | Handguard Mount | Cantilever Mount |
|---|---|---|
| Stability | Good with fixed handguards | Superior with modular setups |
| Handguard Removal | Requires re-zeroing | Maintains zero consistently |
| Optic Alignment | Direct mounting | Compensates for receiver distance |
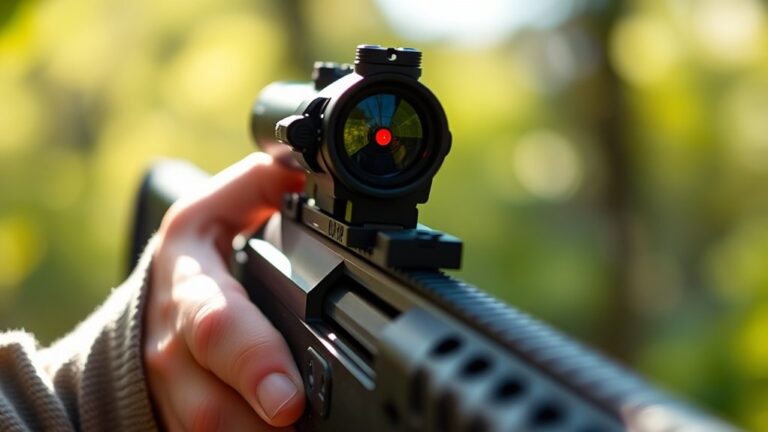
Getting Your Eye And Red Dot Aligned For Comfortable Shooting
To achieve comfortable shooting, you need to align your eye with the red dot so it sits naturally in your field of view without forcing your head into an awkward position. Proper eye alignment guarantees your eye-to-reticle connection is quick and consistent, which helps improve accuracy and comfort.
Focus on establishing a solid cheek weld that supports natural sight positioning.
Center the red dot in your vision without tilting your head excessively. Adjust mount height for a relaxed cheek weld that aligns your eye with the optic.
Position the sight forward on the rail to maintain a comfortable neck posture.
Use riser mounts if needed to raise the sight to eye level and reduce strain.
Practice smooth rifle presentation to keep consistent eye-to-reticle alignment.
Master these steps for comfortable shooting and reliable target acquisition. It’ll make a big difference in how quickly and accurately you can get on target.
Pros And Cons Of Offset Red Dot Mounting On AR-15s
While offset red dot mounts offer a compact solution for quick shifts between optics, you need to take into account both their advantages and limitations carefully.
An offset mount at a 45-degree angle enables quick target acquisition by allowing you to transition smoothly from your primary optic without repositioning your head. This setup excels in tactical shooting and dynamic scenarios like competitions.
However, adding an offset mount can reduce available rail space and complicate your rifle setup. You must also consider zero stability; if your handguard is flexible or lightweight, the offset mount’s zero may drift, affecting accuracy.
Furthermore, using an offset red dot requires extra training to master the aiming process efficiently. Weigh these pros and cons to ensure your setup meets your tactical and precision needs.
How Mount Height Affects Your Field Of View And Peripheral Vision
Choosing an offset red dot mount affects not only your rifle’s setup but also how you position the optic vertically. Mount height directly influences your field of view and peripheral vision, which impacts aiming comfort and reticle position. You need to find a balance that maximizes situational awareness without compromising quick target acquisition.
Higher mount height reduces optic housing obstruction, which can enhance your peripheral vision. On the other hand, lower mounts align the reticle closer to your natural line of sight, giving you an unobstructed field of view.
Just keep in mind that increasing mount height may alter eye relief, and that can affect how quickly you aim.
Proper mount height keeps the reticle within your natural sight pattern, minimizing head movement. Ideally, you want a placement that balances clear peripheral vision with comfortable eye alignment.
This way, you can get fast, accurate shots every time.
Personalizing Red Dot Placement For Your Shooting Style
When you personalize your red dot placement, you’ll boost both comfort and shooting efficiency by aligning the optic with your unique stance and eye line. Mount the dot as far forward as you can comfortably reach to maximize peripheral vision and situational awareness.
Adjust the mounting position to ensure natural sight alignment that matches your shooting style. Try different positions to find the best balance between comfort and a clear sight picture. Don’t forget to consider your rifle’s accessories when making adjustments.
Consistent placement helps build muscle memory, so you can engage targets faster and more naturally.
| Aspect | Recommendation | Reason |
|---|---|---|
| Mounting Position | Forward, comfortably reachable | Maximizes peripheral vision |
| Height | Align with eye line | Quick target acquisition |
| Sight Alignment | Natural to your stance | Enhances shooting efficiency |
| Consistency | Maintain same position | Builds muscle memory |
| Accessories | Account for irons, magnifiers | Avoids obstruction in sight picture |
Frequently Asked Questions
Can I Use a Red Dot Sight on Firearms Other Than AR-15S?
Yes, you can use a red dot sight on firearms beyond AR-15s. You’ll find them compatible with shotguns, pistols, and bolt-action rifles, provided your firearm has the right rail system, like Picatinny or Weaver.
For smaller handguns, choose compact or slide-mounted red dots.
Always verify you mount and zero the sight correctly for peak accuracy and performance, regardless of the firearm type you’re using.
How Do Weather Conditions Affect Red Dot Sight Performance?
You’d think a red dot sight loves all weather, but extreme temperatures actually drain its battery faster and mess with its electronics. Moisture? It’s not a friend. It causes fogging and corrosion inside the sight.
Rain or snow might blur your lens, killing your accuracy.
Fluctuating temps affect reticle brightness and stability. To keep your red dot reliable, make sure it’s properly sealed and weatherproofed against these conditions. That way, it can handle whatever weather comes your way.
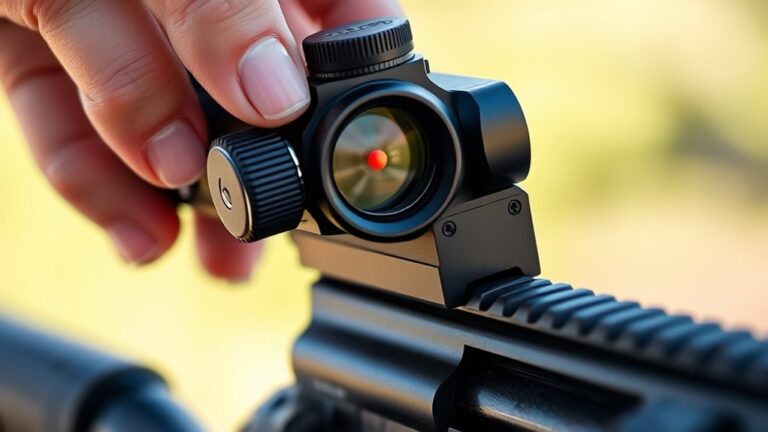
What Maintenance Is Required for Red Dot Sights?
You need to regularly clean the lens using a microfiber cloth and lens cleaner to keep visibility clear.
Tighten mounting screws frequently to maintain zero.
Replace batteries as the manufacturer advises to guarantee consistent reticle illumination.
Inspect seals and O-rings for wear to preserve water and fog resistance.
Before each use, turn the sight on and verify the reticle’s brightness and operation to confirm proper functionality.
It’s a good habit to check everything quickly so your sight works when you need it most.
Are There Battery-Free Red Dot Sights Available?
Yes, battery-free red dot sights do exist, and they’re a game-changer for reliability. They use fiber optics or tritium to illuminate without batteries, drawing ambient light or glowing steadily.
You’ll really appreciate how tough they’re in extreme conditions since they don’t rely on electronics that can fail.
Just keep in mind that tritium components have a lifespan of about 10 to 15 years. Choosing these sights means you’re investing in consistent performance with minimal upkeep.
It’s a smart option if you want something simple and dependable out in the field.
How Does Red Dot Sight Durability Vary by Brand?
Red dot sight durability varies widely by brand. You’ll find military-grade models like Aimpoint and EOTech built with rugged aluminum and advanced sealing to resist impact, water, and dust. They handle recoil and harsh conditions well.
Budget brands often lack these protections, making them more prone to damage. To guarantee lasting performance, choose brands known for robust construction and weatherproofing.
Especially if you plan tough use or outdoor shooting, it really pays to invest in quality.
Conclusion
When mounting your red dot on an AR-15, placement is key. Studies show shooters improve target acquisition speed by up to 30% with *ideal* positioning. Forward mounts enhance quick sight alignment, while cantilever mounts offer stability without sacrificing handguard space.
Always align your eye with the dot for comfort and accuracy. Remember, adjusting mount height and offset can personalize your setup to fit your shooting style perfectly. Choose wisely to maximize performance and reliability.