How To Use A Red Dot – Beginner’s Guide And Tips
To use a red dot sight effectively, first mount it securely on your pistol and zero it at a close range by adjusting windage and elevation in small increments. Keep both eyes open, focus naturally on your target, and align the red dot without fixating on it.
Practice regularly with dry fire and live-fire drills to build muscle memory, speed, and accuracy. Mastering these basics will help you shoot confidently and get the most from your red dot sight.
Key Takeaways
- Mount and zero the red dot sight properly, adjusting windage and elevation for accurate aiming at your preferred distance.
- Use both eyes open while aiming to maintain situational awareness and quickly acquire targets.
- Focus on placing the red dot on the target, not on the reticle itself, for improved accuracy.
- Practice regularly with dry fire drills and live fire to build muscle memory and confirm sight zero.
- Maintain the sight by checking batteries, cleaning lenses, and re-zeroing after impacts or recoil shifts.
What Is a Red Dot Sight?
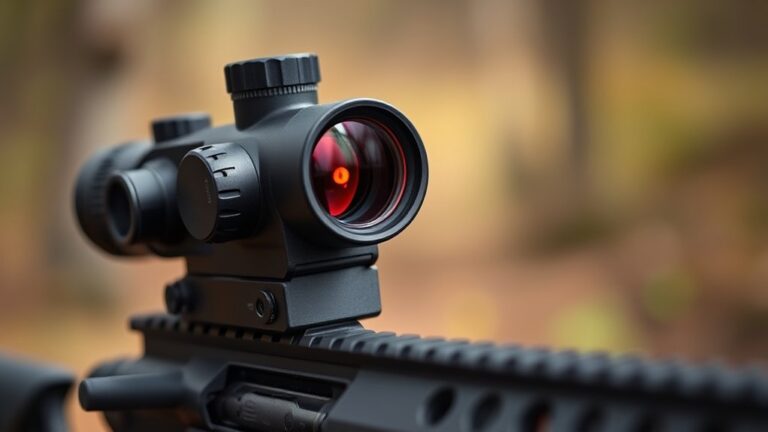
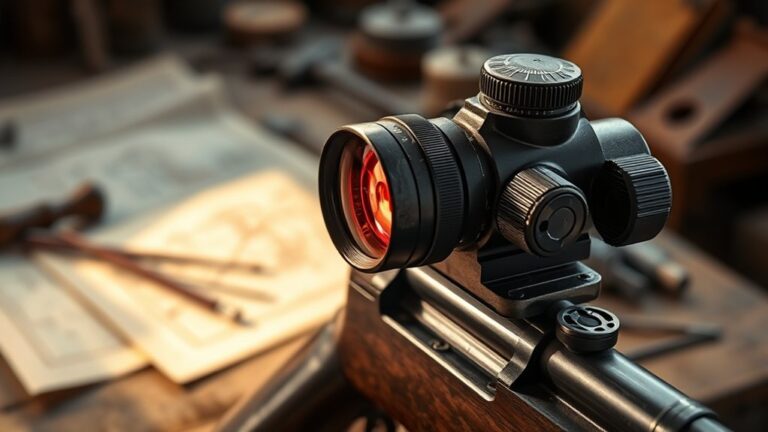
A red dot sight is one of the simplest yet most effective aiming devices you’ll find for firearms. It projects an illuminated red reticle, usually a small MOA dot, onto a reflective glass lens, creating a clear sight picture.
Red dot sights offer a simple, effective aiming solution by projecting a bright red dot onto reflective glass.
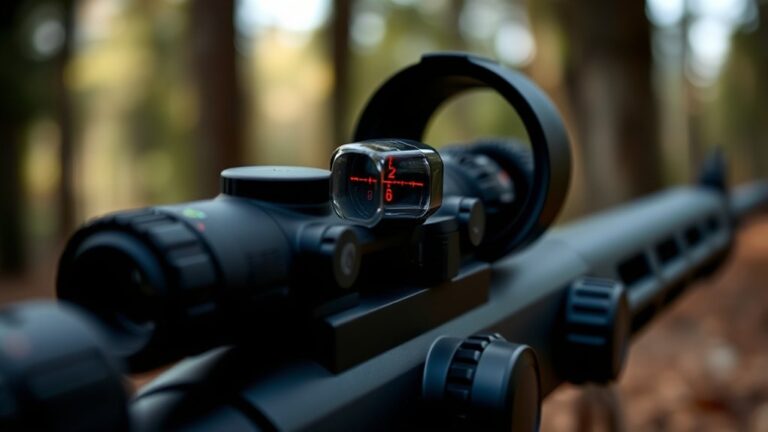
This reflex sight design lets you maintain focus on your target while easily aligning your point of aim with the red dot.
By using illumination from a red LED, the sight enhances target acquisition speed and accuracy without the need to perfectly align iron sights.
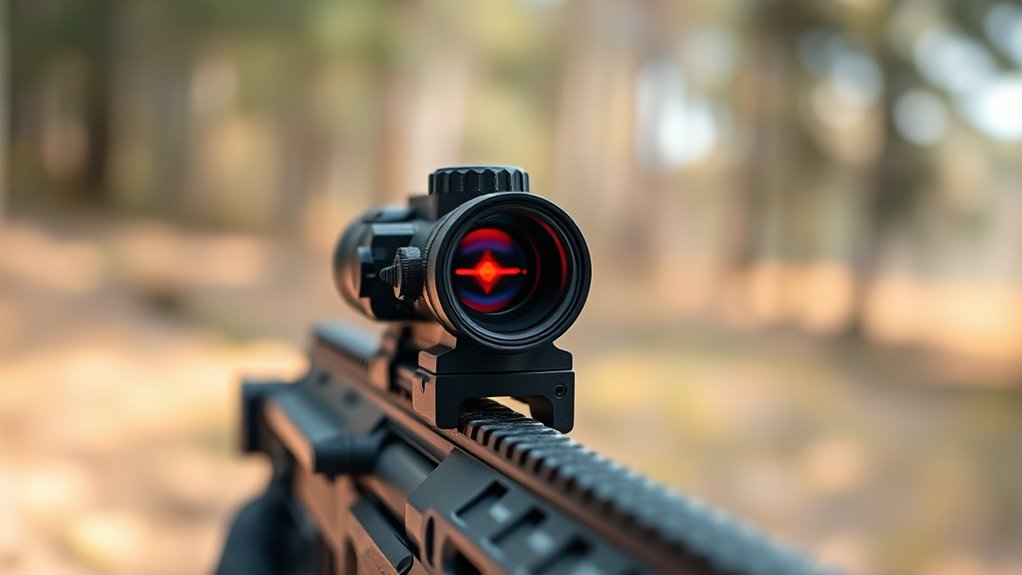
Whether mounted on rifles or handguns, the red dot sight simplifies aiming by providing a single, bright reference point.
You’ll quickly find it improves both precision and reaction time during shooting, making it an essential tool for efficient marksmanship.
It’s really that straightforward and helpful once you get used to it.
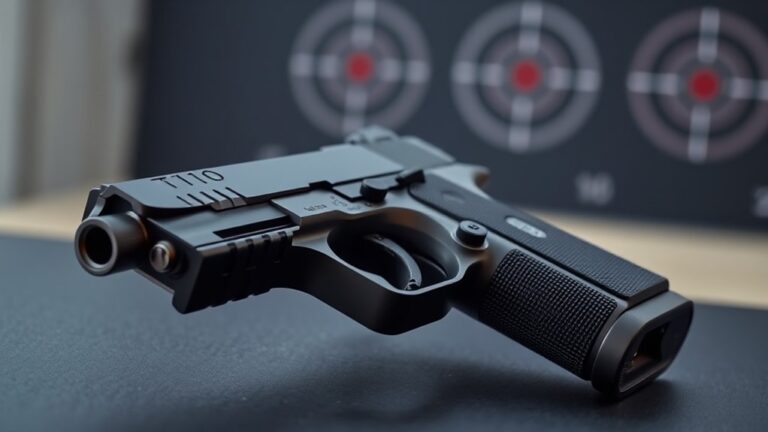
Why Use a Red Dot Sight on Your Pistol?
Why choose a red dot sight for your pistol? Red dot sights offer a clear, precise aiming point that dramatically speeds up target acquisition. Unlike traditional iron sights, you don’t need to align front and rear sights. Just place the dot on your target.
This simplifies focus and improves accuracy, especially at longer distances, since the dot remains consistent regardless of your eye position.
Red dots also enhance situational awareness by allowing you to shoot with both eyes open, so you can maintain your peripheral vision.
In varying lighting conditions, their bright, visible dot guarantees you never lose your aiming point. By using a red dot sight, you’ll sharpen precise aiming and keep better focus on the target.
This makes your shooting faster and more effective.
Mounting Your Pistol Red Dot Sight
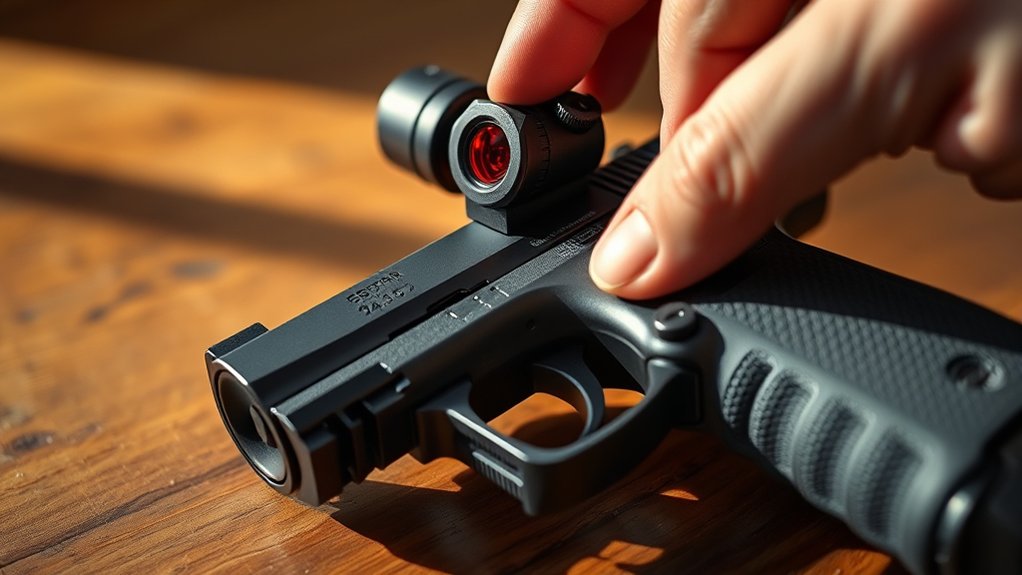
Before mounting your red dot sight, make sure it’s compatible with your pistol’s mounting system, like Picatinny or Glock-style rails.
Start by thoroughly cleaning the mounting surface on both the firearm and the sight’s base to make sure no debris affects alignment.
Begin by cleaning both the firearm and sight bases to ensure perfect alignment without debris interference.
If you can, use a mounting jig or alignment tool to get the sight perfectly level with your slide or rail.
When securing the red dot sight, tighten the mounting screws to the manufacturer’s recommended torque. This helps prevent any movement during recoil.
After mounting, double-check your zero because tightening can slightly shift the sight’s position.
Proper compatibility, careful mounting, and exact alignment are key to keeping your firearm’s red dot sight precise and reliable.
Taking these steps ensures your setup performs exactly as it should.
How to Aim With Your Red Dot Sight
Once your red dot sight is securely mounted and zeroed, you’ll want to focus on how to use it effectively for aiming. Align the reticle’s dot within the sight window so it overlaps the target. Don’t focus on the reticle; instead, keep your focus on the target. This makes the dot appear as a floating point on the target, enhancing accuracy.
Make sure to maintain a natural head position and consistent cheek weld to keep the red dot aligned with your line of sight. Use both eyes open to preserve situational awareness while trusting the red dot sight to stay aligned as your body moves. This approach improves your sight picture and shot precision.
| Step | Action | Purpose |
|---|---|---|
| 1 | Mount and zero sight | Ensure initial accuracy |
| 2 | Align dot on target | Set correct sight picture |
| 3 | Focus on target, not reticle | Enhance aiming clarity |
| 4 | Maintain natural head position | Keep line of sight steady |
| 5 | Use both eyes open | Maintain situational awareness |
How to Zero Your Red Dot Sight
How do you guarantee your red dot sight delivers pinpoint accuracy? Start by zeroing at 10 yards, the ideal distance for typical defensive and target shooting. Fire 3-5 shots at your target and measure the impact points to see how far they stray from the center.
Then, adjust the windage and elevation turrets in small increments, usually 1-2 clicks, based on these deviations. This process aligns the red dot with your actual point of impact. Keep firing and adjusting until your shots consistently hit the center.
Once zeroed, confirm accuracy at different distances to understand how your sight performs over various ranges. This methodical zeroing ensures your red dot sight provides reliable alignment and precise accuracy when it matters most.
Troubleshooting Common Red Dot Sight Problems
If your red dot sight isn’t performing as expected, it’s often due to common issues like battery failure, lens damage, or debris obstructing the view. First, check the battery life and carry spares to avoid unexpected power loss.
Inspect the lens for scratches or debris. Lens scratches and dirt can distort the reticle. Clean the lens carefully using a microfiber cloth and the proper cleaning solution.
Check the lens regularly for scratches or dirt, and clean gently with a microfiber cloth and suitable solution.
Sight misalignment can happen after recoil or impact. So, routinely verify and re-zero your sight to maintain accuracy.
Automatic brightness settings may malfunction in certain lighting conditions. If that happens, manually adjust brightness to keep the dot clear.
Regular maintenance, including cleaning and battery checks, guarantees your red dot sight functions reliably when you need it most.
Backup Options When Your Red Dot Sight Fails
When your red dot sight fails, you’ve got to switch over to your iron sights quickly and confidently. It might feel tricky at first, but with regular practice, it becomes second nature.
Try running optic failure drills often—that way, you build muscle memory and can make smooth handovers even when the pressure’s on.
Trust me, this kind of prep means you’ll keep hitting your target, no matter what happens to your primary sight.
Iron Sight Transition
Although red dot sights offer quick target acquisition, you must always keep your iron sights aligned and ready as a dependable backup. When your red dot fails, a quick shift to iron sights is essential.
Regularly zero your sights to maintain accuracy and guarantee your backup is reliable.
Practice shifting focus smoothly from your optic to the iron sights, aiming to reacquire the target within seconds. Use the “pitting” method at close range. Align the front post with the rear aperture for fast, accurate shots.
Consistent practice building muscle memory for iron sight transitions prepares you for iron sight failure without hesitation. By mastering these skills, you’ll maintain confidence and effectiveness even when your red dot malfunctions, making sure your shooting accuracy never suffers.
Optic Failure Drills
Mastering the switch from your red dot to iron sights prepares you for unexpected optic failures. Regularly perform optic failure drills by intentionally covering or turning off your red dot to simulate a sight malfunction. This builds muscle memory and sharpens your transition techniques for quick acquisition of backup sights.
When your red dot sight malfunctions, immediately shift your focus to your zeroed iron sights or sight housing to maintain accuracy. Make sure your iron sights are always properly zeroed and well-maintained for reliable use.
Incorporate these backup techniques into your training routine to reduce reaction time and boost confidence. By practicing optic failure drills consistently, you’ll be ready to handle any sight malfunction smoothly and safely without losing control of your aim.
Practice Tips to Improve Your Red Dot Shooting
To improve your red dot shooting, you should regularly practice with both eyes open to boost situational awareness and speed up target acquisition. Focus on your stance, grip, and trigger control to maintain stability.
When zeroing your red dot, make small, precise adjustments, 1 or 2 clicks at a time, to align the red dot perfectly. Incorporate dry fire exercises to build muscle memory and reinforce proper aiming.
During live target shooting, practice at various distances to fine-tune your zero and build confidence. It really helps to mix things up and challenge yourself at different ranges.
| Practice Tip | Description | Benefit |
|---|---|---|
| Both Eyes Open | Train with both eyes open | Faster target acquisition |
| Zero a Red Dot | Adjust in small increments | Precision shooting |
| Dry Fire | Practice aiming without live rounds | Muscle memory |
| Focus on the Target | Keep your eyes on the target | Better accuracy |
| Live Fire Drills | Shoot at different ranges | Confidence and alignment |
Frequently Asked Questions
Can Red Dot Sights Be Used Effectively in Low-Light Conditions?
Yes, you can use red dot sights effectively in low-light conditions. Just adjust the brightness setting to guarantee the reticle is visible without being overpowering.
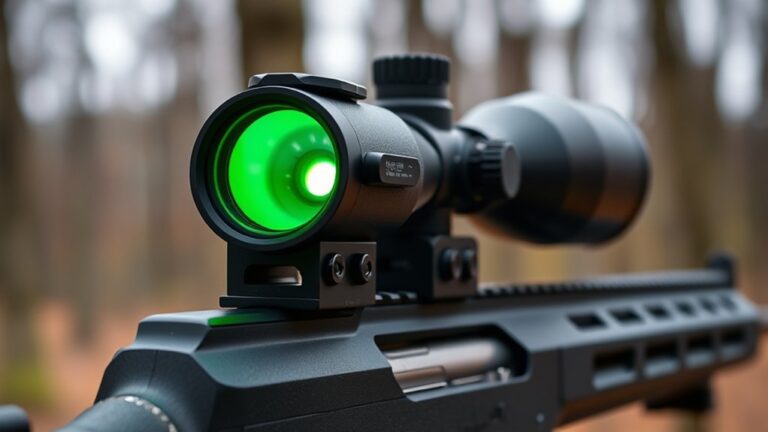
Consider models with green or yellow reticles for better contrast.
Keep the lens clean and mount the sight properly for clarity.
If needed, use a weapon-mounted light alongside your sight to improve target acquisition when lighting is very poor. It really helps make a difference in those tough lighting situations.
How Long Does a Red Dot Sight Battery Typically Last?
Think of your red dot sight’s battery life like a marathon runner. It can go anywhere from 10,000 to 50,000 hours depending on how hard you push it.
If you crank up the brightness, expect the battery to tire faster, sometimes halving its runtime.
Rechargeable models usually last 20 to 30 hours on a full charge.
To keep your sight ready, turn it off when not in use and use sleep modes to conserve power.
That way, you won’t be caught off guard with a dead battery.
Are Red Dot Sights Waterproof or Weather-Resistant?
Yes, most red dot sights are designed to be waterproof or weather-resistant, so you can confidently use them in wet or harsh conditions. They feature sealed housings, O-rings, and enclosed emitters to keep moisture, dust, and debris out.
That said, you should always check the specific model’s water resistance rating, like IPX7 or IPX8.
It’s also a good idea to maintain the seals regularly to keep your sight reliable during outdoor activities.
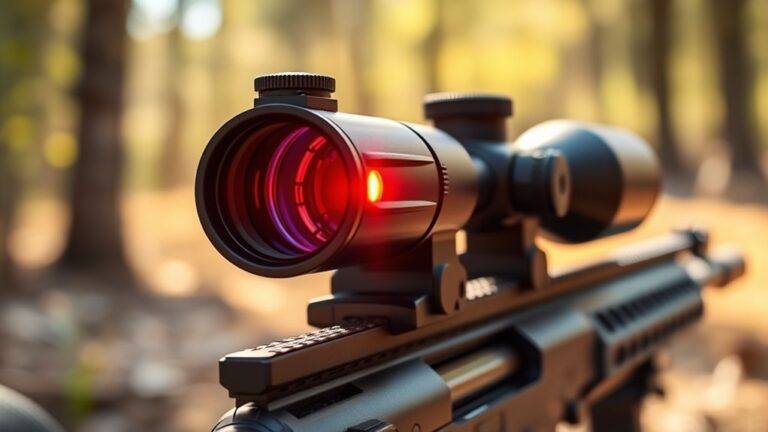
Can I Use a Red Dot Sight on Rifles or Only Pistols?
You’re more than welcome to use a red dot sight on rifles, not just pistols. In fact, rifles often benefit greatly from them because their design supports quick target acquisition and longer sight radius.
Just make sure you choose a model that fits your rifle’s rail system, like Picatinny or Weaver.
Adjust your zeroing distance based on your shooting needs, typically 50 or 100 yards, to maximize accuracy and effectiveness.
What Maintenance Is Required to Keep My Red Dot Sight in Good Condition?
You need to regularly clean your red dot’s lens with a microfiber cloth to keep visibility clear.
Tighten mounting screws periodically to guarantee it stays secure on your firearm.
Replace batteries when the reticle dims or as recommended by the manufacturer.
Also, check the housing for damage or moisture and service or replace it if needed.
Always store your red dot in a dry, cool place to prevent environmental damage.
Taking these simple steps will keep your sight working great for a long time.
Conclusion
Mastering your red dot sight takes practice, but remember, “slow and steady wins the race.” Don’t rush the process. Mount it properly, zero it carefully, and aim with confidence.
When problems arise, troubleshoot calmly. Always have backup options ready. With consistent practice, your accuracy will improve, making every shot count.
Stay patient and persistent. Your red dot sight will become an extension of your skill, helping you shoot smarter and faster.