Red Dot How To Tell If The Safety Is On A Gun – Safety Features Explained
You can tell if the safety is on your gun with a red dot sight by visually checking the safety lever’s position. Usually, if it’s up or to the side, that means “safe.” Look for visual indicators like red dots or colored markings that appear only when the safety is off.
Also, use tactile cues, such as a distinct click or lever resistance, to confirm that the safety is engaged. Remember, the red dot sight itself doesn’t show the safety status.
Keep following to understand how to verify and troubleshoot safety features effectively.
Key Takeaways
- Red dot sights improve aiming but do not indicate if the gun’s safety is engaged or disengaged.
- Look for visual safety indicators like red dots, white lines, or colored tabs on the safety lever.
- Confirm safety status by physically checking the safety lever’s position—up or to the side usually means “safe.”
- Use tactile cues like a distinct click or resistance on the safety lever to verify engagement.
- Never rely solely on the red dot sight; always manually verify safety before handling or firing.
Common Types of Gun Safety Mechanisms

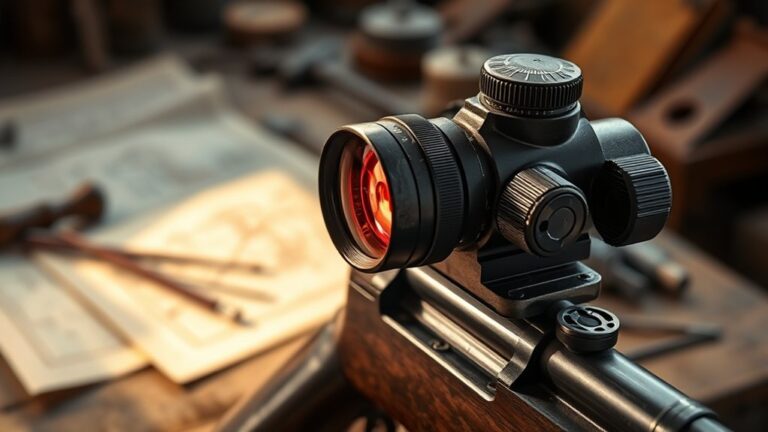
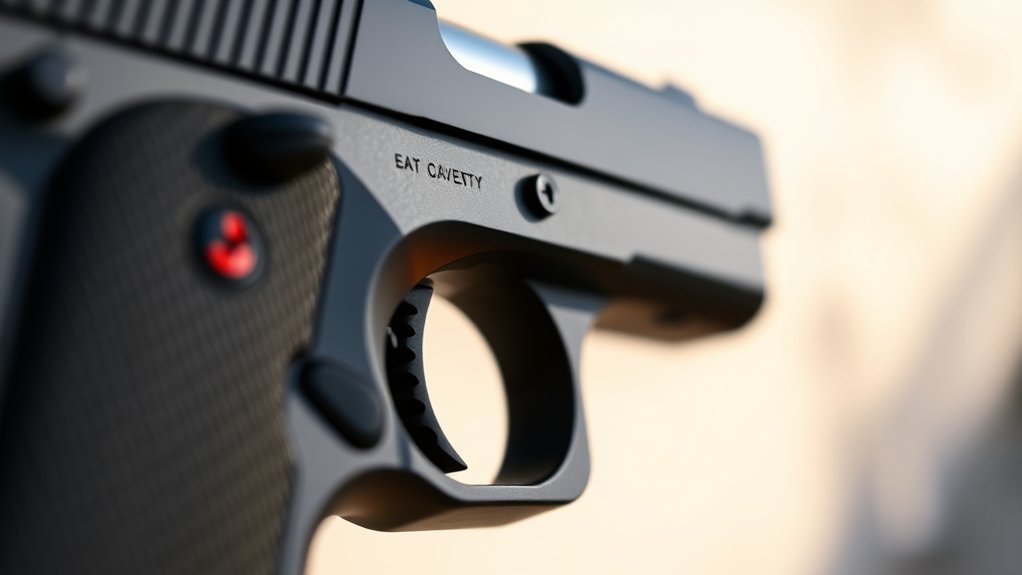
Although gun designs vary widely, you’ll find several common safety mechanisms aimed at preventing accidental discharge. Manual safeties use a lever or switch that blocks the firing mechanism, often marked by a red dot. If you see the dot, the safety is off.
Many firearms feature manual safeties, often indicated by a red dot, which block firing when engaged.
Trigger safeties are integrated into the trigger and require a full press to fire. So, partial pulls won’t discharge the gun.
Grip safeties activate only when you firmly hold the firearm, adding a layer of control.
Drop safeties are internal and prevent firing if the gun is dropped or jarred.
While these mechanical safeties are important, remember that using iron sights or a red dot optic doesn’t affect how they work. Instead, those help you aim safely when you’re ready to shoot.
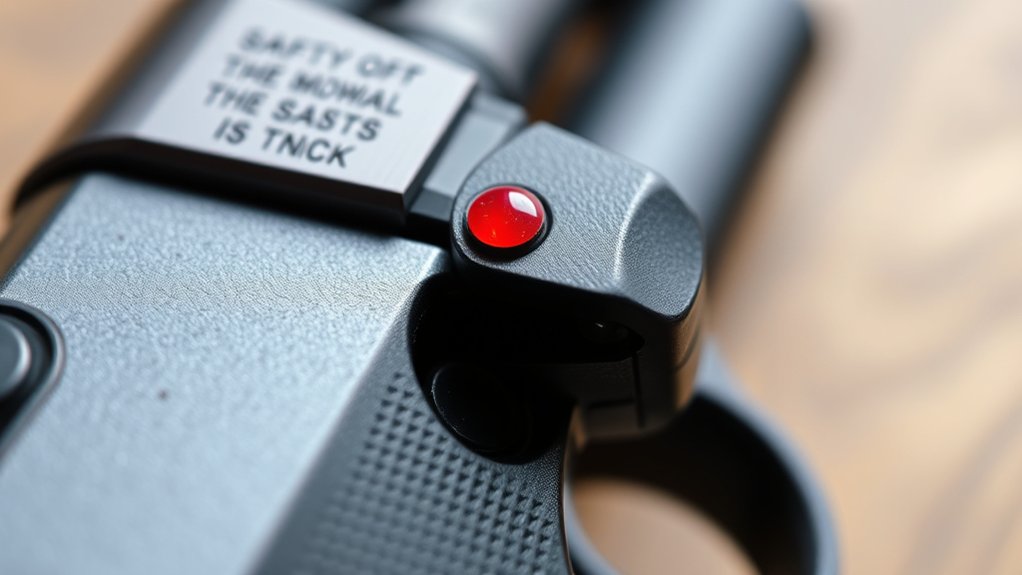
Visual Indicators of Safety Engagement
Understanding the common safety mechanisms is only part of handling a firearm responsibly. Recognizing when those safeties are engaged is just as important. Visual indicators play a vital role here.
Many guns feature a red dot or white line that appears only when the safety is off. So, if you don’t see these red dots, the safety is likely engaged.
Some firearms use translucent windows or colored indicators that clearly show the safety status through a small viewing area.
Furthermore, safety levers often have markings or colored tabs that align differently depending on engagement.
Checking the Safety Lever Position
Before handling your gun, make sure to check the safety lever’s position carefully. It’s a good idea to use visual safety indicators, like color markings, to help you figure out whether it’s set to “Safe” or “Fire.”
Also, get familiar with the common types of safety levers so you can recognize them easily. When you toggle the lever, you should feel a distinct click or detent—this helps confirm that it’s properly engaged.
Always taking these steps keeps you safer when handling your firearm.
Visual Safety Indicators
When you check the safety lever on a firearm, you’ll often see clear markings like “Safe” or “Fire” that indicate its position. These visual cues help you quickly determine whether the safety is engaged or disengaged.
Many firearms also include a physical notch or detent, which you can feel as a click, confirming the safety’s status.
Furthermore, some guns feature painted or colored dots or stripes on the safety lever itself, making it easier to recognize at a glance.
To verify the safety, observe the lever’s position relative to the frame or slide. Typically, the “Safe” setting points upward or to the side.
Properly reading these visual indicators ensures you handle the firearm safely and confidently. It’s a simple step but a crucial one, so take a moment to get familiar with what you’re looking at.
It really helps avoid any confusion when you need to act quickly.
Lever Positioning Guide
Although the safety lever’s position varies between firearm models, you can usually tell if the gun is on “safe” or “fire” by its orientation. Typically, upward or to the side means “safe,” while downward or aligned with the barrel means “fire.”
To check the safety lever’s position, always inspect it physically and visually before handling or firing.
Many firearms include tactile features like notch stops to help you confirm the safety status without looking. Plus, some levers have color markers such as red dots near them, signaling when the safety is disengaged.
It’s a good idea to make it a habit to verify the lever’s exact placement relative to the frame or slide every time you prepare the firearm.
Doing this helps ensure you handle it safely and responsibly. Stay aware and take those extra seconds—it really makes a difference.
Common Safety Lever Types
Since safety lever designs vary widely, understanding the common types helps you quickly identify their position and function. Most levers feature clear “safe” and “fire” settings, often marked or tactilely distinct. Some are ambidextrous, letting you check safety from either side.
Their orientation—up, down, or sideways—depends on the firearm’s design. You’ll often feel clicks or notches when toggling the lever.
- Standard thumb safety: Positioned near the thumb, typically up for “safe” and down for “fire.”
- Ambidextrous safety: Accessible on both sides, ideal for left- or right-handed users.
- Grip safety: Engaged by gripping the firearm firmly, not a lever but crucial for safety.
- Decocker combined: Safely lowers the hammer while engaging the safety lever.
Always confirm the lever’s status while pointing the firearm safely.
Using Tactile Cues to Confirm Safety
You can quickly confirm if the safety is on by feeling the safety lever’s unique texture and position. Just pay attention to the click or resistance when you toggle the safety—these tactile cues give you instant feedback.
Also, locating the safety indicator marks by touch lets you check the firearm’s mode without having to look. It’s a handy way to stay aware of the safety status at all times.
Feeling the Safety Lever
When handling a firearm, feeling the safety lever without looking gives you immediate confirmation of whether the safety is engaged. You rely on tactile cues like textured or raised levers and distinctive shapes or finishes to tell the safe position apart.
Regularly practicing this touch builds muscle memory, so you can do quick, confident checks.
To effectively feel the safety lever, start by identifying the lever’s location and unique tactile features. Notice any detents, notches, or raised textures that signal when it’s engaged. You can also sense firm resistance or a subtle click when toggling the safety.
Practice consistent finger placement to develop reliable muscle memory.
Mastering these tactile cues helps you confirm safety swiftly and accurately, boosting your confidence handling the firearm without needing to look.
Identifying Click or Resistance
How can you confidently confirm a firearm’s safety position without looking? By applying gentle tactile pressure, you can detect a distinct click or resistance that signals whether the safety is engaged or disengaged. Most safety mechanisms feature a noticeable detent or click that provides clear tactile feedback.
When the safety is on, you’ll often feel increased resistance or a firm stop as the lever or button locks into place. For example, manual thumb safeties on pistols offer a definitive click when flipped up or down, instantly indicating their status.
Regularly practicing and familiarizing your fingers with these tactile cues enables you to quickly and reliably confirm the safety’s position. This enhances both your handling proficiency and firearm safety without relying on visual checks.
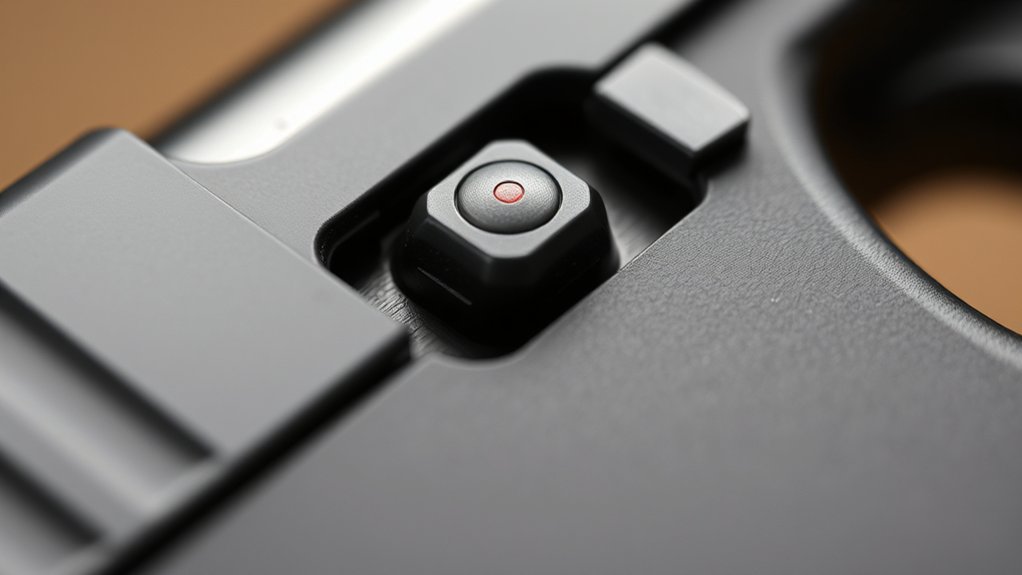
Locating Safety Indicator Marks
Building on the ability to detect clicks or resistance, locating tactile safety indicator marks further sharpens your skill in confirming a firearm’s safety status without looking. Many guns incorporate textured buttons, raised dots, or colored markers near the safety lever that you can feel confidently. These tactile cues are essential in low-light or high-stress situations where visual checks aren’t feasible.
To effectively use tactile indicators, start by identifying textured or raised surfaces on the safety switch. Feel for a distinct dot or marker signaling the safety’s position. Practice recognizing varied textures or shapes unique to your firearm.
It’s a good idea to combine tactile feedback with click or resistance detection for confirmation. Regular tactile practice ensures swift, reliable safety verification during handling. Keep at it, and you’ll get faster and more confident every time.
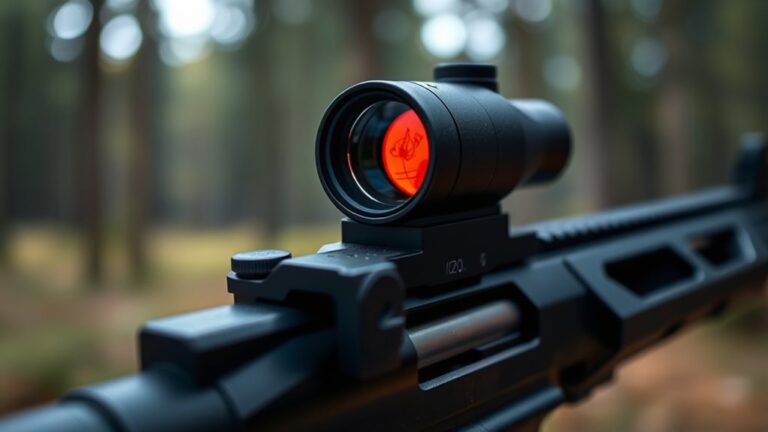
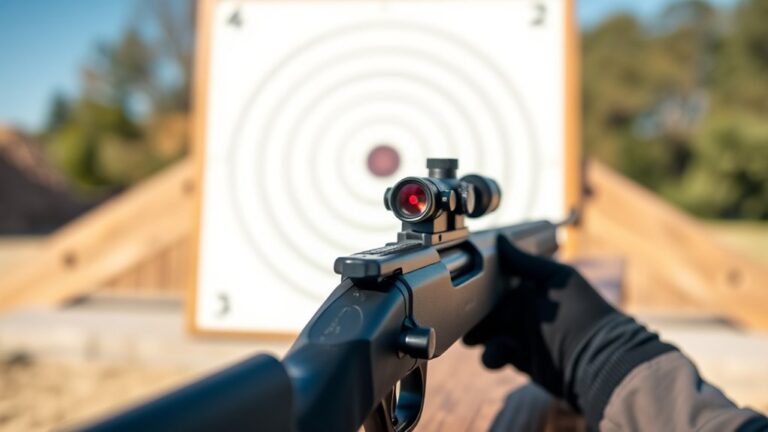
How Red Dot Sights Affect Your Gun’s Safety
A red dot sight can enhance your shooting accuracy, but it doesn’t directly impact your gun’s mechanical safety features like safeties or trigger locks. While the sight helps you acquire targets quickly, it doesn’t disable or alter any safety mechanisms. You must never assume the gun is safe just because the red dot is visible.
In fact, relying too heavily on the sight can lead to complacency. That could increase the chance you’ll skip essential safety checks. Always confirm that your safety is engaged independently of the sight’s status.
Proper firearm safety demands that you verify safety features manually every time you handle your weapon, regardless of whether a red dot sight is mounted. Your vigilance ensures safe gun operation at all times.
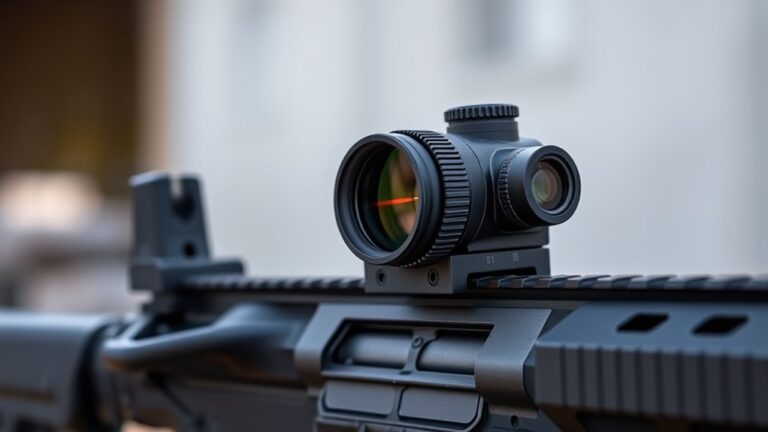
Red Dot Indicators for Safety Status
While red dot sights don’t replace your responsibility to manually check a firearm’s safety, some models include built-in indicators that help you monitor safety status more easily. These visual cues enhance awareness and reduce the risk of unintentional discharge.
Illuminated reticles may change color or brightness when the safety is engaged or disengaged, giving you instant feedback. Dedicated safety indicator lights on the reticle or sight body clearly show whether the safety is on.
Visible switches or indicators confirm if the red dot has a specific safety mode or lockout feature. Some sights automatically disable the reticle when the safety is engaged, signaling safe status immediately.
Using the Safety With a Red Dot Sight
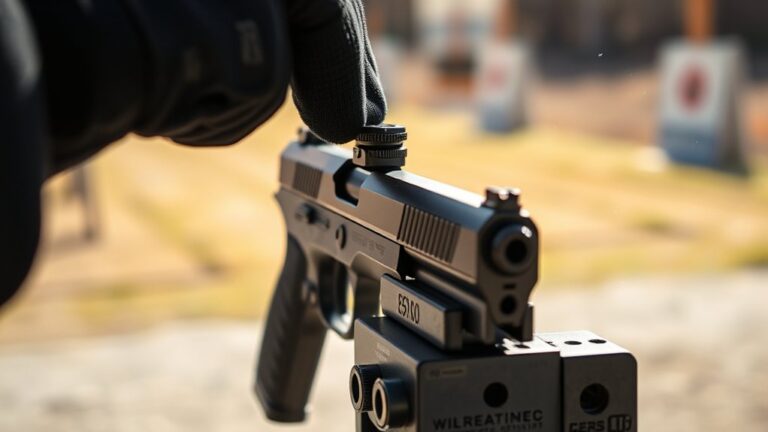
How can you guarantee your firearm remains safe when using a red dot sight? First, always verify the manual safety lever or button is in the “on” position before mounting the sight. Many firearms feature visual indicators, like a red dot or color-coded marker, that confirm safety engagement. Cross-check these with your red dot sight alignment.
When the safety is engaged, the trigger will block or require extra pressure. The red dot should never align with a chambered round unless the safety is off. Some firearms also include physical safeties that prevent slide cycling or trigger release. You can verify these by touch or visually.
Never rely solely on the red dot sight’s position. Double-check the safety status through the firearm’s manual or dedicated indicators to maintain absolute control. It’s better to be extra cautious than assume everything is set correctly.
Troubleshooting Safety Engagement Issues
If you notice your firearm’s safety isn’t engaging or disengaging properly, start by making sure the safety lever or switch is fully moved into position. Partial engagement can give a false sense of security or cause the safety to malfunction.
Next, confirm the safety indicator visibly shows the “safe” position before you handle or fire.
Then, inspect the safety mechanism for debris, dirt, or damage that could be hindering its operation.
Finally, test the safety by trying to move the trigger; if it remains blocked or stiff, the safety mightn’t be fully disengaged.
Just follow these steps to troubleshoot safely:
- Verify full movement of the safety lever or switch.
- Check the safety indicator for correct positioning.
- Clean and inspect for obstructions or damage.
- Test trigger movement to confirm safety status.
Be sure to consult your firearm’s manual for model-specific guidance.
Frequently Asked Questions
Can a Red Dot Sight Malfunction Affect the Safety Mechanism?
No, a red dot sight malfunction won’t affect the safety mechanism of your gun. The safety is a mechanical feature separate from the sighting system, designed to prevent the trigger from being pulled.
Even if your red dot sight fails or glitches, your gun’s safety will still function as intended.
Always double-check the safety manually, regardless of any optics issues. It’s the best way to confirm your firearm is secure before handling.
Safety first, no matter what’s going on with your sight.
Are There Legal Requirements for Gun Safety Markings?
Think of legal requirements for gun safety markings as road signs on a busy highway. They guide you clearly and help prevent accidents.
Yes, you have to follow federal and state laws that mandate specific safety markings on firearms, like indicators for safety position and warnings. These laws make sure you can quickly identify and operate safety features correctly.
Always check your local regulations because requirements can vary. But one thing that’s consistent everywhere is that clear, visible markings are a must.
How Often Should Gun Safeties Be Professionally Inspected?
You should have your gun’s safety mechanisms professionally inspected at least once a year or after heavy use. Regular inspections guarantee all safety features function correctly and prevent malfunctions.
If you notice any unusual resistance, wear, or damage, get it checked immediately. Don’t rely solely on routine cleaning.
A professional evaluation guarantees your firearm remains safe to handle and operate under all conditions.
Can Aftermarket Red Dot Sights Interfere With Safety Features?
In one instance, a shooter installed an aftermarket red dot sight that partially blocked the safety lever’s movement, causing it to stick. Yes, aftermarket red dot sights can interfere with safety features if they’re not properly matched to your firearm.
You should always make certain of compatibility and test all safety functions after installation.
If the sight obstructs or alters the safety’s operation, it compromises your gun’s safe handling. So, avoid setups like that. It’s really about making sure everything works smoothly together.
Do All Firearm Manufacturers Use the Same Safety Color Codes?
No, not all firearm manufacturers use the same safety color codes. While red commonly indicates “fire” or “off safe,” other colors and markings can vary depending on the brand and model.
You shouldn’t depend solely on color though. Always check the specific firearm’s manual to understand its safety indicators.
Getting familiar with the exact controls and signals of your gun helps make sure you handle it safely and confidently every time.
Conclusion
Picture yourself gripping your gun, the red dot glowing steadily as you check the safety. You’ll feel the reassuring click of the lever in place, a silent guardian between you and danger.
By knowing these safety features inside and out, you guarantee every moment is controlled and secure. Trust your instincts, rely on visual and tactile cues, and keep your focus sharp.
Because safety isn’t just a setting; it’s your peace of mind.