Can You Bore Sight A Red Dot – Setup And Zeroing Explained
Yes, you can bore sight a red dot to align your optic quickly and accurately before zeroing, saving time and ammo. Start with a clean, unloaded firearm mounted securely. Then manually align the barrel or use a laser bore sight for faster setup.
Adjust windage and elevation carefully. After that, fine-tune your zero with live fire for precise accuracy. Avoid common mistakes like skipping live-fire confirmation.
Keep following to master effective zeroing techniques and adjustments. It really helps to get your red dot dialed in just right!
Key Takeaways
- Bore sighting a red dot aligns the optic with the barrel for initial accuracy before live-fire zeroing.
- Secure the firearm in a stable rest, ensure the bore is clean, and mount the red dot level and tight.
- Manual bore sighting involves visually aligning the barrel to a target and adjusting the red dot accordingly.
- Laser bore sighters offer a quicker way to align the red dot with the barrel before firing live rounds.
- Fine-tune zero with live fire by adjusting windage and elevation in small increments for precise shot placement.
What Is Bore Sighting and Why It Matters

Although it might seem like an extra step, bore sighting plays a crucial role in aligning your firearm’s barrel with your optic or sights before you start firing.
Bore sighting ensures that your red dot sight’s point of aim closely matches the barrel’s point of impact, saving time and ammunition during zeroing.
You can perform bore sighting manually by visually aligning the barrel with your target or use a laser bore sight for greater precision.
This initial alignment lets you make more accurate sight adjustments right from the start.
Especially when mounting a new optic or changing setups, bore sighting provides a reliable baseline.
That way, your zeroing process becomes efficient and effective.
Don’t skip bore sighting—it’s indispensable for accuracy and consistency.
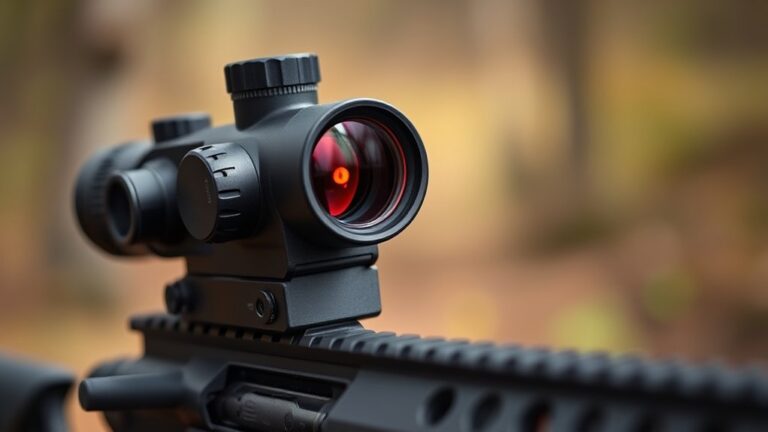
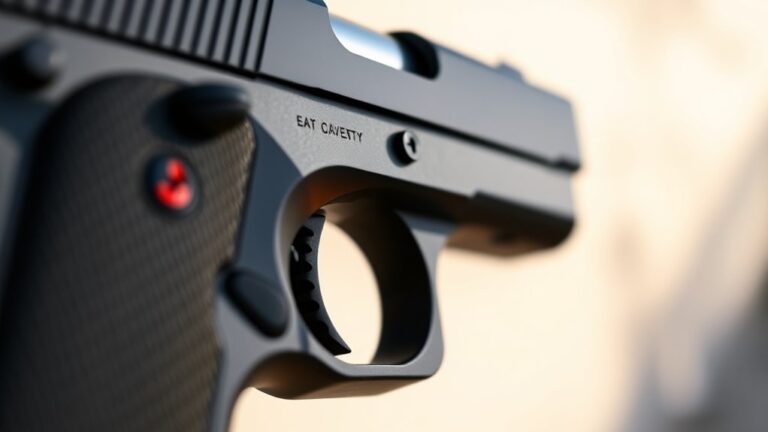
Getting Your Firearm and Red Dot Ready for Bore Sighting
Before you start bore sighting, make sure your firearm is securely mounted and its bore is clean. This helps ensure accurate alignment.
Also, take a good look at your red dot sight—make sure the lenses are spotless and the mount is properly tightened.
Getting the mount right and aligning everything precisely sets the foundation for successful bore sighting and reliable accuracy.
Preparing The Firearm
How do you guarantee your firearm and red dot sight are perfectly set for bore sighting? First, make certain your firearm is unloaded and safely secured in a stable rest or vise to maintain safety and stability.
Next, clean the mounting rail thoroughly to prevent misalignment.
Properly mount the red dot sight, aligning it precisely with the firearm’s bore for accurate bore sighting. Check that the sight sits at the correct height and position to suit your shooting style.
Confirm the sight is level and tightened to manufacturer torque specs to avoid shifts during zeroing.
Taking these steps ensures your firearm and red dot are ready, safe, and stable. This is crucial for an effective bore sighting process.
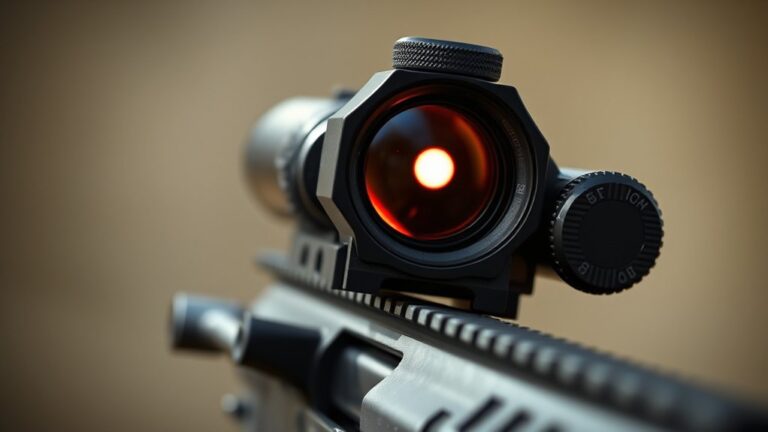
Inspecting The Red Dot
Why is inspecting your red dot sight essential before bore sighting? Proper inspection guarantees clear visibility and precise alignment, which directly affects your zeroing accuracy.
Start by thoroughly cleaning the red dot lens and mounting surfaces to remove any debris that could obstruct your view or misalign the sight.
Next, verify the battery is fresh and adjust brightness settings to suit ambient lighting. Too bright or dim can compromise target acquisition.
Finally, check that the sight is securely mounted and level to prevent shifts during sight adjustment.
Remember to remove any other optics that might interfere with alignment.
These steps guarantee your red dot is primed for accurate bore sighting, saving time and ammo while enhancing overall shooting performance.
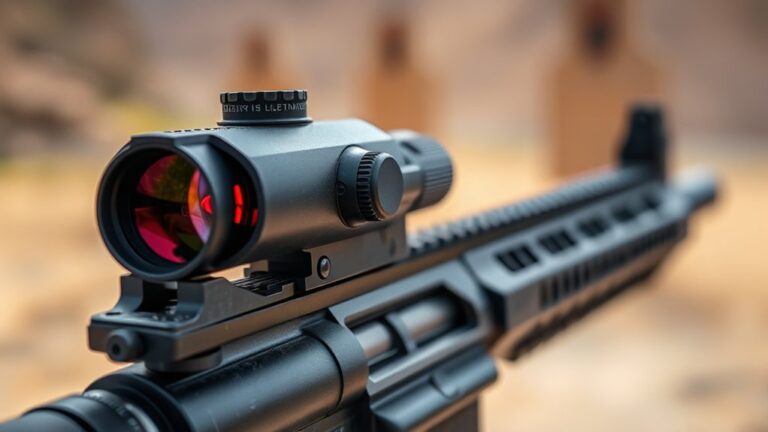
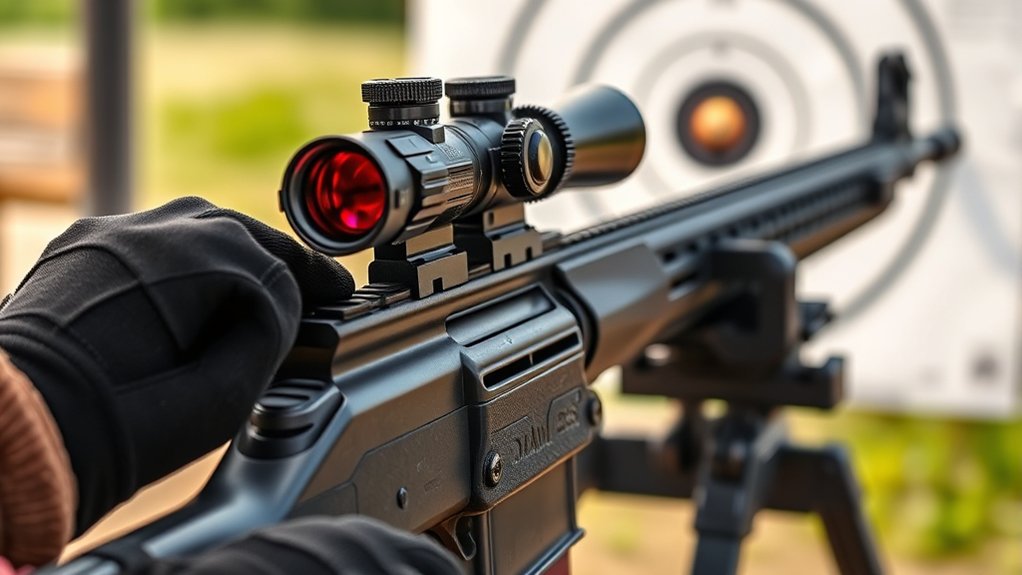
Mounting And Alignment
After verifying your red dot sight is clean, powered, and ready, the next step is mounting and aligning it correctly on your firearm. Begin by thoroughly cleaning the mounting surfaces to prevent debris from affecting alignment.
Securely mount the red dot using the manufacturer’s recommended torque settings to guarantee stability.
Use alignment tools, such as a bubble level, to confirm the sight is perfectly leveled and maintains consistent positioning along the rail.
Tighten the mounting screws evenly to avoid shifts during recoil or handling.
Proper mounting and alignment are essential for accurate bore sighting, so take your time to verify the sight’s horizontal and straight placement before proceeding.
This foundation ensures reliable zeroing and peak performance. Taking these steps carefully really pays off when you’re out in the field.
Step-by-Step Manual Bore Sighting Without a Laser
Although it requires patience, you can manually bore sight your red dot without a laser by following a precise sequence.
Start by securely securing your firearm on a steady support to maintain stability during sighting. Remove the bolt or bolt carrier group to look through the barrel and align the bore with a target roughly 25 yards away, centering the bullseye.
Next, adjust your red dot sights’ windage and elevation turrets based on this alignment. Make certain your support is steady to avoid any movement during the process.
Visually center the bore on the target before making any adjustments.
Then, fire a few rounds to confirm zeroing, and fine-tune the sight adjustments as needed.
This method ensures accurate bore sighting and proper zeroing of your red dot sights through careful alignment and adjustments. It might take a little time, but it’s worth it for better accuracy.
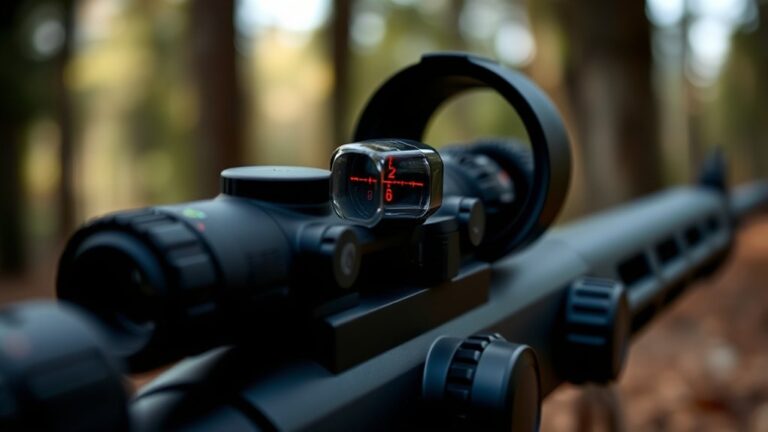
Laser Bore Sighting for Quick Alignment
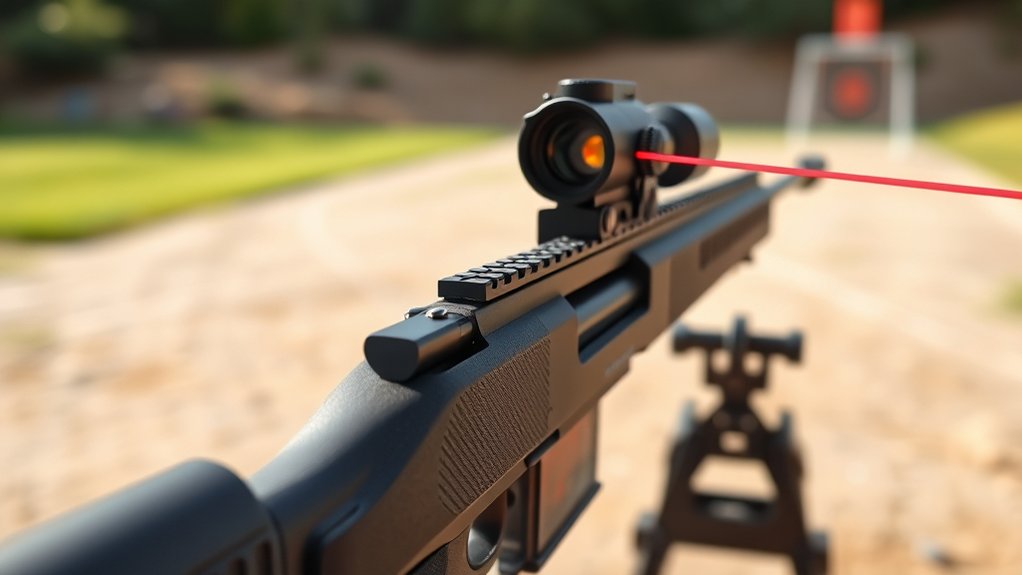
When you want to quickly align your red dot sight with your firearm’s bore, laser bore sighting offers an efficient solution. By inserting a laser device into the chamber or muzzle, it projects a laser beam onto a target, providing fast initial alignment between your red dot and bore.
This method saves time and ammunition by roughly positioning your optic before live fire zeroing.
Laser bore sights come in various calibers and models to fit different firearms, often with adjustable laser angles for precise calibration. For effective laser bore sighting, confirm your firearm is stable and the laser device is correctly aligned.
Choosing the Best Distance for Red Dot Zeroing
You want to pick the best zeroing distance based on what you use your firearm for and where you usually shoot.
Zeroing at 25 yards is great if you’re mostly shooting at close to mid-range targets.
But if you’re aiming for longer shots or need more precision, zeroing at 50 or even 100 yards makes more sense.
Finding the right balance between these distances helps make sure your red dot stays accurate no matter the shooting situation.
Optimal Zeroing Ranges
Selecting the right zeroing distance for your red dot sight considerably impacts your shooting accuracy and effectiveness. The ideal zero balances sight picture, point of impact, and ballistic trajectory to ensure precise adjustments and proper sight alignment.
Consider these common zeroing distances:
- 10-15 yards: Ideal for handguns, offering quick target acquisition and accuracy at close range.
- 25 yards: A versatile choice for rifles and handguns, providing a solid compromise between close and mid-range effectiveness.
- 50 yards: The standard zero for rifles, balancing close-range precision with long-range capability, delivering an optimal zero for most scenarios.
Choose your zeroing distance based on your firearm’s intended use, whether self-defense, competition, or hunting.
This way, you’ll achieve the best point of impact and boost your overall shooting performance.
Distance Impact On Accuracy
Although zeroing distance varies by purpose, understanding its impact on accuracy is essential for maximizing your red dot sight’s performance. The distance you choose for zeroing directly affects the point of aim and point of impact at different ranges.
For example, shorter distances are great for initial shots at close range but may cause discrepancies further out. Longer distances improve accuracy at extended ranges but can be impractical for short-range encounters.
| Zeroing Distance | Ideal Range |
|---|---|
| 10-15 yards | Close-range quick shots |
| 25 yards | Balanced close to mid-range |
| 50+ yards | Longer-distance precision |
Adjust your zeroing distance based on your intended use to guarantee consistent accuracy across your preferred shooting range. It’s all about finding the sweet spot that fits how and where you plan to shoot.
Balancing Close And Mid-Range
When balancing close and mid-range shooting, zeroing your red dot at 25 yards offers an effective compromise between quick target acquisition and reliable accuracy. This distance lets your aim matches stay consistent across various scenarios without frequent adjustments.
If you want a more tailored setup, consider these options:
- Zero at 25 yards for fast close range engagement with decent mid-range performance.
- Zero at 50 yards to enhance mid-range precision while maintaining some close range speed.
- Zero at 100 yards for extended range accuracy, though close range aim matches may require adjustment.
Choose your zero based on your firearm’s primary use. Remember to regularly verify and adjust your zero when switching distances or ammo types to maintain consistent accuracy across all shooting ranges.
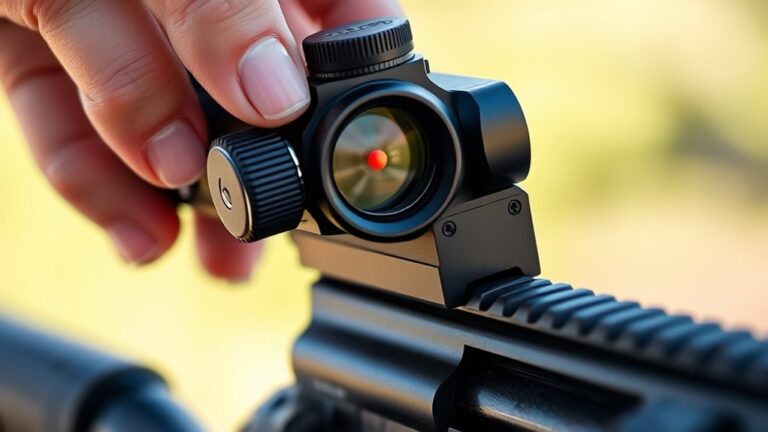
Adjusting Windage and Elevation on Your Red Dot
To guarantee your red dot sight hits exactly where you aim, you’ll need to adjust the windage and elevation settings carefully. Windage adjustments shift the red dot horizontally by turning the lateral screw left or right, correcting side-to-side impact deviations.
Elevation adjustments move the dot vertically via the vertical screw, aligning your point of impact up or down.
Most sights adjust in MOA increments, commonly ½ or 1 MOA per click, allowing you to make precise, small turns. Start with quarter or half MOA adjustments to avoid overcorrecting.
After each change, fire a group to verify your impact point.
Repeat this process until your red dot is properly zeroed at your desired distance. This way, your shots will consistently match your aim. It’s all about patience and fine-tuning.
Fine-Tuning Your Zero With Live Fire
Since small adjustments can make a big difference, you’ll want to fine-tune your zero by firing multiple shots at a known distance and carefully observing where they land. Live fire zeroing lets you see the point of impact compared to your point of aim.
After each group, take precise measurements of the deviation and make incremental adjustments, usually ¼ to ½ MOA, to the red dot’s windage and elevation.
Repeat this process until your shots consistently hit the target center. It might take a few tries, but patience pays off.
Focus on these steps to guarantee accuracy:
- Fire a controlled group and measure the impact deviation
- Adjust your red dot in small MOA increments based on measurements
- Confirm your zero at the intended shooting distance for real-world consistency
This method guarantees your zeroing is precise and reliable.
Common Mistakes in Bore Sighting and Zeroing
Fine-tuning your zero with live fire sharpens accuracy, but overlooking common mistakes during bore sighting and zeroing can undo your efforts. Don’t rely solely on bore-sighting. Without live-fire confirmation, you risk a false sense of zero accuracy.
Avoid making large or quick adjustments. They often overshoot your point of impact and reduce precision. Zeroing on an unstable platform or failing to secure your firearm leads to inconsistent shot placement.
Parallax issues, ammunition differences, and mounting instability also affect long-term accuracy. Always recheck your zero after impacts, transport, or equipment changes to maintain reliability.
Frequently Asked Questions
Can Bore Sighting Damage My Red Dot Sight?
No, bore sighting won’t damage your red dot sight if you do it right. You just align the sight with your barrel without applying force or impact.
Be careful handling your firearm and avoid dropping it during the process.
Also, don’t over-tighten screws when mounting the sight. Follow the manufacturer’s instructions for bore sighting tools and mounting to keep your red dot safe and accurate.
Taking these simple steps will help you maintain your sight in good shape.
Is Bore Sighting Necessary for All Types of Firearms?
You don’t always need to chart a course for every journey. Bore sighting isn’t necessary for all firearms. You’ll find it most useful on rifles and long-range guns where precision counts.
For handguns or shotguns used up close, it’s often overkill. Still, if you want faster zeroing and to save ammo, bore sighting’s a smart step.
But for every firearm? Not mandatory, just a helpful tool in your shooting toolkit.
How Often Should I Bore Sight My Red Dot?
You should bore sight your red dot every time you mount or reposition it to guarantee quick, rough alignment. It’s also smart to check before each shooting session, especially if your firearm’s been transported or fired heavily.
Can I Bore Sight a Red Dot at Night?
Sure, you can bore sight a red dot at night because aligning your sights in complete darkness sounds like a brilliant idea, right? But seriously, you’ll need a visible laser bore sight or strong illumination like a flashlight to make it work.
Without proper light, you’re basically guessing.
Does Bore Sighting Work With Magnified Red Dot Sights?
Yes, bore sighting works with magnified red dot sights to get you close to zero quickly. You align the bore with the barrel, then adjust the magnified red dot to match at a short distance.
Keep in mind, you’ll still need live-fire zeroing to fine-tune accuracy because magnification reveals small misalignments.
Plus, factors like recoil affect your point of impact at longer ranges.
Conclusion
Now that you know how to bore sight your red dot and zero it accurately, are you ready to hit your target with confidence? Taking the time to properly set up and fine-tune your sight guarantees precision and saves ammo in the long run.
Follow these steps carefully and avoid common mistakes. You’ll enjoy improved accuracy every time you shoot. Remember, a well-zeroed red dot is your key to consistent success.