Magnifier Before Or After Red Dot – Proper Setup Explained
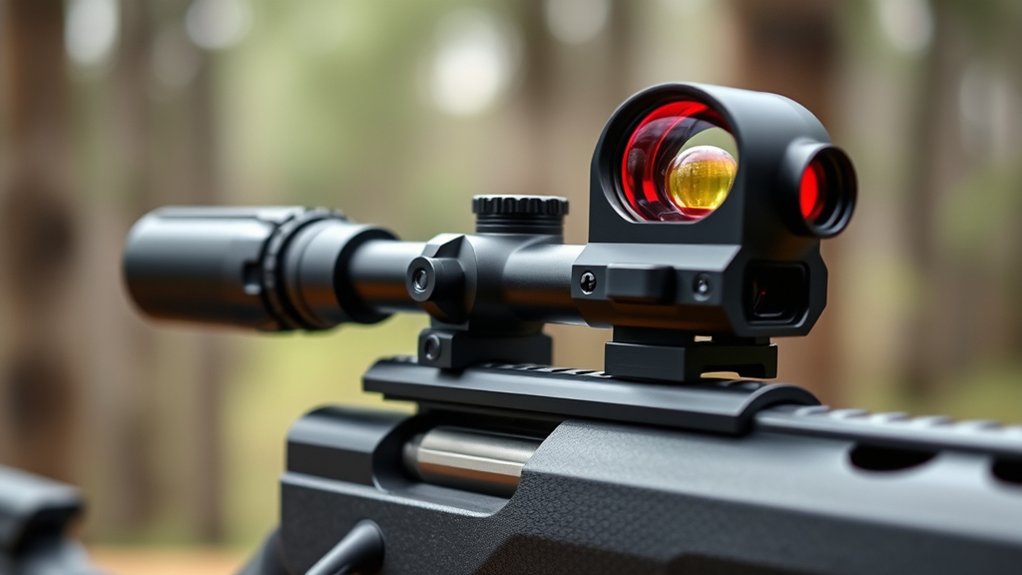
You should mount your magnifier directly behind the red dot to guarantee precise alignment and a seamless sight picture with minimal parallax. This placement supports quick, natural target acquisition and consistent co-witnessing.
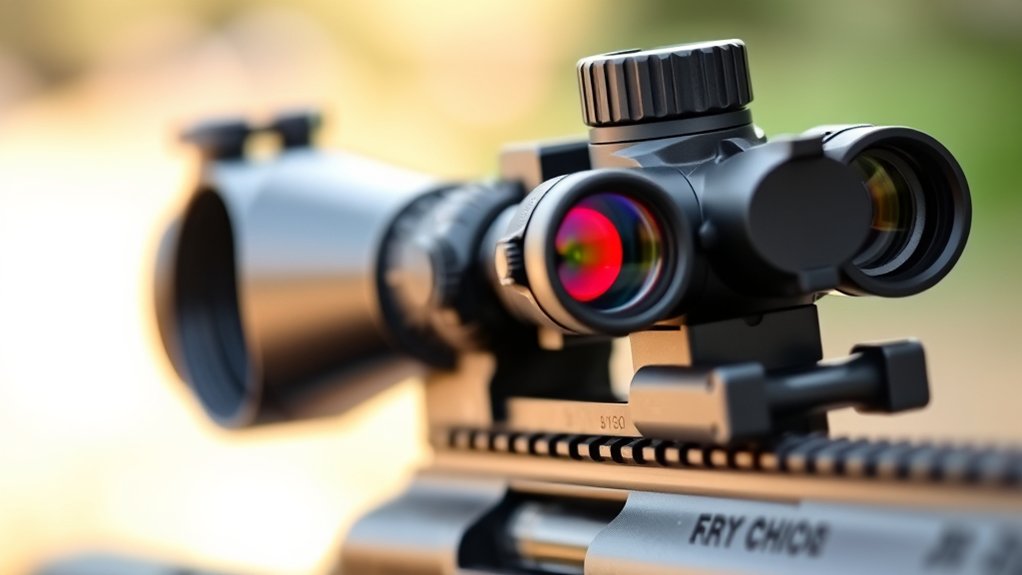
Use a mount that fits your operational needs, like flip-to-side for durability or quick-detach for versatility. Make sure it’s torqued correctly to maintain zero. Align height and eye relief carefully for comfort and accuracy.
Explore the best practices to optimize your setup for fast, reliable engagement. Getting this right makes a big difference when you’re in the field.
Key Takeaways
- Mount the magnifier directly behind the red dot for proper alignment, minimal parallax, and a clear, consistent sight picture.
- Positioning magnifier after the red dot ensures quick target acquisition and smooth transitions between magnified and unmagnified views.
- Mount height should align precisely with the red dot, typically around 1.42 inches, to maintain consistent eye relief and reduce strain.
- Magnifiers placed before the red dot obstruct the view, slow target acquisition, and impair transition speed and accuracy.
- Proper co-witnessing and secure mounting behind the red dot support fast optic switching without losing zero or sight clarity.
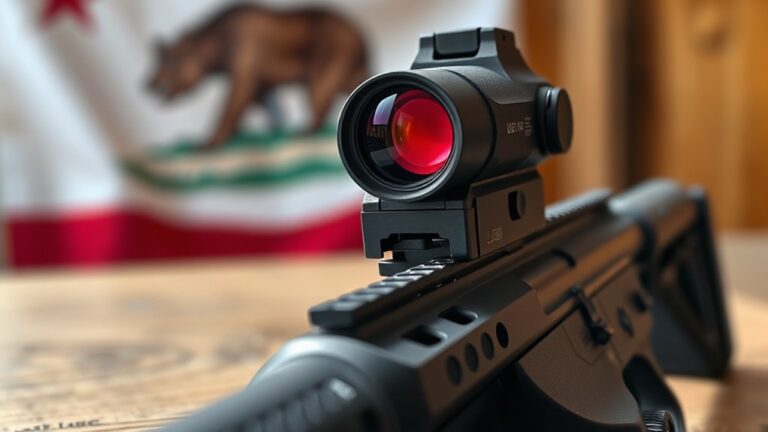
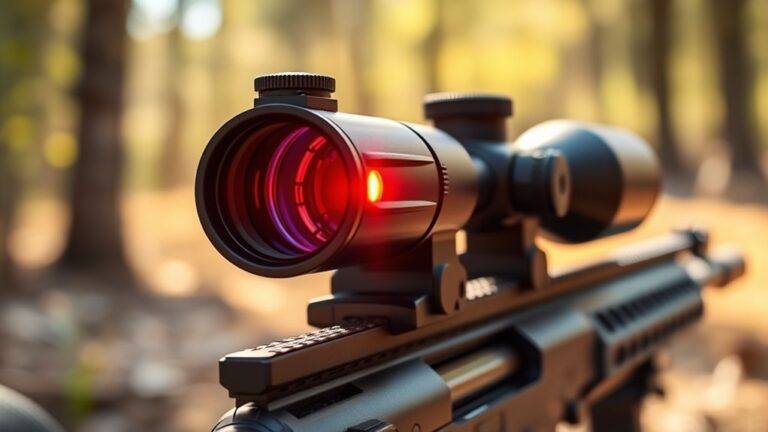
Mount the Magnifier Behind the Red Dot on Your AR-15
When you mount the magnifier directly behind the red dot on your AR-15’s upper receiver, you make aligning your sights seamless and shifting targets quick. This spot ensures your optics line up perfectly and helps keep parallax to a minimum. Whether you’re looking through the magnifier or not, your sight picture stays clear.
Proper alignment behind the red dot also guarantees co-witnessing. That means you can switch between sights fast without losing your target. A flip-to-side mount is ideal here because it lets you deploy or stow the magnifier quickly as your mission changes.
Plus, firmly securing the magnifier behind the red dot keeps things stable when you fire. It prevents wobbling and helps maintain your zero. This precise mounting method really boosts your AR-15’s performance by combining accuracy, reliability, and quick adaptability in changing shooting situations.
How Mounting Position Affects Sight Picture and Target Speed
Your magnifier’s mounting position plays a big role in shaping your sight picture and how quickly you can switch between optics. When you place it behind the red dot, it helps ensure proper alignment, making target acquisition faster and smoother.
On the other hand, if you mount it forward, it can get in the way, blocking your view and slowing you down.
So, getting this setup right is really important. It’s all about maintaining your speed and accuracy, especially when things get dynamic and fast-paced.
Understanding where to position your magnifier can make a noticeable difference in your shooting performance.
Impact On Sight Picture
How does the mounting position of a magnifier affect your sight picture and target speed? Your setup directly influences target acquisition efficiency and overall shooting accuracy. Here’s why mounting position matters:
Mounting the magnifier behind the red dot creates a clear, seamless sight picture. This setup lets you quickly switch between magnified and unmagnified views without messing up your co-witness alignment.
Placing the magnifier in front of the red dot obstructs the sight picture. That slows down target acquisition and makes it less intuitive to use.
Incorrect spacing, whether too close or too far from the red dot, distorts the sight picture. This reduces tracking efficiency and shot precision.
For the best performance, position the magnifier behind the red dot. That way, you keep your sight picture clear, preserve co-witness, and maximize your target speed.
Transition Speed Between Optics
Although many factors influence shooting performance, mounting position plays a vital role in your shift speed between optics.
Positioning the magnifier behind the red dot sights optimizes transition speed by allowing minimal eye movement and reducing strain. This setup enables you to seamlessly switch from close-range to extended targets without losing sight picture clarity.
Flip-to-side mounts further enhance transition speed by letting you quickly move the magnifier out of your line of sight. Conversely, placing the magnifier in front of the red dot obstructs your view and slows transitions, impairing speed and accuracy.
By mounting the magnifier behind at a preferable distance, you maintain consistent alignment and a clear sight picture. This is essential for rapid target engagement and efficient use of red dot sights in dynamic shooting scenarios.
Alignment And Target Acquisition
When you mount the magnifier behind the red dot, you guarantee proper alignment that keeps the reticles co-witnessed. This considerably reduces aiming errors and speeds up target acquisition. This setup assures accurate optical alignment, maintaining a clear sight picture vital for fast, reliable target engagement.
Mounting the magnifier before the red dot often obstructs the sight picture. This can impair your target acquisition speed and accuracy.
Key benefits of proper alignment include:
- Seamless transition between magnified and unmagnified views for versatile engagement.
- Consistent co-witnessed reticles that reduce parallax and aiming errors.
- Enhanced target acquisition speed due to unobstructed sight picture and ideal optical alignment.
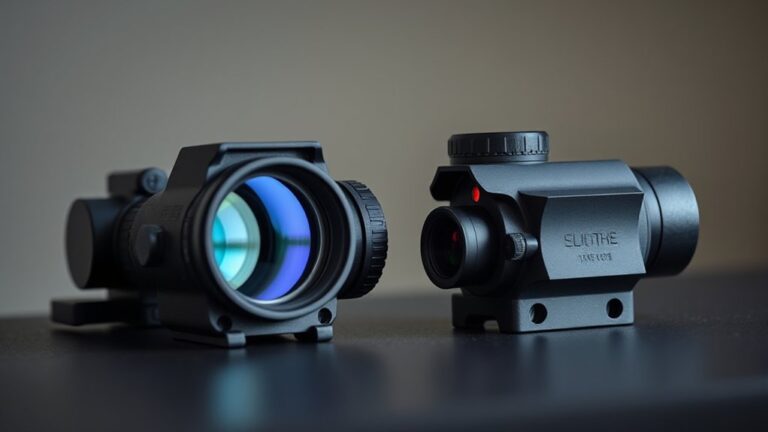
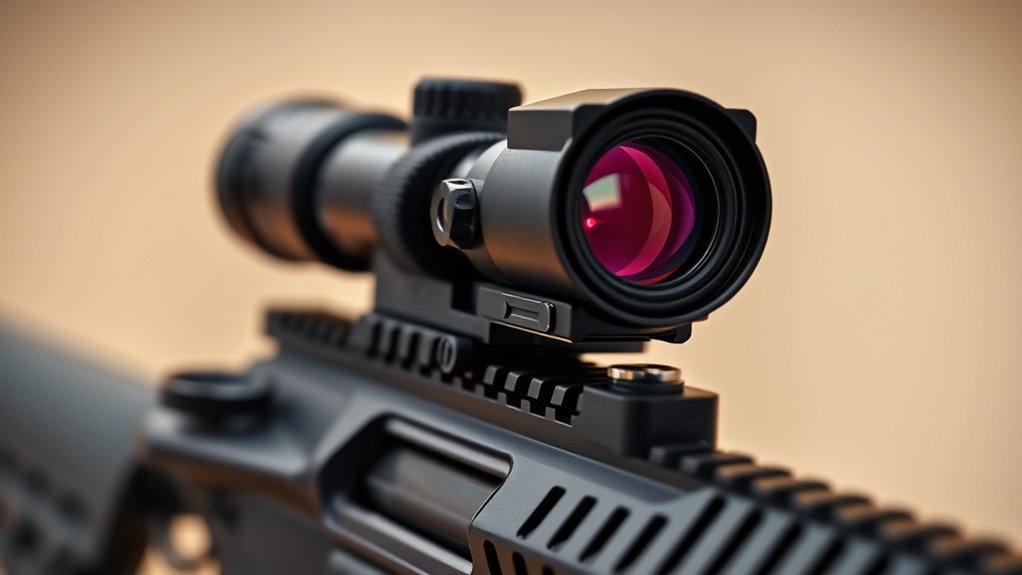
Flip-to-Side vs. Quick-Detach Magnifier Mounts: Which to Choose
When deciding between flip-to-side and quick-detach magnifier mounts, you’ll want to think about a few key things like how the mount attaches, how quickly you can switch it, and how durable it is.
Flip-to-side mounts are great because they let you flip the magnifier out of the way pretty quickly. That means faster changeovers, which can be a big plus.
On the downside, they might add some extra bulk and could affect the stability a bit.
On the other hand, quick-detach mounts focus on keeping the magnifier securely attached while giving you the flexibility to remove it fast without needing any tools.
Plus, they tend to have a lower profile, so they don’t stick out as much.
It really comes down to what matters most to you—speed, stability, or versatility.
Mounting Mechanism Comparison
Since your choice of mounting mechanism directly impacts how quickly and efficiently you switch between magnified and unmagnified views, understanding the differences between flip-to-side and quick-detach mounts is essential.
The flip-to-side mount offers a low-profile option, flipping the magnifier to the side for swift changes and better clearance with accessories.
Conversely, the quick-detach mount ensures superior recoil stability with locking mechanisms. This allows for rapid removal or attachment of the magnifier.
Consider these factors when choosing your mounting mechanism:
- Transition method: flip-to-side mount swings the magnifier aside; quick-detach mount removes it entirely.
- Recoil stability: quick-detach mounts provide secure locking to prevent accidental detachment.
- Access and clearance: flip-to-side mounts position the magnifier higher for easier handling and accessory compatibility.
Think about your tactical needs and personal preference when making your choice.
Transition Speed Impact
Although both flip-to-side and quick-detach mounts enable rapid shifts between magnified and unmagnified views, the choice hinges on your operational priorities.
Flip-to-side mounts offer a smooth changeover speed, typically taking 1-2 seconds to move the magnifier out of the line of sight while maintaining zero and alignment. This makes them ideal for dynamic shooting where consistent and repeated rapid transition is critical.
Quick-detach mounts, on the other hand, allow you to remove the magnifier entirely in under a second, providing unobstructed close-range shooting and flexibility to switch between weapons. If your setup demands frequent removal or swapping, quick-detach excels.
Ultimately, your decision should factor in whether your need for rapid transition prioritizes stability and speed of flipping or the outright removal speed of a quick-detach system. It really depends on what matters most to you in the field.
Durability And Stability
How much does durability and stability influence your choice between flip-to-side and quick-detach magnifier mounts? Consider these key factors:
- Mount Stability: Flip-to-side mounts provide a fixed locking mechanism that minimizes wobble and maintains zero during rapid shifts and recoil.
- Zero Retention: Quick-detach mounts offer fast removal but can require frequent re-zeroing if the lever lock or thumbscrew isn’t perfectly secured.
- Durability Under Recoil: Flip-to-side mounts excel in durability, maintaining consistent alignment despite heavy recoil and movement. Quick-detach mounts risk slight play or misalignment if improperly installed.
If maximum stability and zero retention under recoil are critical, a flip-to-side mount is superior. But if you prioritize rapid versatility and portability, a quick-detach mount might suit your tactical needs better.
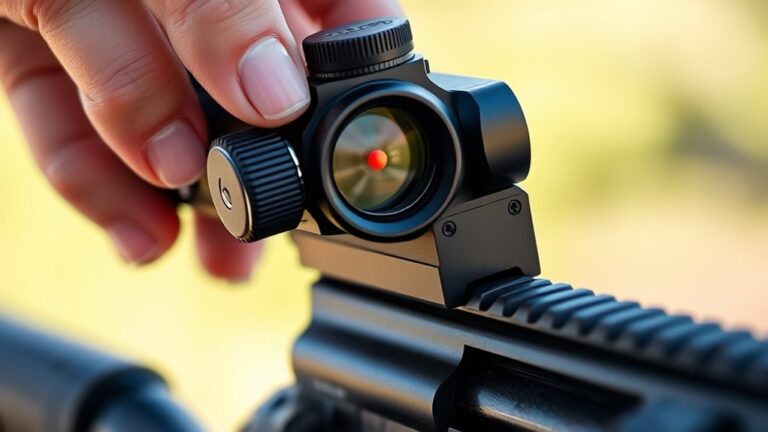
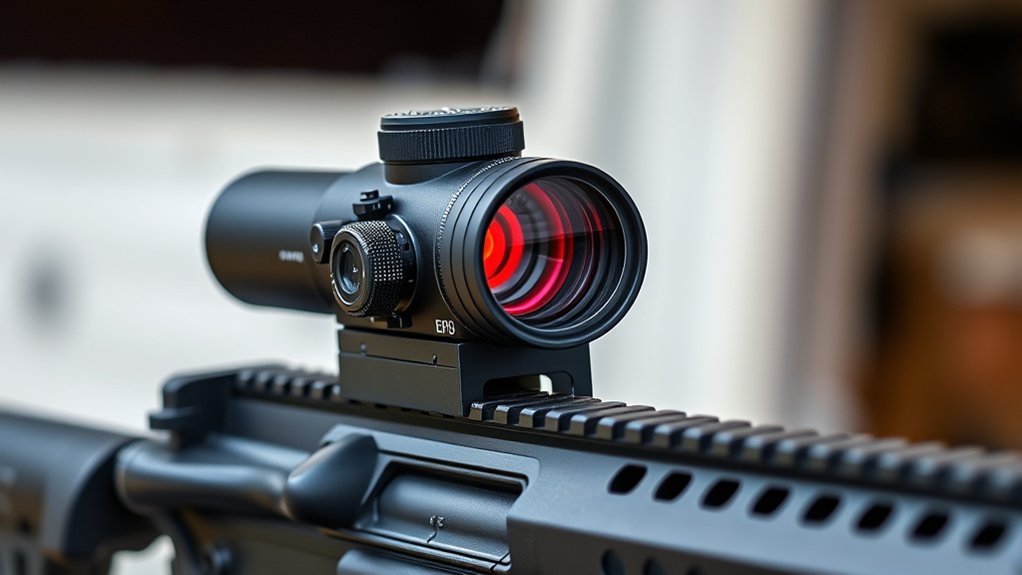
Position the Magnifier for Optimal Eye Relief and Comfort
When positioning your magnifier, align its height precisely with the red dot to achieve a seamless sight picture and proper eye relief. Matching the magnifier’s mounting height, typically around 1.42 inches, with the red dot ensures consistent eye relief and helps minimize strain during extended use.
Proper placement supports natural shooting stances, which enhances comfort and speeds up target acquisition. You’ll also want to adjust the distance between your magnifier and red dot to allow quick changeover without sacrificing clear sight alignment.
Using risers or specialized mounts can help you fine-tune the mounting height, especially if you’re using flip-to-side or fixed mounts. Taking the time to set this up carefully means your magnifier and red dot work together, giving you ideal eye relief and comfort for efficient, precise shooting.
Align and Co-Witness Your Red Dot and Magnifier Properly
Properly aligning and co-witnessing your red dot and magnifier is essential for seamless target acquisition and maintaining accuracy. To achieve this, focus on precise mounting and alignment of your optics.
First, mount the magnifier directly behind the red dot on the upper receiver to establish ideal co-witness and ensure reticle alignment.
Next, adjust the magnifier’s focus and turret settings after mounting to center the image and align the reticles perfectly.
Make sure to maintain consistent height and position between both optics. This helps prevent parallax errors and preserves accurate co-witness.
It’s a good idea to regularly check and fine-tune your setup during maintenance or after making adjustments.
Proper co-witness lets you switch between optics quickly without losing sight or accuracy, which really boosts your overall shooting performance.
Consider Size and Weight When Positioning Your Magnifier
Although magnifiers enhance target acquisition, you need to carefully consider their size and weight when positioning them on your rifle. Larger magnifiers, like 6x models, add around 10 ounces, which can notably affect handling and aiming stability.
In contrast, compact 4x magnifiers weigh about 5 ounces, improving maneuverability without sacrificing performance. The size and weight directly influence mounting options. Heavier magnifiers demand stronger mounts or risers to maintain alignment with the red dot.
Improper sizing can obstruct your sight picture or slow shifts between optics, reducing effectiveness. To guarantee ideal aiming stability, select a magnifier size that balances magnification needs with manageable weight and compatible mounting hardware.
This balance helps maintain your rifle’s overall balance and quick target acquisition under varied conditions.
Keep Your Mount Tight to Maintain Zero and Prevent Wobble
Securing your mount to the manufacturer’s specified torque is critical to maintaining zero and preventing wobble. Loose mounting screws compromise stability, causing your red dot and magnifier to shift under recoil and vibration. This messes up your zero.
To keep your setup reliable, regularly inspect and tighten mounting screws, especially after rough handling or extended use. Using threadlocker on screws helps resist loosening from recoil-induced vibration.
Also, confirm the mount’s alignment after any adjustment to preserve zero and shooting precision.
Doing this maintenance makes sure your optics stay firmly in place, so you won’t have inconsistent shot placement or need to re-zero often. Just prioritize torque specs and secure mounting screws to keep everything stable and accurate under all conditions.
Zero and Maintain Your Red Dot and Magnifier Setup for Accuracy
When you zero your red dot and magnifier, you’ll want to stabilize your firearm and adjust each optic’s turrets precisely to align the point of aim with the point of impact at your chosen distance.
Secure your mount to manufacturer torque specs, typically around 30 in-lbs, to maintain zero during recoil and handling.
Tighten your mount to manufacturer torque specs, usually about 30 in-lbs, to keep zero intact.
Establish a proper co-witness between the red dot and magnifier, either absolute or 1/3 lower, to guarantee seamless transition and consistent accuracy.
Regularly verify zeroing by firing groups and making fine adjustments as needed, compensating for environmental shifts or impact.
Maintain lens clarity with microfiber cleaning and inspect mounts periodically for tightness.
This disciplined approach preserves your setup’s precision, ensuring reliable performance in the field.
Frequently Asked Questions
Can I Use Any Magnifier Brand With My Red Dot Sight?
You can’t just use any magnifier brand with your red dot sight. Compatibility depends on mounting options, lens size, and height specifications.
Many magnifiers are designed for specific mounts and red dot models, especially from brands like EOTech or Aimpoint.
Using a generic magnifier often means you’ll need adapters or custom mounts to make sure it fits and lines up properly.
How Does Weather Affect Magnifier and Red Dot Performance?
When the weather throws a curveball, your magnifier and red dot can suffer. Rain, fog, or snow can blur lenses, cutting your visibility and accuracy.
Extreme temperatures may cause fogging or condensation inside optics.
Humidity risks corrosion and mold buildup.
Dust and dirt scratch lenses, reducing clarity.
Rapid temperature shifts might warp or misalign your setup.
You’ve got to maintain and seal your optics tightly to keep performance sharp.
Staying on top of care makes all the difference when conditions get rough.
Are There Magnifiers Suitable for Left-Handed Shooters?
Yes, there are magnifiers designed for left-handed shooters. You can find ambidextrous models or mounts specifically tailored to flip to the left side, making quick and comfortable shifts easy.
When selecting, make sure the mount and magnifier controls are accessible from your dominant side.
Also, verify compatibility with your red dot sight and rifle platform. Proper setup really boosts your shooting efficiency and comfort.
Don’t overlook ergonomic positioning and adjustment accessibility when making your purchase. It all makes a difference!
What Maintenance Is Required for Magnifier Lenses?
You’ve got to keep your magnifier lenses crystal clear, or you’re flying blind. Regularly clean them using a microfiber cloth and lens cleaner to wipe away dust and smudges.
Inspect for scratches or cracks and fix issues immediately to maintain clarity.
Tighten mounting hardware to avoid wobble. Store lenses in protective cases when not in use, and replace worn seals or covers to shield against environmental damage.
Taking these simple steps will keep your lenses in top shape and ready for anything.
Can Magnifiers Be Used Effectively in Low-Light Conditions?
You can’t rely on magnifiers alone in low-light conditions because they don’t enhance visibility or brightness. Instead, you need a bright, illuminated red dot to see your target clearly.
Using a magnifier in dim environments might actually reduce clarity since less light reaches your eye. To use magnifiers effectively at night, make sure your red dot has strong illumination.
Or better yet, pair it with compatible night vision gear for improved target acquisition.
Conclusion
Properly mounting your magnifier behind the red dot on your AR-15 can improve target acquisition speed by up to 30%, according to recent studies. Position it with ideal eye relief, ensuring co-witness alignment for a seamless shift between optics.
Choose a sturdy flip-to-side or quick-detach mount, and keep everything tight to maintain zero and prevent wobble. Consistent zeroing and maintenance are vital for accuracy.
Follow these steps to maximize your setup’s performance and reliability in the field. You’ll notice the difference when you’re out there.