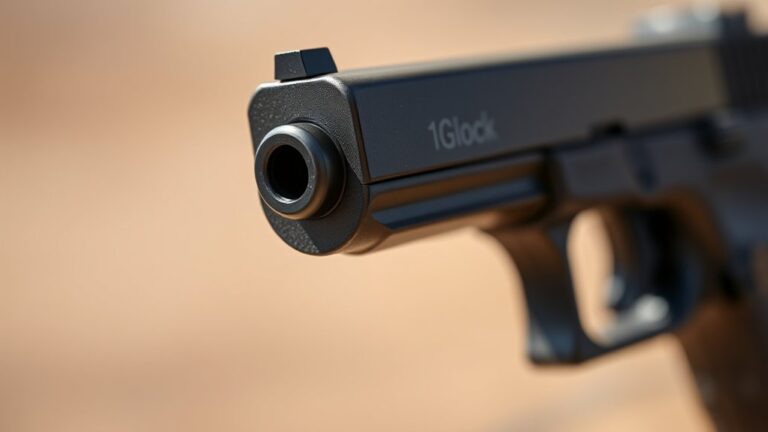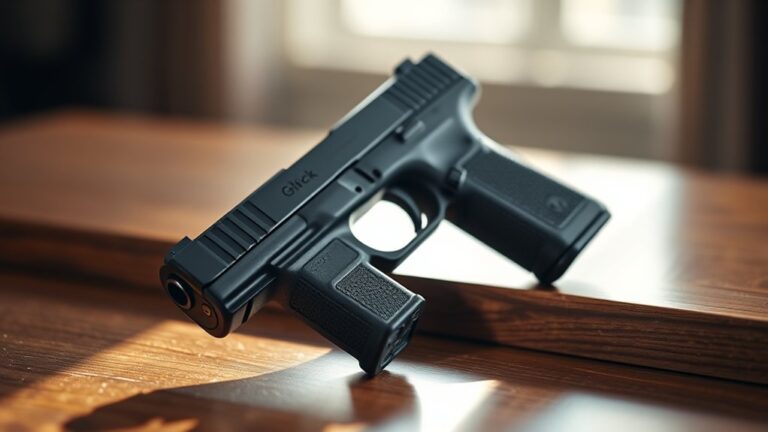
How To Mount A Red Dot Sight On A Pistol – Step By Step Guide
To mount a red dot sight on your pistol, first confirm your slide cut matches the optic’s footprint and clean the surface thoroughly. Gather your tools, including a torque wrench and threadlocker. Remove any factory sights or plates, then align and securely install the adapter plate using the correct torque.
Next, attach the red dot sight and tighten the screws evenly with threadlocker. Make sure to let it cure properly. Properly mounting your sight guarantees reliable accuracy.
There are further steps you can take to optimize your setup and maintain zero, but getting these basics right is key. Taking your time here will pay off every time you use your pistol.
Key Takeaways
- Verify slide cut dimensions and mounting hole alignment match the red dot optic footprint.
- Gather necessary tools, cleaning supplies, and confirm adapter plate compatibility.
- Clean and prepare the slide surface, removing factory sights or debris.
- Attach the adapter plate using threadlocker and torque screws to 15-18 in. lbs.
- Mount the red dot sight, tighten screws evenly with threadlocker, and allow curing for 12-24 hours.
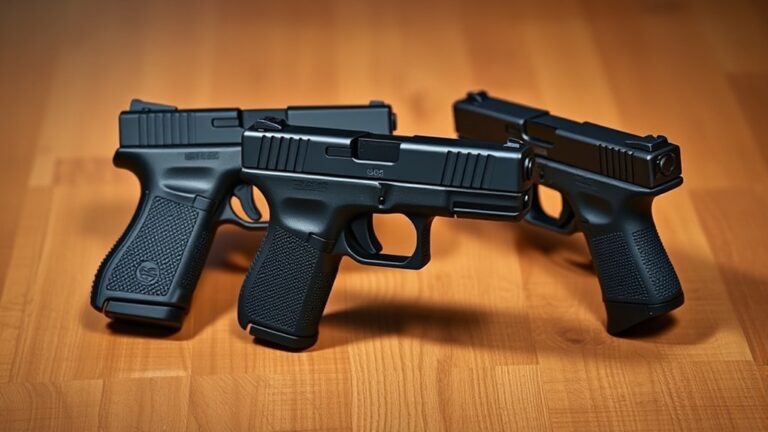
Check Your Pistol’s Slide Cut and Optic Footprint Compatibility
Before mounting your red dot sight, make sure your pistol’s slide has the correct cutout and footprint compatibility. Verify that the slide cut matches the optic footprint, such as RMR, RMS, or Aimpoint patterns.
Ensure your pistol’s slide cut matches the red dot sight’s footprint for proper fit and function.
Measure the slide cut dimensions carefully to ensure they align perfectly with your chosen optic’s mounting footprint.
Pay close attention to the mounting holes. Confirm they correspond precisely between the slide and the red dot sight to guarantee a secure fit.
Also, check the slide cut thickness to make sure it accommodates the depth of the optic’s footprint without causing interference or protrusion.
Finally, review the manufacturer’s specifications for both your pistol and sight to confirm full compatibility before proceeding.
This careful inspection helps prevent misalignment and ensures a stable, reliable mounting platform. Taking these steps now will save you headaches later.
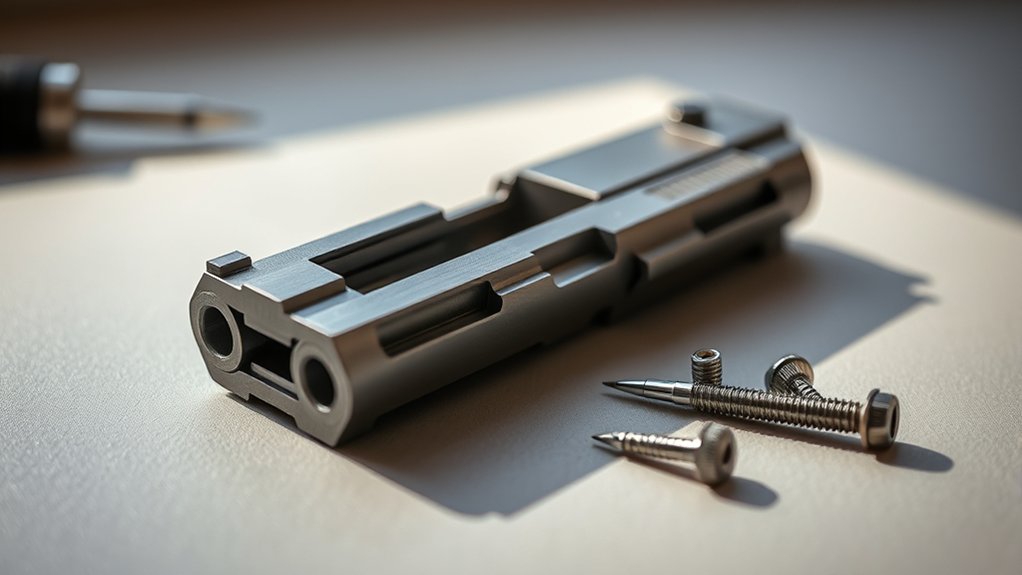
Get Your Tools and Mounting Gear Ready
Although mounting a red dot sight can seem straightforward, preparing your tools and mounting gear carefully is essential for a secure installation. Start by gathering all necessary tools, including a torque wrench, screwdrivers, threadlocker, and cleaning supplies.
Confirm you have the correct adapter plate compatible with both your pistol model and the red dot sight.
Organize your workspace in a clean, well-lit area to keep parts and fasteners orderly. Before mounting, use a degreaser or alcohol wipes to clean all contact surfaces thoroughly. This will help ensure a reliable fit.
Finally, verify the manufacturer’s recommended torque specifications for screws to avoid over-tightening. Taking these steps guarantees your mounting process goes smoothly and your red dot sight stays securely in place.
Prepare the Slide for Red Dot Installation
When you prepare your pistol slide for red dot installation, thoroughly clean the mounting surface with a degreaser to eliminate oils, dirt, and debris that could compromise adhesion. Use a soft brush and microfiber cloth to guarantee the entire contact area is free of grease and residue.
Next, verify the compatibility of the slide cut or dovetail with your chosen red dot mount or plate. Remove any factory sights or cover plates that might interfere with installation.
Inspect the mounting surface carefully to confirm it’s flat and free from damage or burrs, as imperfections can affect optic alignment and stability. Proper cleaning and inspection of the slide’s mounting surface are essential steps to ensure a secure, reliable red dot setup.
Install the Adapter Plate or Mounting Base Correctly
Since the adapter plate serves as the crucial interface between your pistol’s slide and the red dot sight, selecting one compatible with both the slide cut and your optic’s footprint is essential.
Start by removing the slide and thoroughly cleaning the mounting surface with a degreaser to guarantee a secure fit.
Position the adapter plate carefully on the slide, making sure to align it perfectly with the cutout.
Use the manufacturer-recommended screws, applying threadlocker to prevent loosening during recoil.
Tighten the screws to the specified torque, typically between 15-18 in. lbs, to maintain stability without damaging the components.
Double-check that the adapter plate sits flush against the slide and remains properly aligned before moving on.
Proper installation here ensures a solid foundation for mounting your red dot sight.
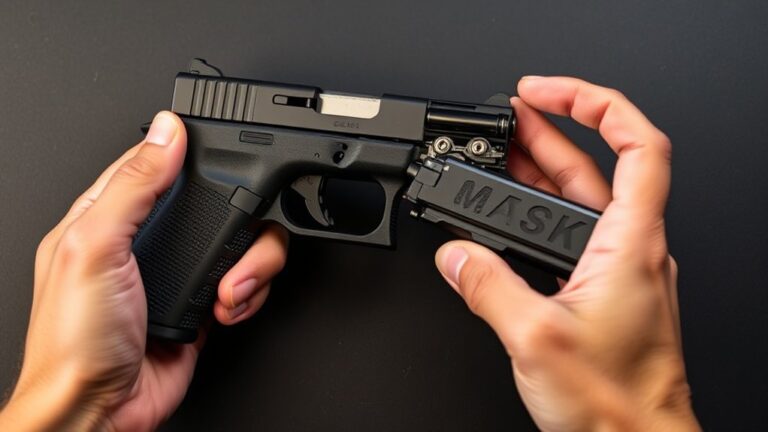
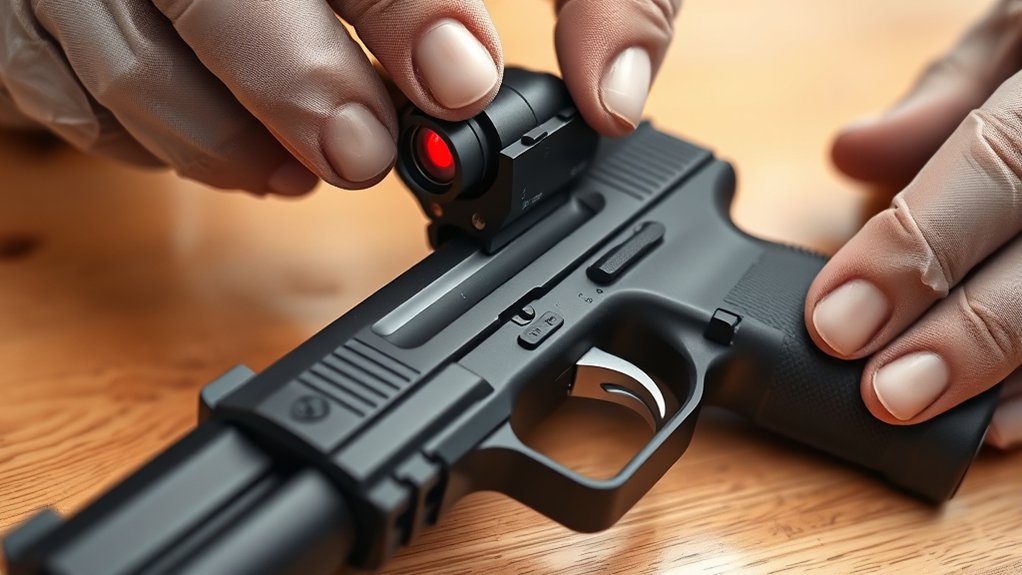
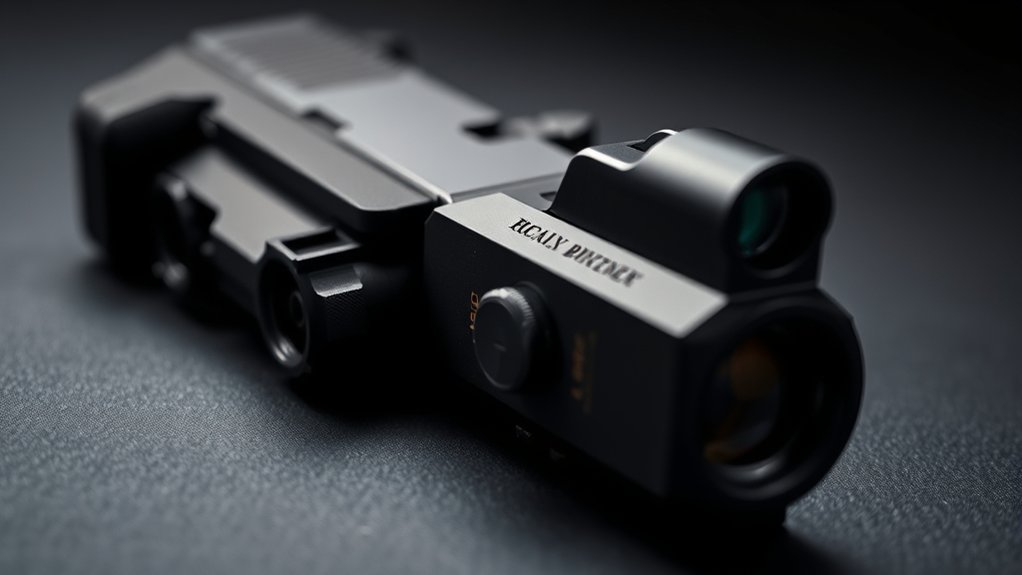
Attach the Red Dot Sight and Tighten Screws Correctly
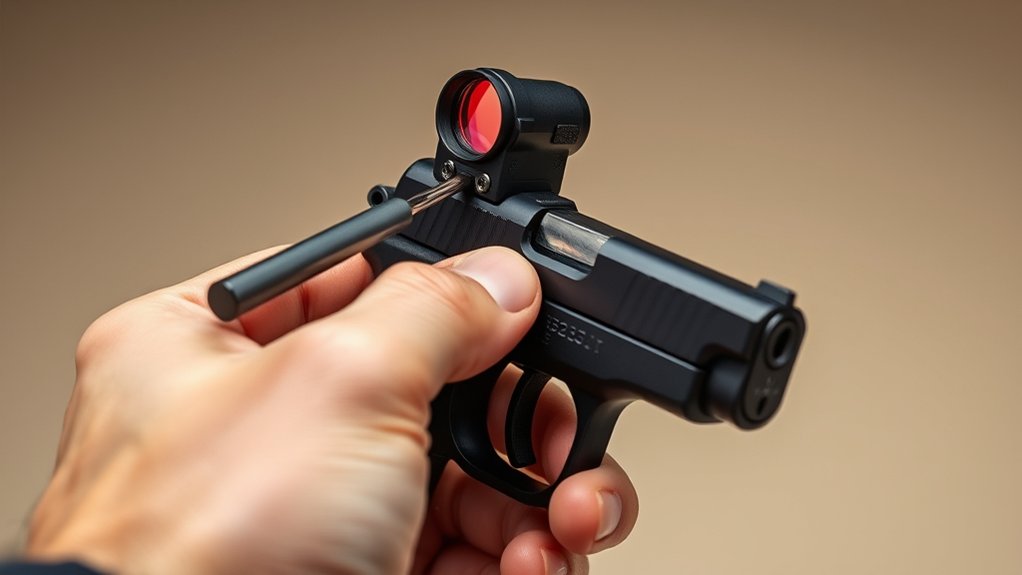
How do you guarantee your red dot sight stays secure and maintains zero during use? To attach the optic properly, position it on the mounting base and start threading the screws by hand.
Use a torque driver to tighten screws incrementally in a crisscross pattern, ensuring even tension distribution. Avoid over-tightening to prevent damage or stripping.
| Step | Action | Tip |
|---|---|---|
| 1 | Position red dot sight | Align carefully |
| 2 | Hand-tighten screws | Prevent cross-threading |
| 3 | Use torque driver | Tighten to 15-18 in.-lbs. |
Double-check that all screws are torqued correctly and confirm the sight is firmly seated and aligned before final use. This way, you can be confident your sight will hold up when it counts.
Apply Threadlocker and Secure Screws to Spec
Although securing your red dot sight with screws is important, applying threadlocker guarantees they stay firmly in place under recoil and vibration. Before tightening, apply a small drop of blue Loctite or equivalent threadlocker to each screw’s threads. Distribute it evenly to make certain consistent adhesion without over-applying, which could damage the optic or slide.
Applying blue Loctite to screws ensures they stay securely fastened under recoil without risking damage.
Next, use a torque driver to tighten the screws to the manufacturer’s recommended torque, typically between 10 and 13 inch-pounds. This precise torque setting ensures your screws are secure without stripping or overtightening.
Finally, allow the threadlocker to cure for 12 to 24 hours before handling or firing your pistol.
Following these steps will secure your red dot sight reliably, maintaining accuracy and durability during use. It’s a simple process that makes a big difference in keeping everything locked down exactly as it should be.
Zero Your Red Dot: Initial Setup and Fine-Tuning
Once you’ve securely mounted your red dot sight with the proper threadlocker and torque, the next step is to zero it for accurate shooting. Start zeroing at a close range, typically between 7 and 25 yards, to establish a solid correlation between your point of aim and point of impact.
Fire a group of shots, then make precise adjustments to the elevation and windage turrets, usually in 1/4 MOA increments, to align the red dot reticle with the actual point of impact.
Confirm your zero by consistently hitting your target with multiple shots.
Remember to recheck and fine-tune the zero periodically, especially after cleaning or any recoil that might shift the sight. Proper zeroing guarantees your red dot delivers reliable accuracy when it counts.
Confirm Accuracy at Longer Distances and Maintain Zero
To guarantee your red dot sight performs reliably beyond close range, you need to verify its accuracy at longer distances like 25 or 50 yards. This step ensures your zero holds steady and your shots align precisely where intended.
Use a stable platform and a clear target to assess if your point of impact matches the reticle.
Make incremental adjustments to elevation and windage following your sight’s MOA or MIL specs.
Reconfirm zero regularly, especially after impacts or adjustments, to maintain consistent long-distance performance.
Verify zero at extended ranges for true accuracy.
Use precise shooting setups to evaluate point of impact.
Adjust elevation and windage incrementally for refined zero.
Record settings and conditions for quick maintenance.
Maintaining zero at long distance ensures your red dot remains accurate and reliable.
Frequently Asked Questions
Can I Mount a Red Dot Sight on Any Pistol Model?
You can’t mount a red dot sight on every pistol model. It depends on whether your pistol’s slide is cut or designed for mounting optics.
Many modern pistols have factory cuts or adapter plates.
But older or traditional models often need modifications.
So, it’s always a good idea to check your pistol’s compatibility with the red dot’s footprint and mounting system before you buy or install.
This way, you’ll ensure a secure fit and proper function.
What Are the Benefits of Using a Red Dot Sight on a Pistol?
You’ll benefit from faster target acquisition and improved accuracy with a red dot sight on your pistol. It keeps your focus on the target while maintaining alignment, reducing parallax errors.
The illuminated reticle enhances visibility in low-light conditions, making your shots more reliable.
Plus, it reduces eye strain during extended shooting or rapid fire. This helps you maintain precision and confidence in various environments.
Using a red dot sight really makes a difference when every shot counts.
How Do I Clean and Maintain My Red Dot Sight?
Did you know 90% of red dot sight issues come from dirt or loose mounts? To clean yours, gently wipe the lens with a microfiber cloth and lens solution to remove smudges.
Use compressed air or a soft brush to clear debris around the housing.
Avoid harsh chemicals that can damage surfaces.
Regularly check and tighten screws to keep it secure.
And hey, store your sight in a protective case when not in use to prevent damage. It really helps keep everything in good shape!
Will a Red Dot Sight Affect My Pistol’s Holster Fit?
Yes, adding a red dot sight will likely affect your pistol’s holster fit. The sight increases your pistol’s height and length, which can prevent it from fitting in holsters designed for iron sights.
You should check if your current holster accommodates red dot optics. If it doesn’t, consider purchasing a holster specifically molded for pistols with red dot sights.
That way, you’ll guarantee secure retention and easy access.
Can I Use Night Vision or Thermal Optics With a Red Dot Sight?
Think of using night vision or thermal optics with a red dot sight like mixing oil and water. They don’t always blend well. You can use night vision-compatible red dots designed with special low-intensity or infrared reticles to avoid blinding your gear.
Thermal optics work differently since they detect heat without visible illumination. So, they generally pair fine with red dot sights.
Always check reticle brightness and type to protect your night vision or thermal devices from damage or interference.
Conclusion
Now that you’ve mounted your red dot sight, remember “measure twice, cut once” applies just as well here. Taking the time to verify each step is done right guarantees reliable performance and accuracy.
Keep your screws tight, zero your sight carefully, and confirm at various distances. With proper installation and maintenance, your pistol will be ready whenever you are.
This will give you confidence and precision every time you shoot.