How To Sight In A Pistol Red Dot – Zeroing Guide For Accuracy
To sight in your pistol red dot for accuracy, start by securely mounting the optic and confirming safety. Choose a zero distance, commonly 10 or 15 yards, that matches your shooting needs. Fire a tight group, measure the deviation from your aim, and use MOA calculations to adjust windage and elevation turrets accurately.
Repeat until shots align consistently. Regularly check and maintain your zero to guarantee reliability. Keep following for detailed steps that refine your shooting precision and long-term performance.
Key Takeaways
- Always unload the pistol and securely mount the red dot optic with proper hardware and torque before starting zeroing.
- Choose a zero distance (10, 15, or 25 yards) based on intended use and verify zero regularly at that range.
- Fire a tight 5-round group on a stable rest, measure deviation from the point of aim, and calculate MOA adjustments.
- Make small windage and elevation turret adjustments based on MOA, then repeat shooting until the group centers on the point of aim.
- Maintain zero by regularly checking mount screws, using consistent ammo, and confirming zero after handling or maintenance.
Why Zero Your Pistol Red Dot Matters
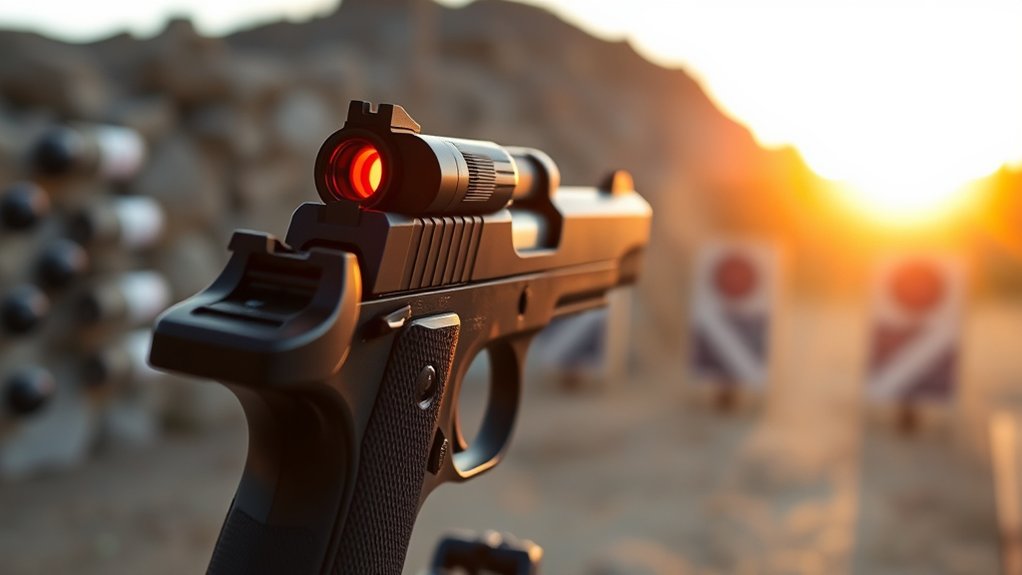
Although it might seem simple, zeroing your pistol red dot is essential because it guarantees your point of aim matches the point of impact at your chosen distance, improving your accuracy.
When you zero your red dot sight properly, you prevent reinforcing poor shooting habits and develop consistent aiming techniques.
Over time, recoil, holstering, and wear can shift your zero. So, regularly confirming and adjusting it ensures your shots stay precise.
Zeroing at practical distances like 10 or 15 yards aligns your point of impact with real-world scenarios, optimizing performance.
An accurately zeroed red dot sight not only boosts your confidence but also speeds up target engagement, especially in rapid or defensive situations.
This makes zeroing a critical step for reliable shooting.
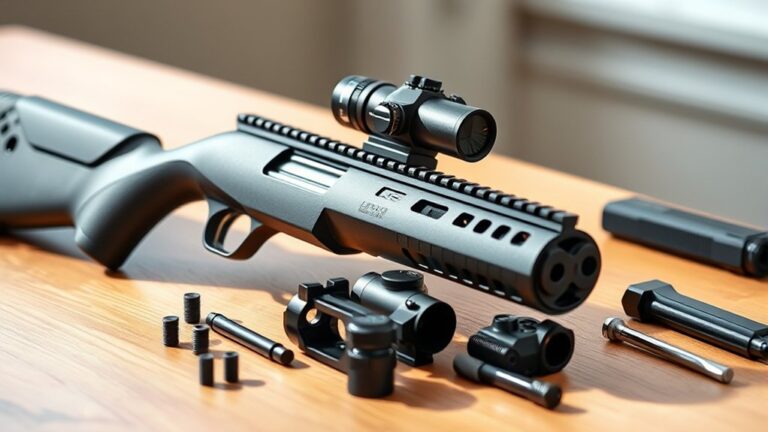
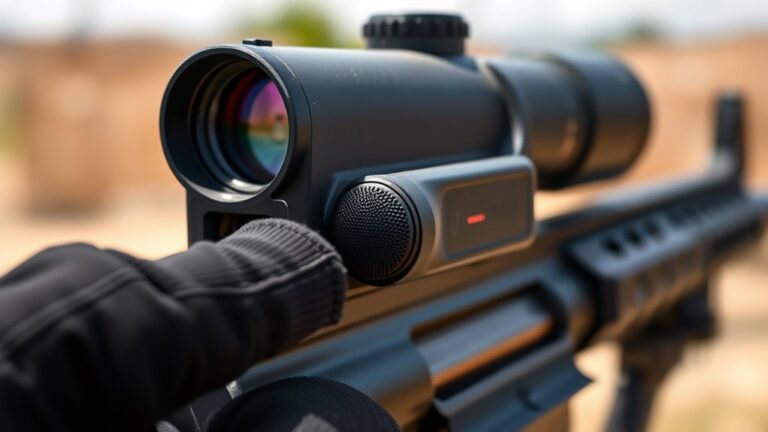
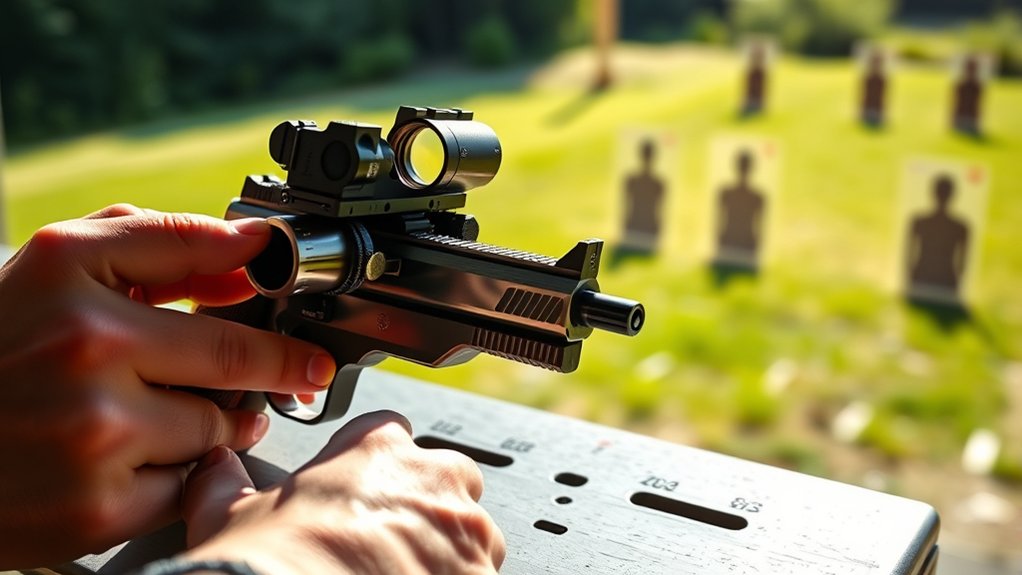
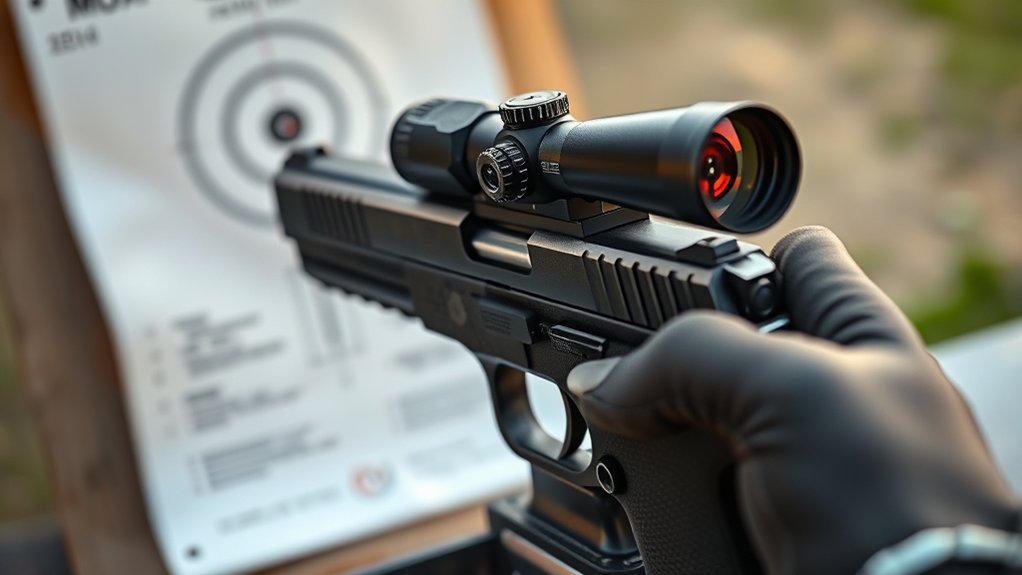
Prepare Your Pistol and Red Dot for Zeroing
Before you start zeroing your pistol red dot, make sure your firearm is unloaded and safe to handle. Proper preparation is essential for accurate zeroing.
First, attach the red dot using a quality mount designed for your pistol to prevent any movement or slippage.
Secure your red dot with a quality mount tailored for your pistol to ensure stability and accuracy.
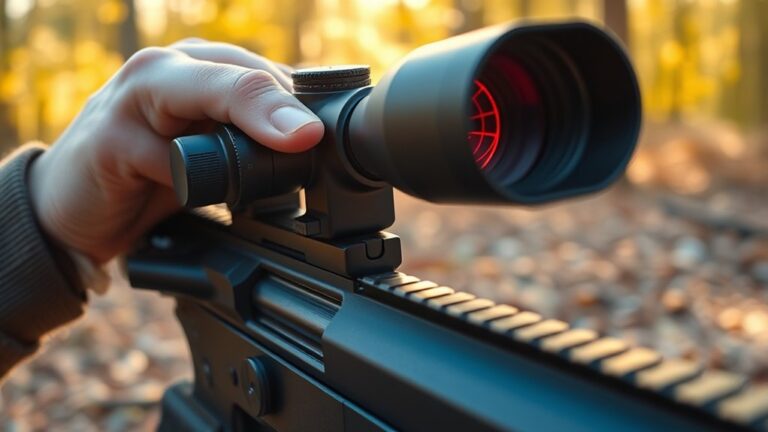
Follow the manufacturer’s instructions closely, using the correct hardware and torque specifications.
Next, confirm the optic’s alignment with the pistol’s bore and set a comfortable eye relief position for quick target acquisition.
Finally, check all mounting screws to verify they’re tight and secure. Mark them to monitor any loosening over time.
These steps guarantee a stable platform, allowing you to achieve precise zeroing and consistent accuracy with your pistol red dot setup.
Choose the Best Zero Distance for Your Pistol Red Dot
When you zero your pistol red dot, choosing the right distance is essential because it directly impacts your shooting performance. The zero distance you select should match the range you expect to engage most often.
For close-range and self-defense scenarios, a 10-yard zero is ideal. It allows quick target acquisition and helps you react faster under pressure.
If you want a balance between close and mid-range shots, sight in your red dot at 15 yards. This distance is perfect for everyday carry and general use.
For precision shooting or competition, a 25-yard zero provides the flattest trajectory and greater accuracy at longer distances.
Remember to regularly verify your zero at the chosen distance to maintain consistent accuracy. This also helps you adjust for any shifts over time.
Selecting the best zero distance ensures your red dot performs exactly where you need it. It makes all the difference when you’re out on the range or in a real-world situation.
Step-by-Step: Shoot and Adjust Your Red Dot
Start by firing a tight group at your chosen zero distance to see where your shots are landing.
Then, make small, precise adjustments on the elevation and windage turrets to move the red dot toward your point of aim.
Keep repeating this process until your shots consistently hit exactly where the red dot indicates.
Shooting Groups Evaluation
Although you’ve set up your pistol and red dot, you need to fire a 5-round group at your zeroing distance on a stable surface to assess shot placement accurately.
Evaluating your shooting groups is critical for zeroing and achieving true accuracy.
Start by measuring the distance between your point of aim and the center of the group. Then, convert that measurement into MOA (Minutes of Angle) using your shooting distance.
Next, figure out how much adjustment your red dot’s windage and elevation turrets require.
After making adjustments, repeat the process with fresh groups to confirm consistency.
This methodical evaluation helps you identify the precise corrections needed. It ensures your red dot aligns perfectly with your point of impact.
Incremental Reticle Adjustments
Since precise adjustments are essential, fire a small group of 3-5 shots at your target and closely observe where the impacts land relative to your point of aim.
Make incremental adjustments by turning the red dot’s elevation and windage turrets 1-2 clicks at a time, based on how far the group is from your point of aim.
Measure the distance between your point of aim and the group center, then convert that into the required MOA turret clicks.
After each adjustment, shoot another group to confirm the point of impact has moved closer to your point of aim.
Keep repeating this process until your red dot is properly zeroed, ensuring consistent accuracy at your chosen distance.
This methodical approach guarantees your pistol is reliably sighted in.
Calculate and Apply MOA Adjustments for Precise Zeroing
To zero your red dot precisely, you first need to understand how MOA translates impact shifts into turret adjustments. Basically, MOA (Minutes of Angle) tells you how much your point of impact will move per click on your sight.
Next, calculate your required clicks by dividing the measured deviation by the MOA value. Don’t forget to adjust this for your shooting distance to get an accurate number.
Knowing how many MOA each click represents lets you fine-tune your sight with confidence.
This way, you can make precise adjustments and get your red dot zeroed exactly where you want it.
Understanding MOA Basics
When you adjust your pistol red dot, understanding MOA (Minute of Angle) is essential for precise zeroing. MOA represents an angular measurement where 1 MOA equals roughly 1 inch at 100 yards. Grasping this helps you make exact adjustments based on your target’s impact deviation.
Keep these points in mind: at 25 yards, 1 MOA equals about 0.25 inches, so a 1-inch deviation needs approximately 4 MOA adjustments. Each red dot click usually shifts the point of impact by 1/2 or 1/4 MOA, varying by model.
To determine MOA adjustments for zeroing, divide the inches of deviation by (distance in yards ÷ 100). Applying MOA adjustments ensures your sight corrections are accurate and consistent.
Mastering MOA fundamentals streamlines your zeroing process and boosts shooting accuracy. It really helps to get familiar with these basics so your shots land where you want them.
Calculating MOA Adjustments
Grasping MOA basics sets the stage for accurately calculating adjustments on your pistol red dot.
To calculate MOA adjustments, first measure the distance between your point of aim and point of impact in inches. Then divide this by the target distance in yards divided by 100.
Since 1 MOA equals roughly 1 inch at 100 yards, each turret click typically changes your point of impact by about 0.25 inches at that distance.
For zeroing at shorter ranges, convert the deviation to MOA using the same formula.
Apply adjustments by turning the turret in the right direction, up or down for elevation, left or right for windage based on where your shots land.
Make small, incremental MOA adjustments, then test to confirm precise zeroing. It’s all about fine-tuning until you get it just right.
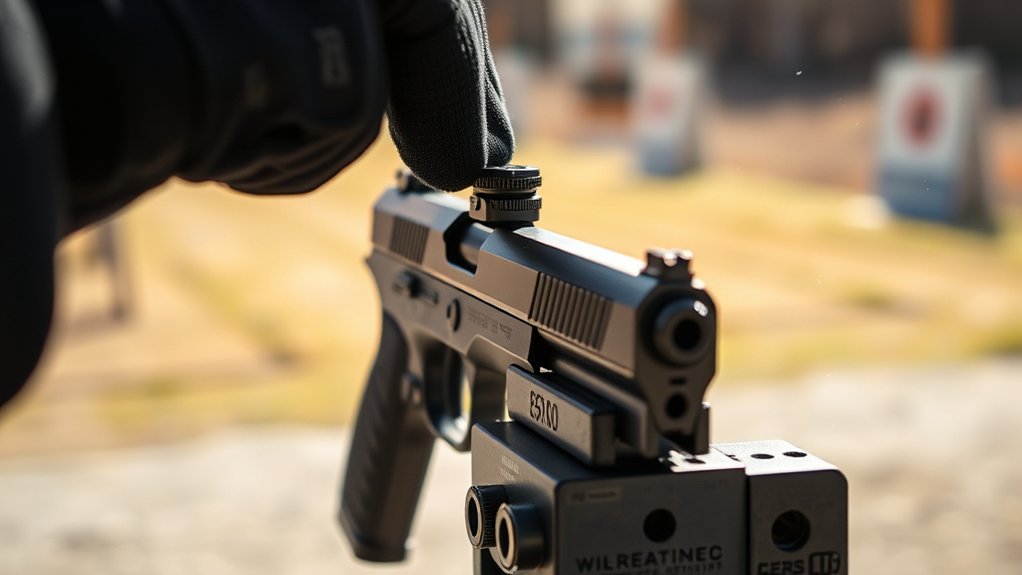
Use Bore Sighting to Speed Up Red Dot Alignment
Although sighting in a red dot can be time-consuming, using a bore sight helps you quickly get your pistol on target. Bore sighting aligns a laser or visual device with your firearm’s bore, giving you an initial aiming point to zero your red dot faster. This method reduces the number of live shots needed for fine adjustments.
To bore sight your pistol, insert a bore sight laser into the chamber or barrel. Then, aim at a target set at your desired zero distance.
Next, adjust the red dot to match the bore sight’s point of aim.
Finally, confirm the alignment is close before live firing. This way, you save time and ammo when getting your red dot sighted in.
Confirm Your Red Dot Zero at Multiple Distances
Since pistol red dots can perform differently at various distances, you should verify your zero at multiple ranges like 10, 15, and 25 yards. This process helps you understand how the point of impact shifts and lets you select the most effective zero for your shooting needs.
By shooting groups and recording impact points at these distances, you can adjust your reticle to maintain accuracy across varied engagement ranges. Confirming your red dot zero at multiple distances also reveals any sight shift or drift caused by handling or recoil.
This knowledge enables you to develop holdover or offset techniques for longer shots, boosting your confidence and precision. Regularly verifying zero ensures consistent performance, especially after cleaning or remounting your sight.
Maintain Your Red Dot Zero for Long-Term Accuracy
After confirming your red dot zero at multiple distances, the next step is to maintain that zero for long-term accuracy. Proper zero maintenance guarantees your aim and point stay consistent every time you shoot.
You need to regularly check for any shifts that could affect your red dot zero.
Focus on these key habits: inspect and tighten mounting hardware to prevent movement. Re-zero after holstering, cleaning, or any drops. Keep records of turret adjustments for quick recalibration.
Use consistent ammunition and shooting conditions during checks.
Store your firearm and optic securely to avoid accidental misalignment.
Frequently Asked Questions
Can I Zero a Red Dot on a Pistol Without a Shooting Range?
Yes, you can zero a red dot on your pistol without a shooting range by using a laser bore sight and a stable rest.
Start by aligning the red dot with the bore at close range, like 10 yards. Make adjustments carefully.
Then, confirm your zero with live rounds when possible.
Always prioritize safety and follow local laws.
It’s also a good idea to consider professional help to make sure your sight is accurate and reliable.
How Does Battery Life Affect Red Dot Accuracy?
Think of your red dot as a lighthouse guiding you through foggy waters. When its light dims, your path blurs. Battery life directly affects red dot accuracy.
A weak battery causes flickering, inconsistent brightness, and reticle shifts. This unpredictability messes with your aim and zeroing. You’ve got to check and replace batteries regularly to keep your sight reliable and your shots true.
Doing this helps prevent unexpected failures when precision matters most. It’s a simple step that keeps everything working smoothly. Don’t let a dead battery be the reason you miss your mark.
Are There Specific Red Dot Brands Best for Pistols?
Yes, you should consider brands like Trijicon, Holosun, and SIG Sauer for pistol red dots. These brands design specifically for pistols, which means they guarantee durability, recoil resistance, and proper mounting options.
Trijicon’s RMR is rugged and precise.
Holosun offers advanced battery-saving tech.
And SIG Sauer’s ROMEO series provides customizable reticles and brightness.
Choosing one of these means you’re getting reliability and accuracy, whether you’re on the range or out in the field. It’s a smart move for anyone serious about their pistol setup.
Can Weather Conditions Impact Red Dot Zeroing?
You know what they say: “Don’t shoot in the rain.” Weather conditions can impact red dot zeroing because rain, fog, or snow limit your visibility. This makes it harder to see where shots land.
Extreme temperatures may cause your optic or mount to shift slightly, which affects zero stability.
High humidity can fog up your lens, too.
How Often Should I Re-Zero My Pistol Red Dot?
You should re-zero your pistol red dot every 500 to 1,000 rounds or after any significant impact or holstering that might shift the sight.
Also, check it if you notice your shots grouping differently or the point of impact drifting from your point of aim.
Always re-zero after cleaning or disassembling your firearm or optic to maintain precision.
This is especially important if you rely on accuracy for defense or competition.
Keeping your sight properly zeroed helps ensure you can trust your shots.
Conclusion
Zeroing your pistol red dot guarantees accuracy, builds confidence, and enhances shooting performance. You prepare your gear carefully, choose the right distance deliberately, and adjust precisely.
You calculate MOA accurately, use bore sighting efficiently, and confirm your zero consistently. You maintain your sight diligently, practice regularly, and trust your setup fully.
By following these steps, you master your pistol red dot and achieve reliable, repeatable accuracy every time you shoot. It’s all about being methodical and consistent. Once you get the hang of it, you’ll see the difference in your shots right away.