What Is Co Witness On Red Dot – Meaning And Benefits Explained
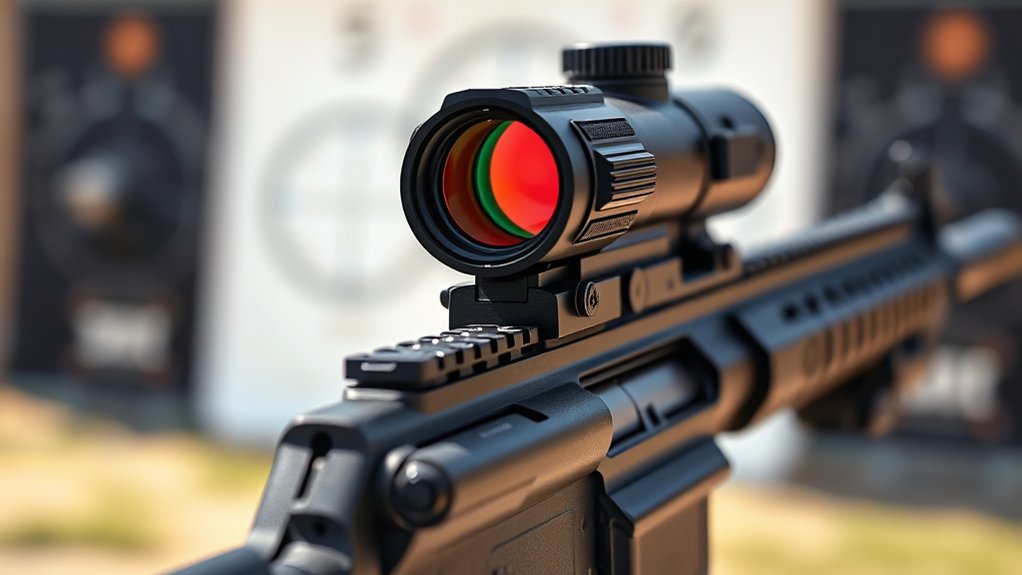
Co-witness on a red dot sight means aligning your iron sights with the red dot so both aim at the same point. This lets you switch between them smoothly without losing accuracy.
This setup guarantees you have a reliable backup if the red dot fails or its battery dies. It also speeds up target acquisition and confirms your zero.
Depending on your needs, you can choose absolute or lower 1/3 co-witness for different sighting preferences. Exploring this further reveals key setup and maintenance tips.
Key Takeaways
- Co-witness aligns iron sights with a red dot sight, sharing the same aiming point for seamless target engagement.
- There are two main types: absolute co-witness (iron sights at red dot height) and lower 1/3 co-witness (iron sights in the bottom third).
- Co-witness provides a reliable backup aiming system if the red dot fails or its battery dies.
- It enhances shooting accuracy and speed by allowing quick transitions between iron sights and the red dot without losing zero.
- Proper zeroing and maintenance ensure consistent alignment and optimal performance of co-witness setups.
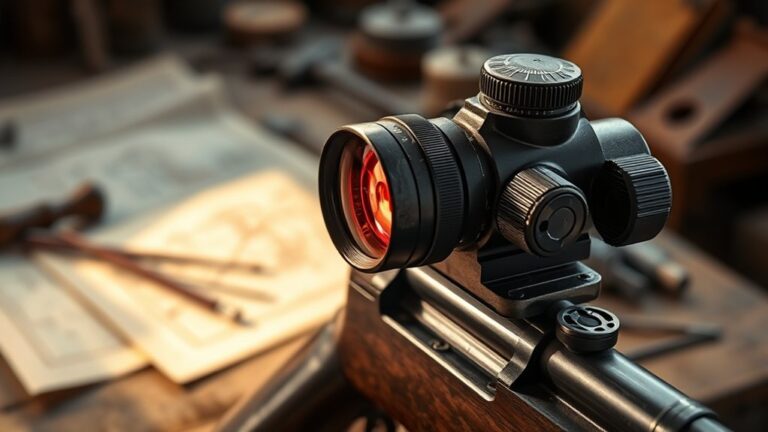
What Co-Witnessing a Red Dot Sight Means for Shooters
When you co-witness a red dot sight, you align your iron sights and red dot so they point to the exact same spot. This lets you switch between them seamlessly without changing your aim. Both sights share a common aiming point, which helps you engage targets quickly and accurately.
Co-witnessing aligns iron sights and red dot for seamless, accurate target engagement without adjusting your aim.
Co-witness setups come in two main forms. There’s the absolute co-witness, where iron sights match the red dot’s height. Then, there’s the lower 1/3 co-witness, which places backup iron sights below the red dot.
By properly co-witnessing, you keep your accuracy consistent, even if the red dot sight fails or its battery dies. It’s a practical way to integrate your red dot and iron sights.
Plus, it enhances reliability while keeping your backup iron sights ready for immediate use.
How Co-Witnessing Boosts Accuracy and Backup Confidence
Although equipment failures can happen unexpectedly, co-witnessing guarantees you maintain precise aiming by aligning your iron sights with the red dot. This alignment ensures your backup sight is always in sync with the optical sight, so you never lose sight of your target.
With co-witnessing, you can swiftly shift between sighting systems without compromising accuracy, especially in high-pressure scenarios.
It also lets you verify your zero by cross-referencing the iron sights and red dot simultaneously, which boosts your confidence in every shot.
By maintaining a consistent sight picture across distances, co-witnessing helps you adapt quickly if the red dot fails. This keeps your aim true and your response immediate.
This practical integration enhances both reliability and precision in your shooting performance. It’s a smart way to stay ready no matter what happens with your equipment.
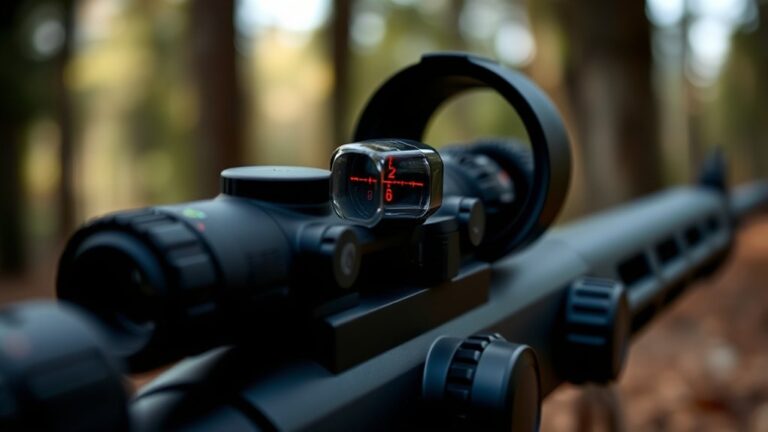
Types of Co-Witness Setups: Absolute vs. Lower 1/3
You’ll find two main co-witness setups: absolute and lower 1/3. Absolute co-witness aligns your iron sights directly with the red dot, giving you precise and consistent aiming. It’s pretty straightforward and helps keep things exact.
On the other hand, lower 1/3 positions the iron sights at the bottom of the optic’s window. This setup gives you a clearer view through the red dot and can actually speed up how quickly you acquire your target.
Absolute Co-Witness Explained
How does absolute co-witness improve your shooting experience? Absolute co-witness aligns your iron sights precisely with the red dot optic, creating a seamless, one-to-one sight picture. This setup uses taller mounts, positioning the optic at the same height as your iron sights. It simplifies zeroing and guarantees consistent aiming.
It also lets you switch swiftly between sights without adjusting your line of sight. Pretty handy, right?
With absolute co-witness, you benefit from:
- Perfect alignment of iron sights and red dot reticle
- Consistent sight picture for both systems
- Simplified zeroing process
- Rapid target acquisition with either sight
- Enhanced precision due to shared sight plane
This setup is ideal if you want maximum accuracy and quick adaptability under varying conditions. It really helps keep things smooth and reliable when you need it most.
Lower 1/3 Advantages
While absolute co-witness offers perfect alignment between your iron sights and red dot, the lower 1/3 co-witness setup takes a different approach to enhance your shooting experience.
By positioning the iron sights in the lower third of the red dot’s field of view, this setup uses taller mounts to keep sighting devices distinct and uncluttered. This clear separation reduces distractions, enabling quick target acquisition without compromising your ability to access backup sights.
The iron sights remain visible but less prominent, so you maintain reliable backup options without obstructing your view. Lower 1/3 co-witness strikes an effective balance between speed and readiness.
It’s ideal for dynamic shooting scenarios where you need both precision and versatility from your optic and iron sights.
How to Zero Your Red Dot and Iron Sights for Co-Witness
Start by zeroing your iron sights to make sure they line up perfectly with your point of aim. This step is really important because it sets the foundation for everything else.
Once your iron sights are dialed in, move on to adjusting your red dot. You can use a bore sighter or go straight to live fire to get it matched up with your iron sights at the distance you prefer.
After that, it’s time to confirm your co-witness setup. Fire multiple rounds and pay close attention to where the shots land. Make small adjustments as needed until both your red dot and iron sights are perfectly aligned and working together seamlessly.
Zeroing Red Dot
Before zeroing your red dot for co-witness, you should first zero your iron sights to guarantee their point of aim matches the point of impact at your desired shooting distance.
Once your iron sights are properly zeroed, turn off or move the red dot out of the way to avoid interference. Then, adjust the red dot so its point of aim aligns precisely with that of the iron sights.
Verify zero by firing test shots, making fine adjustments as needed. Consistent shooting and incremental adjustments ensure reliable alignment for co-witness.
Key steps for zeroing your red dot include:
- Zero iron sights first at your intended distance
- Disable or move the red dot during iron sight zeroing
- Adjust the red dot to match iron sights’ point of aim
- Fire test shots to confirm zeroing accuracy
- Make small adjustments for precise alignment
Aligning Iron Sights
How do you guarantee your red dot and iron sights work seamlessly together? Start by zeroing your iron sights at a standard distance, typically 25 or 50 yards. Fire multiple shots, then fine-tune the iron sights to verify the point of impact matches your aiming point.
Once the iron sights are zeroed, activate your red dot and adjust its reticle until it aligns perfectly with the iron sights’ point of aim. This precise alignment ensures your co-witness setup provides consistent accuracy.
It lets you switch between sighting methods without losing your zero. Confirming this zeroing process across various distances helps maintain reliable co-witness functionality.
It verifies your iron sights and red dot share the same alignment and deliver consistent aiming results every time.
Confirming Co-Witness Accuracy
Although zeroing your red dot and iron sights together may seem straightforward, confirming their co-witness accuracy requires careful, methodical steps. To guarantee perfect alignment and consistent accuracy, you need to zero both your red dot and iron sights at the same distance, creating a reliable co-witness.
Using a laser bore sighter helps confirm the reticle and iron sights are aligned on the same point. Then, fire groups at your zero distance and adjust windage and elevation on both sights until the impacts line up.
It’s also important to verify accuracy by shooting at various distances to make sure the co-witness holds. Make incremental sight adjustments and re-test until your point of aim matches the point of impact precisely.
Following these steps ensures you can confidently rely on co-witness alignment for effective shooting performance.
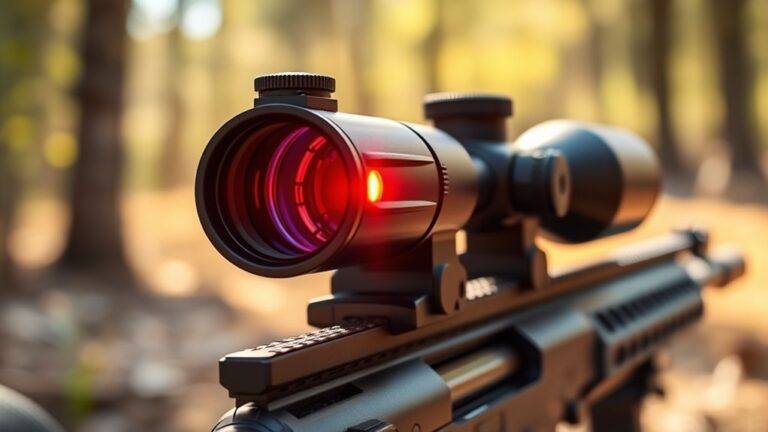
Why Parallax-Free Red Dots Improve Co-Witness Aiming
When you rely on a parallax-free red dot, your point of aim stays consistent no matter where your eye is positioned. This consistency guarantees the red dot and iron sights maintain perfect alignment, which is essential for effective co-witness aiming.
Parallax-free red dots eliminate sight alignment errors common with traditional optics, so your reticle remains on target even if your eye shifts. This means you don’t have to worry about precise eye placement, which speeds up target acquisition and makes your shots more reliable during dynamic shooting scenarios.
By minimizing parallax, these red dots improve co-witness setups across various distances. That makes your aiming feel more intuitive and precise.
In the end, choosing parallax-free red dots strengthens your co-witness system. It gives you confidence and accuracy with every shot you take.
When and Why to Use Iron Sights as Co-Witness Backup
Relying on a parallax-free red dot improves your aiming accuracy, but it’s smart to have iron sights ready as a backup. Using iron sights as co-witness backup guarantees you maintain a reliable sighting system if your red dot optic fails or its battery dies.
Employing backup sights mounted for a lower 1/3 co-witness lets you switch smoothly between aiming methods. You should use iron sights as co-witness backup because they provide immediate fallback during red dot malfunctions.
They also offer quick target acquisition in low-light or high-stress situations.
Iron sights ensure redundancy, which is critical for tactical or hunting applications. They share the same sight plane for consistent zeroing, so your aim stays true.
Plus, they keep you aiming without relying solely on electronics.
In short, iron sights as co-witness backup enhance safety and reliability in any shooting scenario. It’s just a smart way to stay prepared no matter what happens with your red dot.
Common Co-Witnessing Problems and Quick Fixes
If you notice your red dot getting blocked or your shots aren’t lining up as expected, co-witnessing problems are likely the cause. These issues often stem from iron sights that are too tall or incompatible mounting height, which obstructs the red dot.
Improper zeroing of either the red dot or backup irons also leads to misalignment, causing inconsistent shot placement.
To fix this, first verify your mounting height assures clear sight visibility without obstruction. Then, perform precise zeroing on both optics and irons to maintain accurate point-of-aim and point-of-impact.
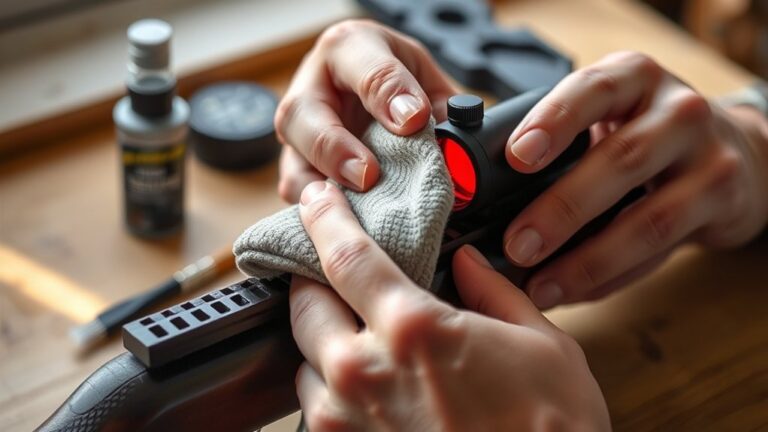
Don’t overlook cleaning and inspecting your iron sights, as dirt or damage can impair alignment.
Make it a habit to regularly check sight visibility after mounting or during use. This way, you can avoid surprises in the field and guarantee reliable co-witnessing performance.
Picking the Right Co-Witness Setup for You
Although selecting the right co-witness setup may seem straightforward, your choice profoundly impacts sight alignment, target acquisition speed, and overall shooting effectiveness. You’ll need to weigh the benefits of absolute co-witness versus lower 1/3 co-witness carefully.
Absolute co-witness aligns your iron sights directly with the red dot, which makes quick handoffs and precise zeroing easier.
Lower 1/3 co-witness places iron sights below the optic’s use area, helping to enhance your field of view and reduce clutter.
Think about these factors when picking your co-witness setup: your priority—whether you want rapid iron sight access or to maximize target visibility, how compatible your iron sights height is with your optic mount, your shooting style, and the firearm platform you use.
Also, consider your intended use and engagement distances, as well as how easy it will be to zero and maintain sight alignment.
In the end, choose a setup that complements your shooting needs and helps you get the most out of co-witness functionality.
Frequently Asked Questions
Can Co-Witnessing Work With Any Firearm Model?
No, co-witnessing doesn’t work with every firearm model. You need compatible iron sights and an optic mount that align in height and design.
Different firearms have varied sight heights and mounting options, so some pistols or rifles require specific or taller sights for co-witnessing.
To get it right, you must verify your firearm’s iron sights and optic setup are designed to work together properly for effective co-witnessing.
It’s all about making sure everything lines up so you can use both sights smoothly. Otherwise, the whole point of co-witnessing can get lost.
Does Co-Witnessing Affect Battery Life of Red Dot Sights?
Don’t worry, co-witnessing doesn’t gobble up your red dot’s battery life. It’s just a way to align sights, not an electronic drain. You’ll find brightness settings and how long you use the sight play a bigger role in power consumption.
If you keep your brightness ideal, especially with auto-adjust features, you’ll preserve battery life. So, focus on settings and usage habits.
Co-witnessing itself barely touches your battery’s stamina.
How Does Co-Witnessing Impact Shooting Speed in Competitions?
Co-witnessing speeds you up by letting you verify your iron sights instantly if your red dot fails, so you won’t lose precious time. You can smoothly switch between sights without breaking focus, which really helps boost your target acquisition.
With properly zeroed co-witnessed sights, you’ll engage targets faster because you have immediate visual reference points to confirm alignment and adjust quickly.
Choosing the right setup, like absolute or lower 1/3, can further enhance your shooting speed.
It’s all about having that quick backup and seamless transition that keeps you on target without missing a beat.
Are There Specific Brands Known for Better Co-Witness Compatibility?
If you want to master the art of seamless sight alignment, brands like Trijicon, XS Sights, and Magpul are your go-to allies for co-witness compatibility. They design iron sights and mounts that sync perfectly with popular red dots, ensuring precision and reliability.
You’ll also find Meprolight and Aimpoint offer durable, well-engineered options.
Holosun integrates co-witness-ready sights for optimized performance.
Choosing these brands sharpens your setup and shooting confidence.
Can Co-Witness Setups Be Adjusted for Left-Handed Shooters?
Yes, you can adjust co-witness setups for left-handed shooters. You’ll need to modify the mount position or select mounts designed specifically for left-hand use.
Many red dot sights offer adjustable windage and elevation, letting you customize alignment.
Make sure to zero the sights carefully after adjustments. Don’t forget to take into account your natural head position and eye dominance to maintain ideal co-witness accuracy and comfort.
It’s all about finding what feels right for you.
Conclusion
Think of co-witnessing your red dot sight like having a reliable map and compass working in harmony. When your red dot leads the way, iron sights stand ready as your backup guide, making sure you never lose your path.
By choosing the right setup and fine-tuning your zero, you build a seamless aiming system that’s precise and dependable. This harmony really boosts your confidence and accuracy.
So, you’re always prepared no matter what challenge lies ahead. It’s all about having that solid backup when you need it most.