How To Zero In A Red Dot – Step By Step Guide
To zero your red dot, securely mount it using the correct hardware and torque. Then, choose a zeroing distance that matches your shooting needs. Bore sight by aligning the dot with the barrel and target.
Next, shoot 3-5 rounds from a stable position. Measure the impact points and calculate adjustments in MOA. Make fine sight corrections based on your findings.
Finally, confirm your zero across multiple distances to guarantee accuracy. Following these steps will optimize your setup. And exploring further will definitely help enhance your precision and maintenance skills.
Key Takeaways
- Securely mount the red dot using proper hardware, torque screws to specification, and apply thread locker to prevent movement.
- Select an appropriate zeroing distance based on firearm type and typical shooting range (e.g., 25 yards for pistols, 50 yards for rifles).
- Bore sight the optic by aligning the reticle with the barrel at the chosen distance before firing test rounds.
- Fire 3–5 rounds from a stable position, measure group impact relative to the target center, and adjust elevation and windage accordingly.
- Confirm zero at multiple distances, make fine adjustments, and record shot groupings for consistent accuracy and future reference.
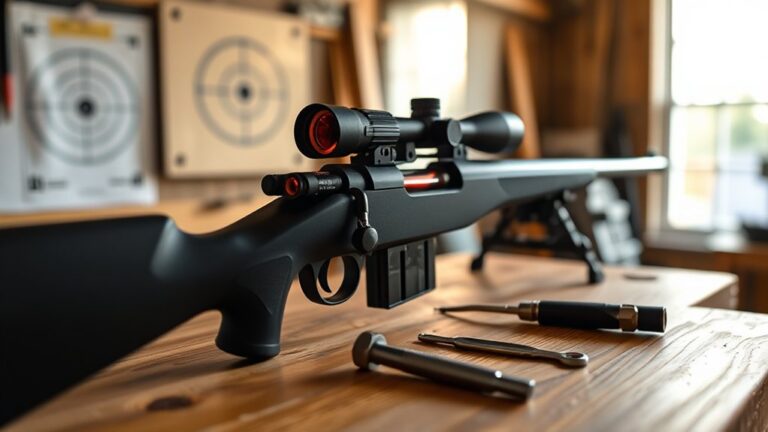
Properly Mount Your Red Dot and Secure Your Firearm Before Zeroing
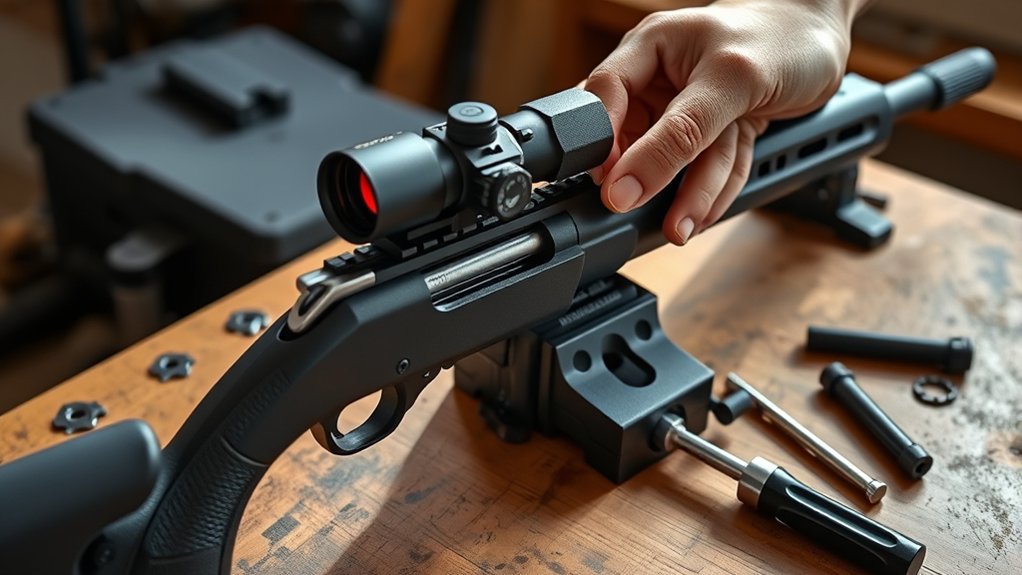
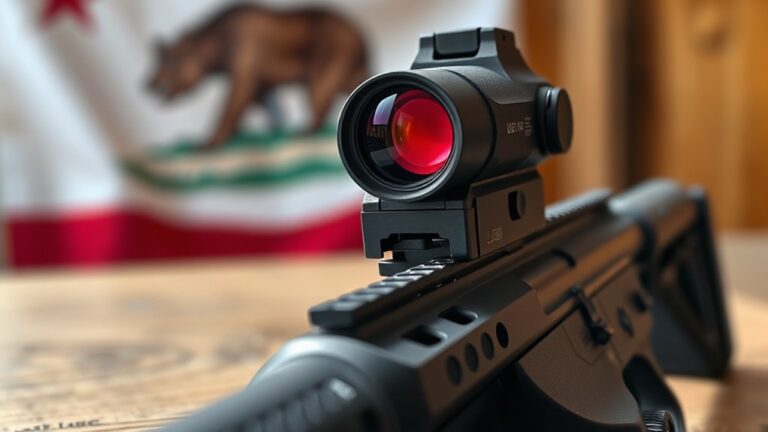
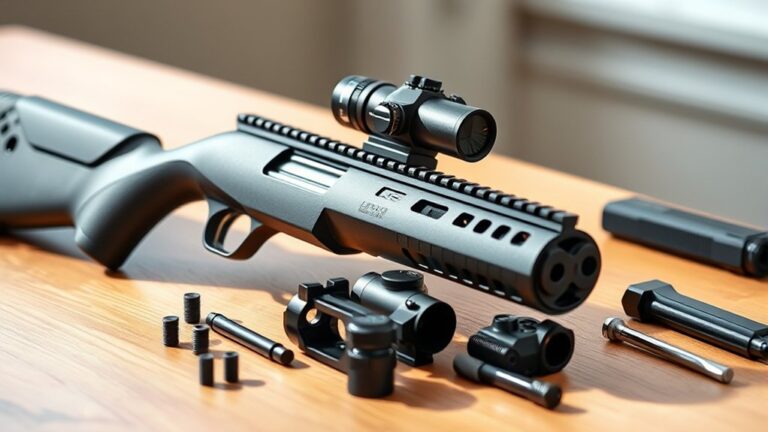
Before you begin zeroing your red dot, make sure you’ve mounted it securely according to the manufacturer’s instructions. Use the correct mounting hardware for your firearm and verify the sight sits flush and properly aligned with the bore. This alignment is critical for accurate zeroing.
Tighten all mounting screws firmly, applying the specified torque with a torque wrench to prevent any movement during shooting. To further secure the mount, apply a thread locker like Blue Loctite on the mounting threads; this helps maintain stability over time.
After mounting, periodically check the tightness of the screws, especially after transportation or shooting sessions. Keeping your red dot securely mounted and perfectly aligned sets a solid foundation for precise zeroing and consistent performance.
Choose the Right Zeroing Distance for Your Red Dot Sight
With your red dot securely mounted and aligned, the next step is to select the right zeroing distance that matches how you’ll use your firearm. Your zeroing distance should correspond to your typical engagement range to guarantee your aim and point of impact coincide.
For pistols, a zero at 25 yards often works well, while rifles typically zero at 50 yards. If you anticipate close-quarters self-defense, zeroing as close as 10 yards makes sense.
For precision shooting or hunting larger game, longer distances like 100 yards are ideal.
Always consider your shooting environment and application when choosing this distance. Matching your zeroing distance to real-world scenarios maximizes your accuracy and effectiveness.
This way, you can trust your red dot sight’s point of aim under any conditions.
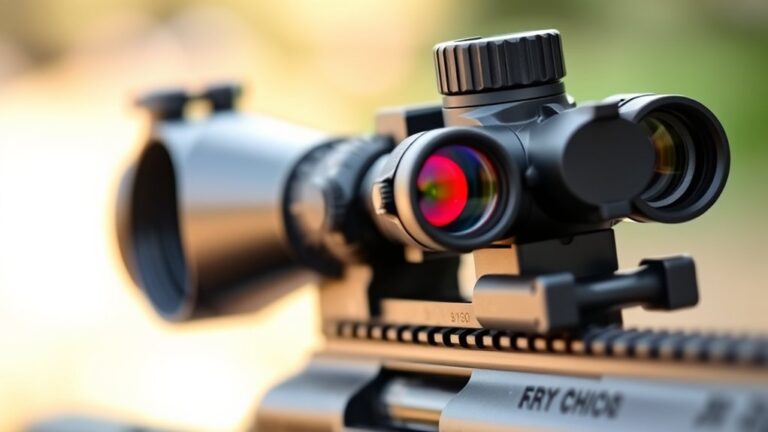
Use Bore Sighting to Align Your Red Dot Without Shooting
You can quickly align your red dot without firing a single shot by using bore sighting. Basically, this process projects a laser from your firearm’s chamber to help you match your red dot to the target at your chosen zero distance.
By following a few simple bore sighting steps, you’ll speed up your setup and save ammo before you make your final live-fire adjustments.
It’s a smart way to get on target faster and more efficiently.
Benefits Of Bore Sighting
Three key advantages make bore sighting an essential step in zeroing your red dot sight. First, bore sighting lets you perform precise initial adjustments without firing a single shot. By using a laser bore tool aligned with the barrel, you can quickly align your red dot close to the point of impact at your desired zero distance.
This approach notably reduces the number of live rounds needed during range zeroing, saving you time and ammunition. Plus, bore sighting gives you a reliable starting point for firearms with fixed sights or when shooting from a supported position.
This way, your zeroing process is both efficient and accurate.
Bore Sighting Steps
Although bore sighting might seem like an extra step, it’s actually the most efficient way to align your red dot sight without firing a single round.
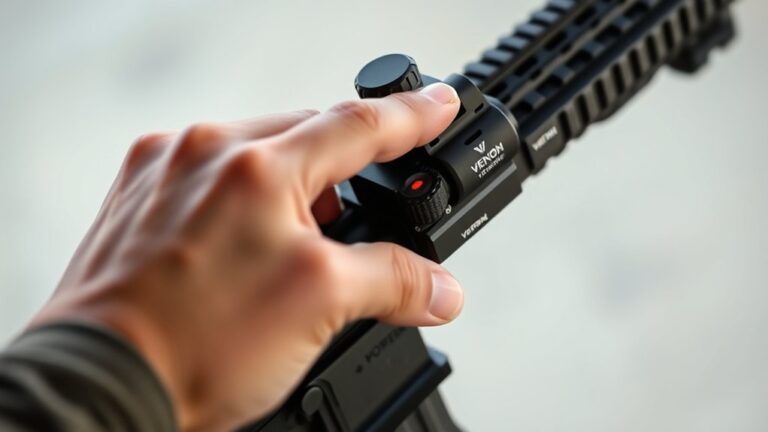
Start by inserting a bore sight device or laser into your firearm’s chamber or barrel. Then, aim the bore sight at a target positioned at your desired zero distance.
Make sure the laser or alignment point is centered on the target. Next, adjust your red dot’s elevation and windage turrets to match the bore sight’s position.
Once everything looks aligned, remove the bore sight.
Now, fire a few rounds to verify your zeroing. Use the shot impacts to make fine adjustments and refine your red dot’s alignment.
This bore sight method saves time and ammunition while giving you a precise starting point for zeroing your red dot sight.
Shoot Red Dot Test Groups and Measure Impact Points
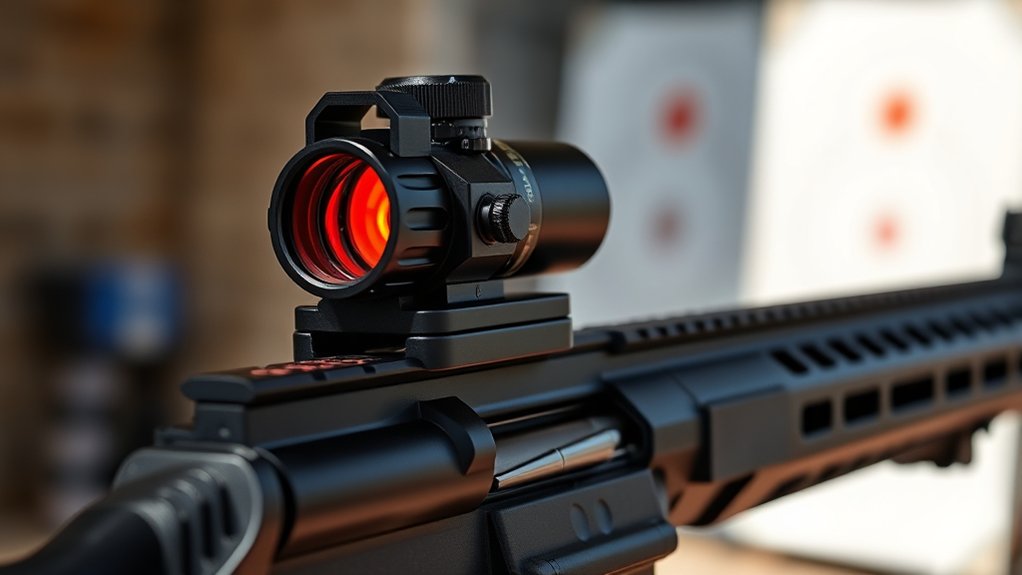
When testing your red dot’s zero, start by firing a group of 3 to 5 rounds from a stable position at a fixed target. These test groups help you assess how well your sight is zeroed. Carefully measure the impact points of each shot relative to the target’s center to identify any deviation.
Calculate the average impact location to find the group’s center. This guides your next zeroing adjustments.
Convert this deviation into MOA (Minutes of Angle) to figure out how many clicks your sight needs based on its adjustment per MOA.
Keep repeating the process: fire test groups and measure impact points until your shots consistently cluster around the target’s center. When that happens, you know your red dot is accurately zeroed for reliable performance.
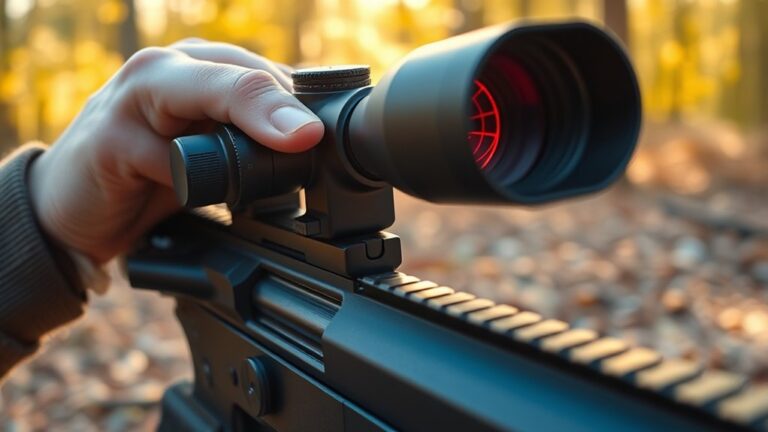
Calculate MOA and Adjust Your Sight for Accuracy
You need to understand MOA as a way to measure how far your shot is off. This helps you translate that deviation into precise sight adjustments.
First, figure out how far your rounds are off by converting inches into MOA, based on your shooting distance.
Then, take a look at your sight’s MOA-per-click value. Use that to make exact turret movements, which will help you bring your point of impact right on target.
It’s all about making those small, accurate tweaks to improve your shooting.
Understanding MOA Basics
Since precise adjustments are crucial for zeroing your red dot sight, understanding Minute of Angle (MOA) is essential. MOA is a unit of angular measurement equal to roughly 1 inch of impact deviation at 100 yards.
As distance increases, 1 MOA corresponds to 2 inches at 200 yards and 3 inches at 300 yards.
This lets you measure your shot’s impact relative to your point of aim. When zeroing, each click on your sight usually equals a specific MOA adjustment, often ¼ MOA per click.
To make accurate sight adjustments, divide the impact deviation (in inches) by the distance in yards divided by 100.
Mastering MOA lets you fine-tune your red dot sight with precision. This ensures your point of impact aligns perfectly with your aim.
It might sound tricky at first, but once you get the hang of it, adjusting your sight becomes second nature.
Calculating Impact Deviation
Although zeroing your red dot sight might seem complex at first, calculating impact deviation is actually pretty straightforward once you know how to measure the distance between your point of aim and where your shots land.
First, measure the impact deviation in inches. Then, convert this to MOA by dividing the deviation by the range in yards divided by 100.
For example, a 2-inch deviation at 100 yards equals 2 MOA, while a 1-inch deviation at 50 yards equals roughly 2 MOA as well.
This precise MOA value guides your adjustments. By regularly calculating impact deviation and converting it to MOA, you can systematically calibrate your red dot sight.
This way, you make sure your point of impact lines up perfectly with your point of aim.
Trust me, this method is key to keeping your accuracy sharp at any distance.
Making Precise Adjustments
Mastering the calculation of impact deviation and converting it into MOA sets the foundation for making precise adjustments to your red dot sight.
To zero your sight accurately, first calculate the MOA adjustment using the formula: impact deviation (in inches) divided by (distance in yards / 100).
Then, translate this MOA into turret clicks, knowing each click usually moves the reticle by 1/2 or 1 MOA.
Make incremental adjustments, shooting between each to verify changes.
- Calculate MOA by dividing impact deviation by (distance/100)
- Count turret clicks corresponding to calculated MOA
- Adjust in small increments and verify with follow-up shots
Precise zeroing relies on these adjustments to align your point of impact with the red dot.
Just take it step by step, and you’ll get it dialed in no problem.
Confirm Your Zero With Shots at Multiple Distances
When you shoot at multiple distances like 5, 10, and 25 yards, you verify that your red dot zero holds true across different ranges. This step in zeroing is essential because it lets you compare shot groupings and detect any shifts in point of impact.
By evaluating these results, you can confirm zero and make precise adjustments to maintain consistent accuracy.
Evaluating your shot results lets you confirm zero and fine-tune for consistent accuracy.
Testing at multiple distances also reveals the necessary holdover or holdunder for various shooting scenarios, which really helps boost your versatility. Keep detailed records of your shot groupings at each range to track performance and ensure your sight alignment remains reliable.
Confirming your zero this way reduces the need for frequent re-zeroing and guarantees your red dot stays accurate whether you’re engaging targets close-up or farther away. It’s a simple step that makes a big difference in your shooting confidence and consistency.
Fix Common Zeroing Problems and Keep Your Sight Accurate
If you want your red dot sight to stay reliable, you need to address common zeroing problems promptly. Ignoring zeroing issues can compromise your shooting accuracy and waste valuable practice time. Focus on key sight adjustments and routine checks to keep your point of aim consistent.
Regularly tighten mounting screws to prevent shifts caused by loose fittings. Verify battery life and illumination to avoid dim reticles affecting accuracy. Adjust for parallax by aligning the reticle and target at the same distance, ensuring the red dot remains true across different shooting positions.
Also, make sure to conduct periodic zero checks after impacts or optic removal. Using a bore sighter before live fire helps identify zeroing issues early. This way, you maintain your sight’s precision and reliability without any surprises.
Maintain Your Red Dot Sight for Long-Term Accuracy
Addressing zeroing problems is just part of keeping your red dot sight reliable. To maintain long-term accuracy, clean the lens and housing regularly to prevent dust buildup. Inspect the optic for damage or fogging, and tighten mounting screws often to keep the sight secure.
Replace batteries as recommended to guarantee consistent reticle visibility. Proper storage in a padded case protects your sight from accidental damage and extends its lifespan. It’s all about staying on top of these simple steps to make sure your sight performs well every time you use it.
| Task | Frequency |
|---|---|
| Clean lens & housing | After every use |
| Inspect for damage | Monthly |
| Tighten screws | Before each use |
| Replace battery | Every 1-2 years |
Frequently Asked Questions
How Often Should I Re-Zero My Red Dot Sight?
You should re-zero your red dot sight every 500 to 1,000 rounds or after any significant impact or rough handling.
If you notice your shot grouping shifting or accuracy dropping, it’s time to adjust.
Always re-zero after removing and remounting the optic.
For hunting or competition, check zero before each session or after several practice rounds.
Environmental changes like temperature or humidity shifts also call for a quick re-zero to stay precise.
Keeping an eye on these factors helps you stay on target every time.
Can Weather Conditions Affect My Red Dot Zero?
Can weather really mess with your red dot zero? Yes, it can. Extreme conditions like heavy rain, fog, or snow can blur your sight picture, making precise aiming tough.
Temperature changes might cause slight shifts in your sight’s electronics, leading to zero drift. Cold weather drains batteries faster, risking flickering or loss of zero.
Are Red Dot Sights Suitable for Left-Handed Shooters?
Yes, red dot sights are suitable for left-handed shooters because they’re designed without inherent handedness. You can easily adjust brightness settings and controls, many of which are ambidextrous or placed for easy access on either side.
When choosing your sight, look for models with accessible controls and mounting systems that keep your eye aligned properly. This guarantees you’ll use the sight comfortably and effectively, no matter which hand you shoot with.
What Batteries Work Best for Red Dot Sights?
You’ll get the best performance from your red dot sight by using CR2032 lithium coin batteries. They deliver reliable power and have a long shelf life, ensuring consistent illumination.
Some models also accept CR1632 or CR2025 batteries, but always check your sight’s manual to confirm the exact type.
Choose fresh, high-quality batteries with at least 200mAh capacity to avoid interruptions during critical moments and maintain ideal sight clarity.
How Do I Protect My Red Dot Sight During Transport?
Think of your red dot sight as a delicate bird’s egg, fragile and precious. To protect it during transport, always use a protective lens cover to shield its “shell.”
Store it in a padded case that cushions against shocks, and secure it firmly so it doesn’t shift or fall.
Remove the battery for long trips to prevent corrosion.
Also, keep it away from extreme temperatures and moisture to make sure it stays in peak condition.
Taking these simple steps really helps keep your sight safe and ready to use.
Conclusion
Zeroing your red dot isn’t just a quick fix. It’s a smart investment in your shooting precision. By following these steps, you’re not just aiming; you’re setting yourself up for consistent success.
A well-tuned sight quietly boosts your confidence and effectiveness without needing constant tweaks. Keep your red dot sight properly maintained and regularly checked. It’ll serve you faithfully, turning good shots into great ones with ease and reliability.