How To Zero A Red Dot At Home – Step By Step Guide
To zero your red dot sight at home, start by securely mounting it to your firearm following manufacturer guidelines. Set up a stable shooting area with a marked target at your chosen zeroing distance, typically 25 yards for rifles. Use a bore sighter or laser for initial alignment, then fire test groups, adjusting elevation and windage turrets in small MOA increments until your shot group centers on the target.
Mastering these steps guarantees reliable accuracy. And there’s more to optimizing your zero beyond these basics. So, take your time and practice regularly to get the best results.
Key Takeaways
- Secure a stable shooting area with proper lighting, a level surface, and a fixed rest for consistent shots at your chosen zero distance.
- Mount the red dot sight securely using manufacturer torque specs, ensure it’s level, and check for wobble before final tightening.
- Use a bore sighter to align the red dot’s point of aim with the target at the zeroing distance (typically 25 yards).
- Fire five-round test groups, measure bullet impact relative to the red dot, and adjust windage and elevation turrets accordingly in small increments.
- Repeat shooting and fine-tuning until the bullet impacts consistently match the red dot, then record your final zero settings for future reference.
What Is a Red Dot Sight and Why You Need to Zero It
What makes a red dot sight indispensable for shooters? A red dot sight projects an illuminated dot onto a coated glass lens, letting you focus directly on your target without shifting between reticle and target. This single focal plane design enhances speed and accuracy.
However, to maximize performance, you must zero the sight. Zeroing aligns the point of aim with the bullet’s impact, ensuring your shots land exactly where you intend. Without proper zeroing, your red dot sight can mislead you, causing inaccurate shots.
To zero effectively, you adjust the sights based on your chosen zero distance, fine-tuning windage and elevation until the red dot matches the point of impact. This process is vital for reliable, precise shooting every time you use your optic.
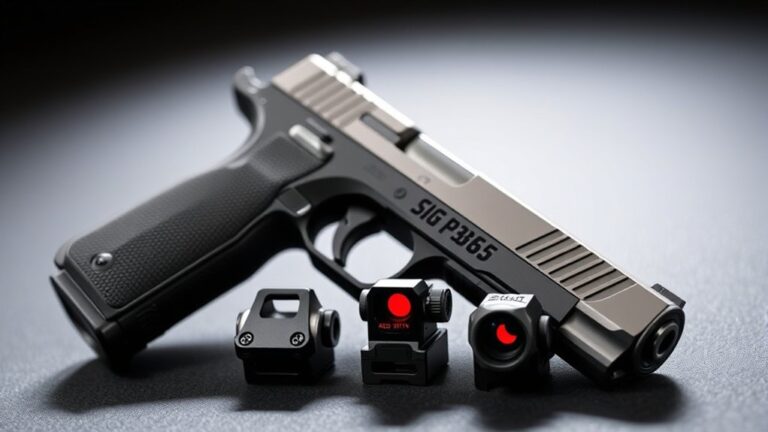
Choosing the Best Zeroing Distance for Your Red Dot Sight
You’ll want to pick a zeroing distance that fits your firearm and how you intend to use it.
For instance, pistols usually perform best when zeroed at around 10 yards.
On the other hand, rifles tend to benefit from zeroing between 25 and 50 yards.
Choosing the right distance like this makes sure your red dot is accurate exactly where it matters most.
Understanding Zeroing Distance
Since zeroing distance directly impacts your red dot’s accuracy, selecting the right range is essential for your shooting needs. The zeroing distance determines how your sight alignment matches the point of impact on your target, ensuring your firearm shoots where you aim.
Shorter distances like 10 yards suit close-range or self-defense scenarios, while 25 yards is ideal for hunting or precision shooting. Understanding how zeroing distance affects bullet trajectory helps you choose the best setting for consistent accuracy.
| Zeroing Distance | Ideal Use |
|---|---|
| 10 yards | Close-range, defense |
| 25 yards | Precision, hunting |
| 50 yards | Longer-range shooting |
| N/A | Adjust based on aim |
| N/A | Firearm-specific |
Firearm Type Considerations
How do you determine the best zeroing distance for your red dot sight? It depends largely on your firearm type.
Pistols typically require a zero distance of 10-15 yards, which is ideal for self-defense and quick target acquisition.
Rifles, on the other hand, benefit from zeroing at 25-50 yards. This optimizes ballistic performance for hunting or precision shooting.
A 25-yard zero often strikes a practical balance for various shooting ranges.
When adjusting your sight, consider how your firearm’s intended use impacts the point of impact.
Unlike iron sights, red dots offer flexible sight adjustment. But zeroing must align with your typical engagement distances to maintain accuracy.
Tailoring your zero distance to your firearm type guarantees consistent hits whether at close quarters or medium range.
It’s all about matching your setup to how you actually shoot.
Matching Purpose To Distance
Although zeroing your red dot sight might seem straightforward, choosing the right distance really depends on what you’re aiming to do. Your zeroing distance should match how you use your firearm and the typical range you expect to engage targets.
This ensures your sight alignment is precise. For self-defense handguns, zeroing at 10 yards is pretty common because it aligns your point of impact closely with your point of aim at close quarters.
Rifles often benefit from a 25-yard zero, which balances accuracy across different distances.
Picking the right zeroing distance means you won’t have to adjust your sight as much, which builds confidence and improves performance.
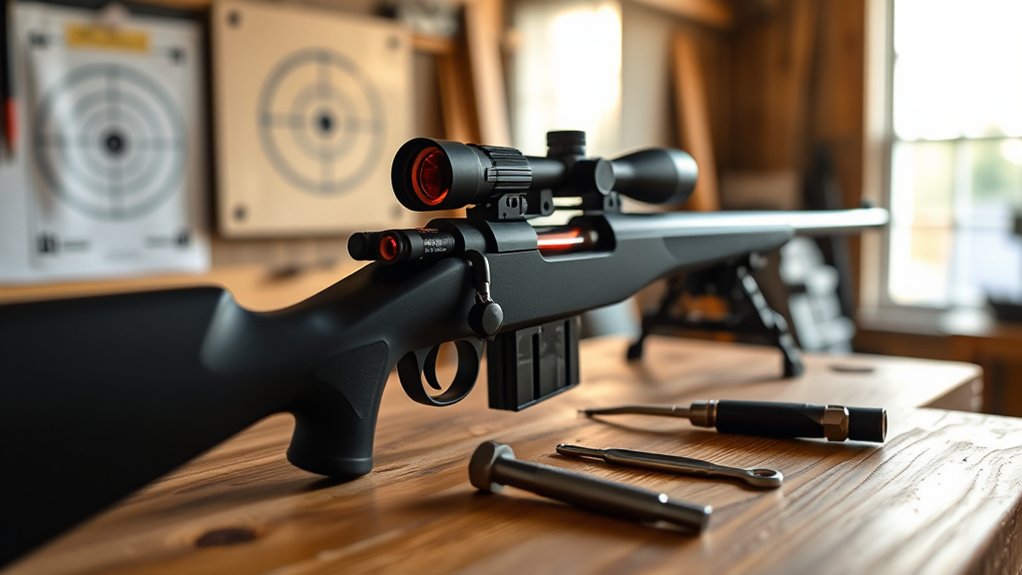
How to Prepare Your Shooting Area and Tools for Zeroing
Before you start zeroing your red dot, make sure your shooting area is level, well-lit, and free of any obstructions. This will help guarantee both safety and accuracy.
Ensure your shooting area is level, well-lit, and clear for safe and accurate red dot zeroing.
Set up a stable support like a bench or bipod to reduce movement and improve shot consistency.
Gather all necessary tools, including your firearm, red dot sight, mounting hardware, a laser bore sighter, and a clearly marked target.
Always confirm your firearm is unloaded before handling or adjusting the sight to assure safety.
Position the target at your chosen zeroing distance, such as 10 or 25 yards, and mark it clearly to make precise adjustments easier.
Proper preparation of your shooting area and tools lays the foundation for an effective and safe zeroing process.
Taking these steps will help you get the job done right.
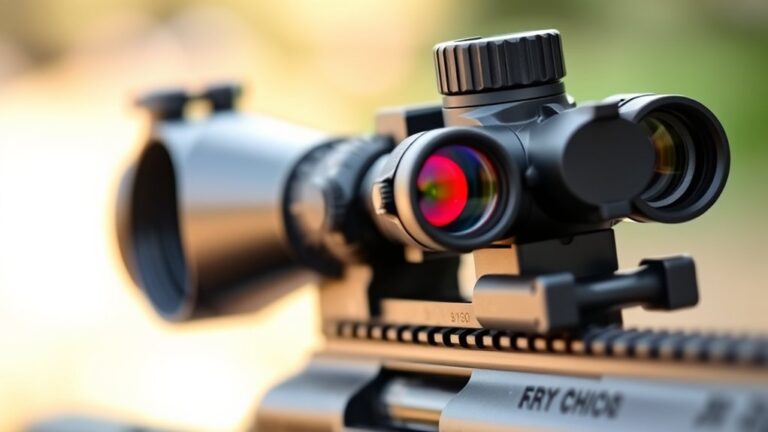
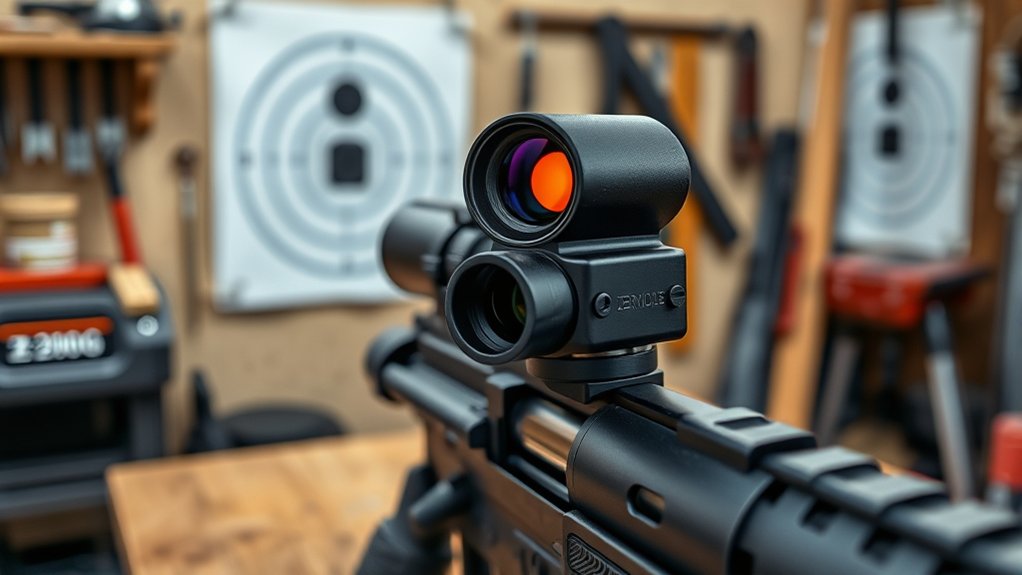
How to Securely Mount Your Red Dot Sight at Home
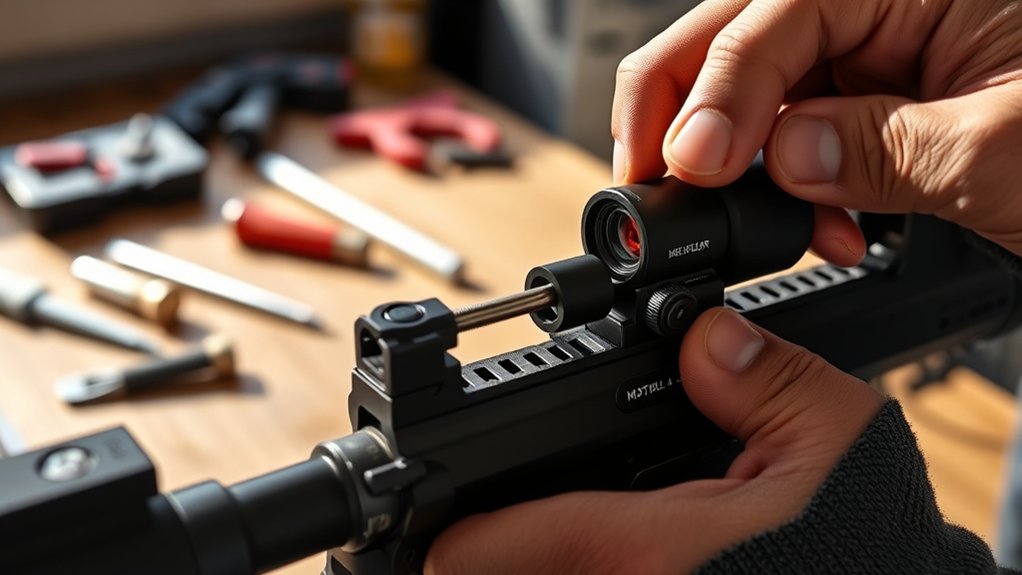
Before you start mounting your red dot sight, double-check that your firearm is completely unloaded. Safety first! Then, place it on a stable surface where it won’t move around while you work.
Next, grab your tools and follow the manufacturer’s torque specs carefully when attaching the sight to the rail. It helps to use some thread-locking adhesive on the screws to keep everything tight and prevent any loosening over time.
Once the sight is mounted, take a moment to make sure it’s perfectly aligned and doesn’t wobble at all. This way, you can be confident it’s securely attached and ready to perform when you need it.
Mounting Preparation Steps
When mounting your red dot sight at home, start by making sure your firearm is completely unloaded and safe to handle. Next, pick the proper mounting platform designed for your firearm to guarantee a secure fit. Before you fully tighten everything, check that the sight is level and aligned with the bore or iron sights.
Use the torque recommended by the manufacturer, and apply Blue Loctite to the screws. This helps prevent them from loosening due to recoil.
| Step | Action |
|---|---|
| 1. Safety Check | Confirm firearm is unloaded |
| 2. Mount Selection | Choose correct mounting rail |
| 3. Alignment | Level and align before torque |
Following these mounting preparation steps makes sure your red dot sight stays secure and accurate.
Ensuring Secure Attachment
After ensuring your red dot sight is properly aligned and leveled, focus on securing it firmly to your firearm. Achieving a secure attachment prevents shifting that can ruin your zero. Follow these key steps:
First, verify that the mounting screws and base are compatible with both your firearm and the sight. This helps avoid slippage during use.
Next, apply thread locker, such as Blue Loctite, to the screws before tightening. It’s a simple step that prevents loosening from recoil or vibration.
Then, tighten all mounting screws to the manufacturer’s recommended torque specifications, usually between 15-20 inch-pounds. This keeps everything aligned and stable.
Finally, perform a thorough inspection after mounting and periodically thereafter. Make sure the screws stay tight and your red dot remains securely attached. It’s a quick check that can save you headaches down the line.
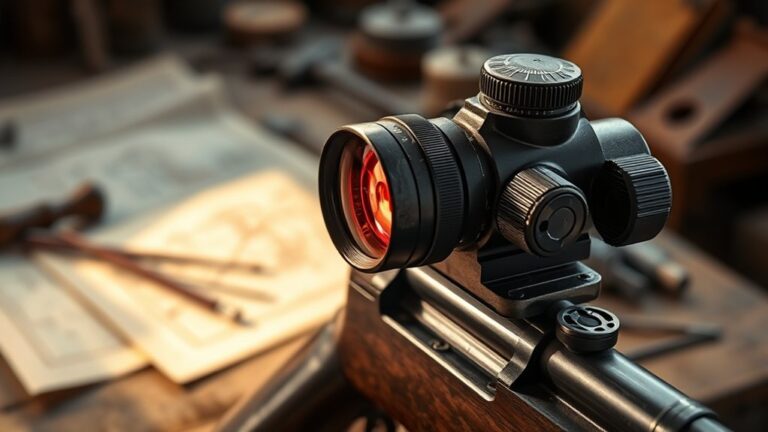
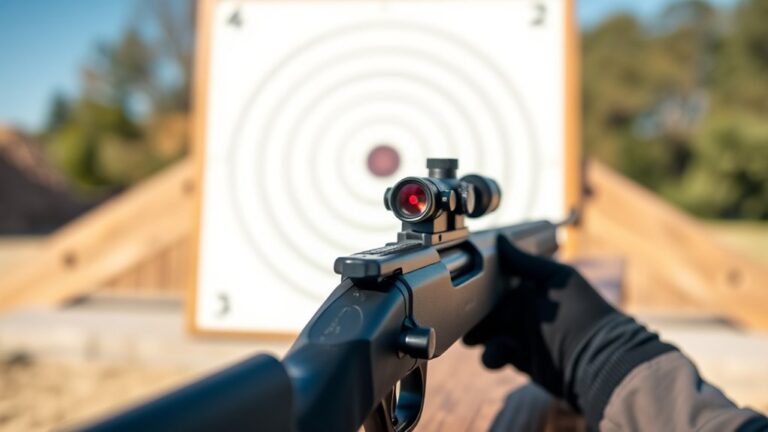
How to Get on Paper With Bore Sighting or Laser Alignment
Although zeroing your red dot sight might seem challenging, using a bore sighter or laser alignment tool makes the process a lot easier. It gives you a precise starting point. Just insert the bore sight into your barrel to align the laser with the bore axis, which ensures initial accuracy.
Then, project the laser onto a target at your zero distance, which is typically 25 yards. After that, adjust your red dot sight’s elevation and windage turrets so they match the laser’s point of aim.
Once that’s done, fire a few test shots to confirm your alignment. If needed, fine-tune your adjustments to perfect the zeroing.
| Step | Action | Purpose |
|---|---|---|
| 1 | Insert bore sight | Align laser with bore axis |
| 2 | Project laser on target | Establish point of aim |
| 3 | Adjust red dot turrets | Match laser impact |
| 4 | Fire test shots | Confirm initial accuracy |
| 5 | Fine-tune adjustments | Perfect zeroing |
How to Shoot Test Groups to Zero Your Red Dot Sight
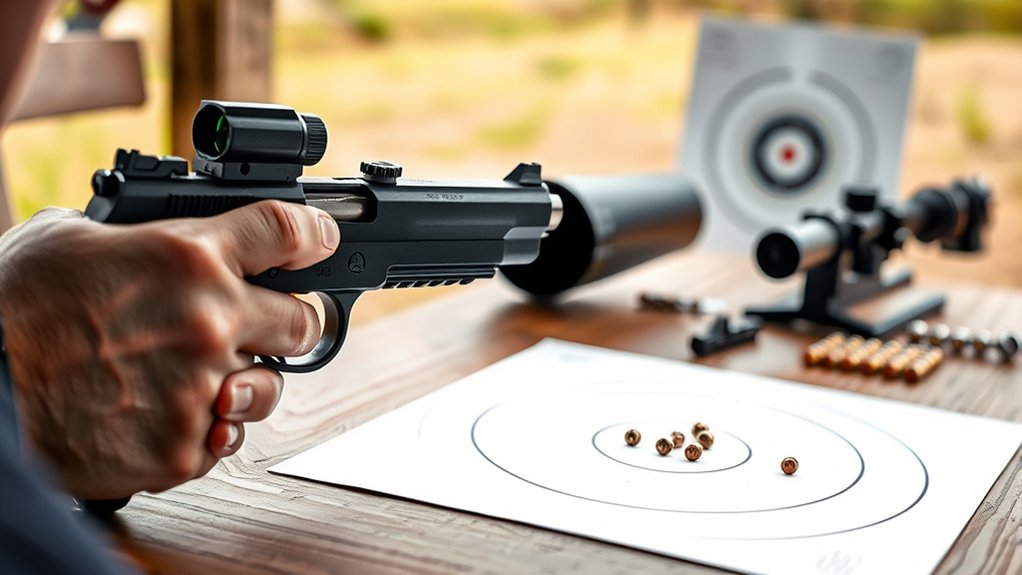
To zero your red dot sight accurately, start by shooting a five-round group at your chosen zero distance, typically 25 yards. Use a stable rest to keep things consistent. After shooting, check where the center of your test groups lands compared to your point of aim. This helps you spot any deviation.
Next, use that info to guide your zeroing process. Here’s how you do it:
- Look at the group’s center to see how far off your shots are from where you wanted them.
- Figure out the adjustments needed in MOA or clicks based on that difference and your shooting distance.
- Adjust your red dot sight precisely, then shoot more test groups to make sure accuracy improves.
Following this method will get your red dot sight zeroed with reliable precision for consistent shooting performance.
How to Adjust Elevation and Windage Using MOA Clicks
When you need to fine-tune your red dot sight, understanding how to adjust elevation and windage using MOA clicks is vital. Each click of the turret moves the reticle by ½ MOA, shifting your point of impact roughly ½ inch at 100 yards.
Master your red dot sight adjustments with ½ MOA clicks for precise elevation and windage control.
To correct elevation, turn the turret upward or downward to move the reticle vertically. For windage, rotate the turret left or right to shift horizontally.
Calculate the necessary clicks by dividing the desired shift in inches by the MOA per click.
For example, a 2-inch elevation correction at 100 yards requires 4 MOA or 8 clicks of ½ MOA. Make adjustments in small increments to avoid overcorrecting.
After each change, fire test shots to ensure precise zeroing before proceeding further.
How to Confirm and Fine-Tune Your Red Dot Sight Zero
Before finalizing your red dot sight zero, you need to confirm it by firing a group at your chosen distance and measuring the impact relative to your point of aim. This verification makes sure your zeroing is accurate.
To fine-tune your zero, follow these steps:
- Calculate the necessary turret clicks based on how far off the impact point is, using ½ MOA per click for precise adjustments.
- Make small changes to the elevation and windage turrets, then fire another group to check your progress.
- Keep repeating this until your shots consistently hit the center of the target, minimizing any movement in the impact point.
Be sure to write down your final zero settings and check them regularly to keep your accuracy sharp, especially after handling or remounting your firearm.
Taking a careful, step-by-step approach like this ensures your zero stays reliable and your shots stay on point.
Frequently Asked Questions
Can I Zero a Red Dot Sight Using Airsoft or BB Guns?
Yes, you can zero a red dot sight using airsoft or BB guns. These guns let you simulate shooting at close distances, usually around 10 yards. This helps you get an initial sight alignment down.
Their low recoil and smaller calibers make it easier to achieve precise groupings.
Just keep in mind, the zero you get with an airsoft or BB gun mightn’t perfectly translate to real firearms at longer ranges because of ballistic differences. So, it’s a good starting point, but not the final word.
How Often Should I Re-Zero My Red Dot Sight?
You might think you only need to zero your red dot sight once, but you should actually re-zero it every six months or after any significant impact.
Even if you haven’t bumped it, changes in temperature or humidity can throw off your zero.
Don’t wait for noticeable inaccuracies. Regular checks guarantee your shots stay precise.
After maintenance, transport, or re-mounting, always confirm your sight’s alignment to maintain peak accuracy.
Will Different Ammunition Affect My Red Dot Zero?
Yes, different ammunition will affect your red dot zero. Variations in grain weight, brand, and load change the bullet’s velocity and trajectory. This causes shifts in your point of impact.
To keep your zero accurate and predictable, you should zero your red dot using the exact ammo you intend to shoot regularly. Otherwise, you’ll notice your hits drifting several inches off target, especially at longer distances.
Consistency is key for reliable accuracy. So stick with the same ammo when zeroing and shooting to get the best results.
Can Weather Conditions Impact My Zeroing Process?
Yes, weather conditions can impact your zeroing process considerably. Wind can deflect your shots, making it tough to judge true impact points.
Rain, fog, or humidity might fog your lenses or reduce visibility, leading to inaccurate adjustments.
Temperature changes can cause slight shifts in your firearm and optic, which affects zero stability.
Always aim to zero in stable, calm conditions. And be ready to re-zero if the weather changes later.
Is Professional Zeroing Necessary for Casual Shooters?
Professional zeroing isn’t necessary for casual shooters like you. With patience and the right tools, you can effectively zero your red dot at home, especially for close-range targets under 25 yards.
Just make sure to regularly check and adjust your zero to keep your shots accurate without spending extra money. It’s pretty straightforward once you get the hang of it.
That said, if you’re thinking about long-range shooting or competitions, professional zeroing might be a good idea. It helps ensure pinpoint precision that goes beyond what casual shooting usually requires.
Conclusion
Zeroing your red dot sight at home isn’t just a smart move. It’s a game-changer that turns your shooting from wild guesswork into pinpoint precision.
Skip this step, and you’re basically throwing darts blindfolded. Follow these clear, exact steps, and you’ll hit bullseyes like a pro marksman every time.
Trust me, once you zero your red dot properly, you’ll wonder how you ever aimed without it. Get it right, and your accuracy will be unstoppable.