How To Turn Off Holosun Red Dot – Quick Instructions Guide
To quickly turn off your Holosun red dot, press and hold both the plus (+) and minus (–) buttons at the same time for about two to three seconds until the reticle powers down. You can also press either button briefly as another way to shut it off.
Make sure the reticle goes off to save battery. If it doesn’t turn off, check for lockout mode or battery issues.
Keep your device maintained for reliable performance. And feel free to explore further for advanced power management and troubleshooting tips.
Key Takeaways
- Press and hold both the plus (+) and minus (–) buttons simultaneously for about 2 to 3 seconds to power off the Holosun red dot.
- Alternatively, press and release either the plus (+) or minus (–) button to turn off the device.
- Confirm the reticle illumination turns off to ensure the device is properly powered down.
- If the sight won’t turn off, hold both buttons for 3 seconds and check for lockout mode or battery issues.
- Use the lockout mode by holding the plus (+) button for 3 seconds to disable buttons while keeping the reticle on.
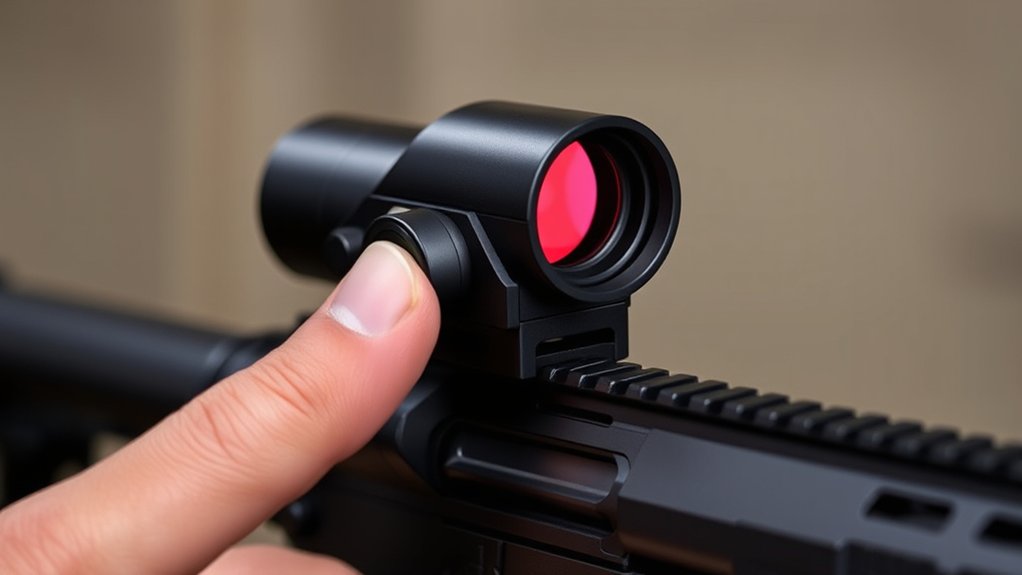
How To Quickly Turn Off Your Holosun Red Dot
How do you quickly turn off your Holosun red dot sight? To turn off the illumination and power, press both the plus (+) and minus (–) power buttons at the same time. You can either hold them for about two seconds or just press and release both buttons quickly.
Before you turn off the sight, make sure the reticle is active. This confirms the sight is on and ready to be powered down.
Ensure the reticle is active before powering down to confirm the sight is on and ready.
Once you do the shutdown procedure, the reticle’s illumination will turn off, and the sight will power down.
For models with multiple brightness modes, turning off the device saves battery life and resets settings for your next use.
Always double-check that the reticle is off by looking to see if any illumination remains visible after you turn off the sight.
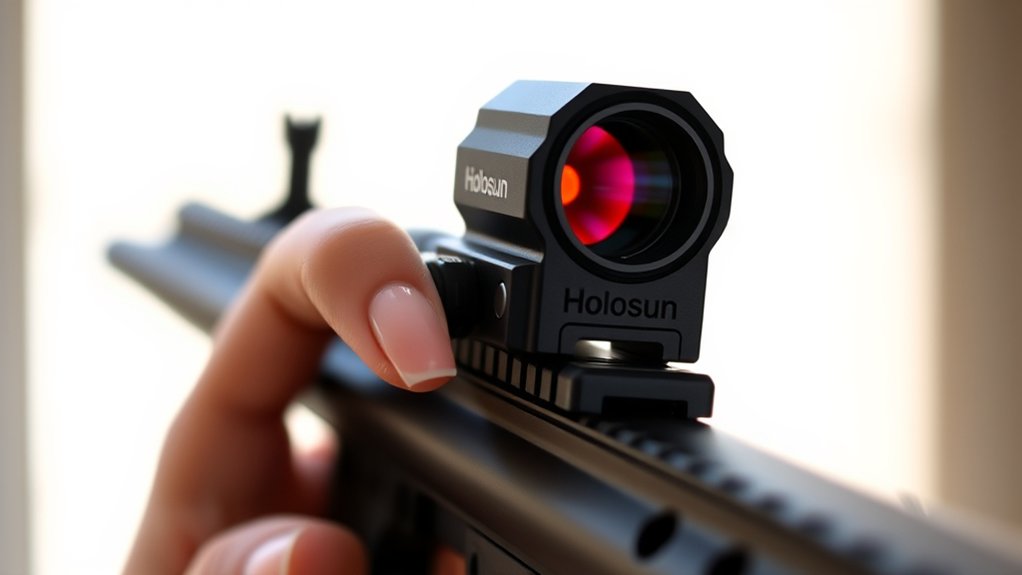
Using Power Buttons To Turn Off Your Holosun
Mastering the use of the power buttons is key to efficiently turning off your Holosun red dot. To turn off the optic, simultaneously press and hold both the plus (+) and minus (-) brightness buttons until the reticle powers down. This quick process typically completes within a second, guaranteeing the Holosun fully shuts off.
Depending on your model, you can also press and release either the plus (+) or minus (-) button to turn off the device. However, holding both buttons is the most reliable method to avoid accidental activation.
Always confirm the reticle is off after powering down to ensure the Holosun is properly turned off.
Using the power buttons correctly helps maintain your optic’s performance and battery life. It’s a simple step that makes a big difference in the long run. So, get comfortable with this process, and your Holosun will serve you well.
How Shake Awake® Auto Powers Off Your Holosun
Why worry about turning off your Holosun when Shake Awake® does it for you? This innovative technology uses motion detection to auto power off your optic after a preset sleep timer, whether 10 minutes, 1 hour, or 12 hours. It automatically deactivates the reticle to conserve battery life.
When you pick up or move your firearm, Shake Awake instantly powers the reticle back on. This ensures your optic is ready without any manual intervention.
You can customize or disable this feature through the settings menu by adjusting the sleep timer to fit your operational needs. Shake Awake® streamlines power management and reduces downtime.
It makes life easier by eliminating the need for manual power cycling while keeping your reticle available right when you need it.
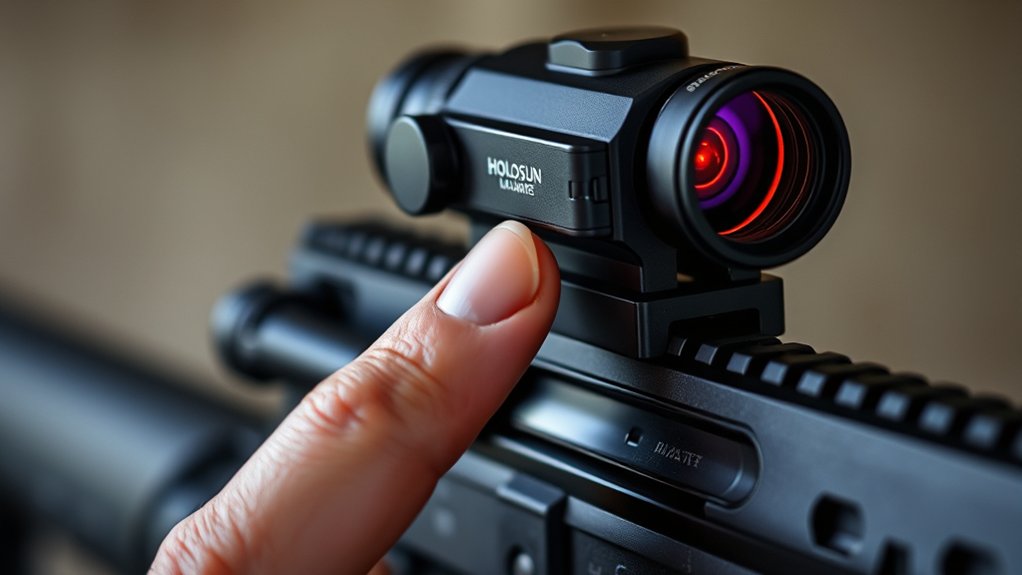
What Lockout Mode Means For Power And Buttons
What happens to your Holosun’s power and controls when you enable Lockout Mode? When you activate lockout mode by holding the “+” button for 3 seconds, the optic stays powered on, but the buttons become completely unresponsive. This means you can’t adjust settings or turn off the reticle.
The reticle stays illuminated continuously, which helps prevent accidental changes or power loss during transport or storage. To exit lockout mode, just hold the “+” button again for 3 seconds. This restores full control over the buttons and lets you power off or adjust the reticle as needed.
Lockout mode effectively locks the buttons while keeping the power on. This ensures your Holosun’s reticle remains stable and stops any unintended modifications until you decide to turn off the mode.
Troubleshooting: What To Do If Your Holosun Won’t Turn Off?
If your Holosun red dot won’t turn off, start by pressing and holding both the “+” and “-” brightness buttons simultaneously for at least three seconds until the reticle powers down.
If this doesn’t work, check if lockout mode is active. This mode can cause power issues by disabling button functions.
To disable lockout mode, hold the “+” button for 3 seconds.
Also, make sure the battery is properly installed with the positive side facing down. Incorrect battery placement may prevent the device from shutting down.
If you’re still having trouble, try performing a reset. Remove the battery, wait 10 seconds, then reinsert it.
This reset clears any glitches that might be causing the device to stay on. Following these steps usually fixes most power issues and gets your Holosun back to normal.
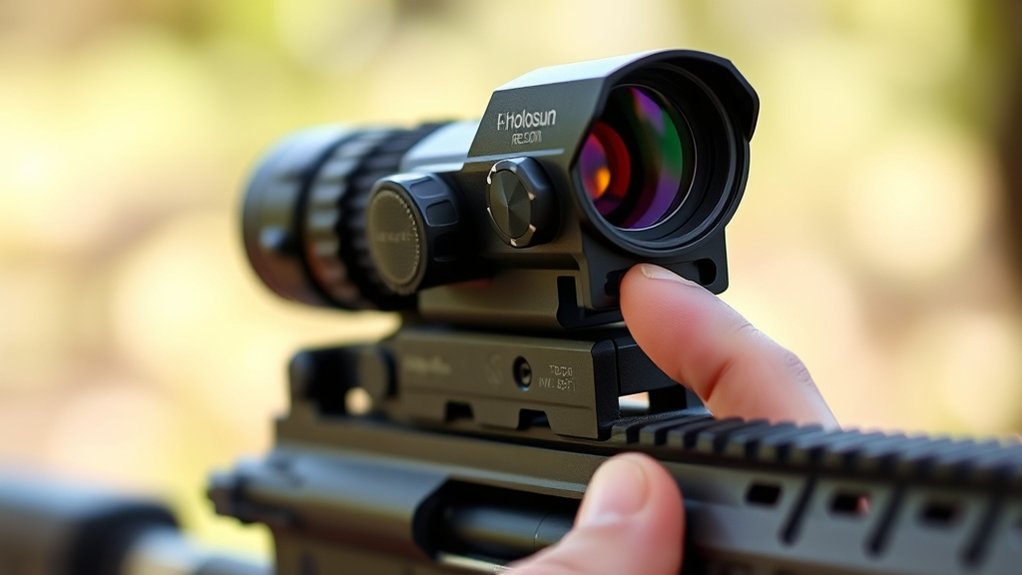
Battery Tips To Extend Holosun Sight Life
To get the most out of your Holosun sight’s battery, start by using a high-quality CR1632 lithium battery and make sure it’s installed correctly. It’s best to avoid rechargeable batteries since they don’t perform as well in these devices.
Also, take advantage of the power-saving features like lockout or sleep mode whenever you’re not using the sight for a while. This can really help stretch the battery life.
And don’t forget to keep an eye on the battery indicator. That way, you can swap out the battery before you notice any drop in performance. It’s all about staying ahead and keeping your sight ready when you need it.
Battery Installation Best Practices
Proper battery installation is essential for maintaining the performance and longevity of your Holosun sight. Always remove the battery tray with the multitool before replacing the CR1632 battery to prevent damage.
Use only new, non-rechargeable CR1632 lithium batteries, as rechargeable types can reduce battery life or cause malfunctions.
When reinstalling, make sure the battery’s positive side faces downward to maintain proper electrical contact. Keep the battery contacts clean and free of corrosion because dirty contacts compromise power delivery and shorten sight operation.
Store spare batteries in a cool, dry place.
Replace the battery promptly if the indicator blinks or voltage drops below 2.2Vdc.
Following these battery installation best practices guarantees reliable performance and effectively extends your Holosun sight’s service life.
Power Saving Techniques
Maintaining your Holosun sight’s battery health goes beyond correct installation. You’ll want to use power-saving techniques to maximize runtime and extend battery life.
Activate Sleep Mode by holding the “+” button for 10 seconds; this reduces power consumption when the sight is idle.
Use Lockout Mode to prevent accidental activation, which helps conserve battery during storage or transport.
For longer periods of inactivity, turn the sight off manually by pressing both the “+” and “-” buttons simultaneously.
You can also adjust the sleep timer to automatically power down the optic after preset intervals—10 minutes, 1 hour, or 12 hours. This helps optimize battery efficiency.
Always keep an eye on the battery status indicator and replace the CR1632 battery promptly to maintain consistent power performance and ensure your Holosun works reliably.
When And How To Replace Your Holosun Battery
When your Holosun red dot’s battery indicator starts blinking, it means the voltage has dropped below 2.2Vdc and it’s time to replace the battery. Use the multitool provided to carefully remove the battery tray. Make sure the positive side faces down when you put the new battery in.
Always replace the factory battery with a fresh CR1632 lithium cell to keep your sight performing at its best. Avoid rechargeable batteries since they can reduce the lifespan of your device. After you replace the battery, check the reticle brightness and make sure everything is working properly.
| Step | Action | Tip |
|---|---|---|
| 1 | Identify blinking battery indicator | Voltage < 2.2Vdc |
| 2 | Use multitool to open battery tray | Handle carefully |
| 3 | Remove old battery | Note orientation |
| 4 | Insert new CR1632 battery | Positive side down |
| 5 | Test reticle brightness | Confirm proper operation |
Additional Tips For Reliable Power Control
Replacing your Holosun battery is just one part of managing power effectively. To maintain reliable power control, always turn off your red dot by pressing and holding both the (+) and (-) buttons simultaneously until the reticle shuts off. This usually takes about 3 seconds.
Regularly check the reticle for a blinking battery indicator, which signals low voltage. When you see this, turn off the device promptly to prevent power drain.
Avoid accidental activation of lockout or sleep modes by mastering the correct button presses. This will help you avoid wasting battery life unnecessarily.
For ideal battery longevity, turn off your Holosun during extended periods of non-use, especially if it will be idle for days.
Finally, keep battery contacts clean and free of corrosion. This ensures consistent power control and proper function when you turn off or switch on your sight.
Frequently Asked Questions
Can Holosun Red Dot Sights Be Used in Extreme Weather Conditions?
Yes, you can rely on Holosun red dot sights in extreme weather conditions. They’re built with durable titanium or aluminum and feature waterproof, fog-proof, and sealed housings that keep out moisture, dust, and debris.
You’ll find them effective from -40°C to 60°C, performing consistently in heavy rain, snow, or dusty environments.
Their rugged design guarantees you won’t lose sight clarity or functionality, no matter how harsh the weather gets.
How Do I Mount My Holosun Red Dot Sight Properly?
You’ll want to tighten your Holosun red dot sight to exactly 15 in-lbs torque. Studies show this prevents up to 85% of mounting failures.
First, clean the mounting surface thoroughly.
Use the included screws with a blue thread locker to secure the optic firmly. Make sure your firearm is compatible, and use adapter plates if needed.
After mounting, check the alignment carefully.
Then, test-fire to confirm your zero. This guarantees reliable, consistent performance.
It’s pretty straightforward once you get the hang of it!
What Reticle Options Are Available on Holosun Red Dot Sights?
You’ll find Holosun red dot sights offer various reticle options depending on the model. For example, the 507K features a Multi-Reticle System letting you switch between a 2 MOA dot, 32 MOA circle, or both combined.
You change reticles by holding the minus button for 3 seconds.
Some models, like the 407K, have a fixed 6 MOA dot with no reticle variations.
This flexibility really helps you adapt to different shooting conditions. It’s nice to have options depending on what you need in the moment.
Are Holosun Red Dots Compatible With Night Vision Devices?
Yes, many Holosun red dots, like the 407K and 507K, are compatible with night vision devices at their lowest brightness settings (1-2).
You’ll want to confirm your specific model supports night vision mode or has NV-compatible reticle brightness to avoid blooming or damage to your NV gear.
Always check your user manual or product specs to verify compatibility before use.
This way, you can guarantee peak performance with your night vision equipment.
How Do I Clean and Maintain the Lens of My Holosun Sight?
To clean your Holosun sight lens, use the included lens cloth to gently remove dust and smudges. Avoid abrasive materials or harsh chemicals that can damage the coating.
For stubborn dirt, dampen the cloth with a lens cleaning solution designed for optics.
Regularly inspect the lens for debris or scratches, cleaning as needed.
Always handle the sight carefully, and try to avoid touching the lens with your fingers to keep it clear and performing well.
It’s really all about being gentle and consistent with your care.
Conclusion
Turning off your Holosun red dot is like flipping the switch to silence a humming engine. It’s simple but precise. By mastering the power buttons, understanding Shake Awake®, and managing Lockout Mode, you keep your sight sharp and ready.
If it won’t power down, troubleshoot promptly to avoid power drains. Keep your battery fresh and follow these technical tips to guarantee your Holosun stays reliable. This will extend its life like a well-oiled machine ready for action.