How To Turn On Red Dot Sight – Quick Start Guide
To turn on your red dot sight, locate the power button, usually on the top or side. Press and hold it until the reticle appears clearly on the lens. If nothing shows, check the battery to make sure it’s properly installed and has enough charge.
Adjust the brightness afterward for your current lighting conditions. When you’re done, hold the power button to turn it off and conserve battery.
Keep following for tips on battery care, mounting, and troubleshooting to get the most out of your red dot sight.
Key Takeaways
- Locate the power button or switch on the sight housing, usually on top or side.
- Press and hold the power button until the reticle or display appears.
- Confirm the power indicator light is on to verify the sight is active.
- Adjust brightness after turning on for optimal visibility in current lighting.
- To turn off, press and hold the power button until the sight powers down.
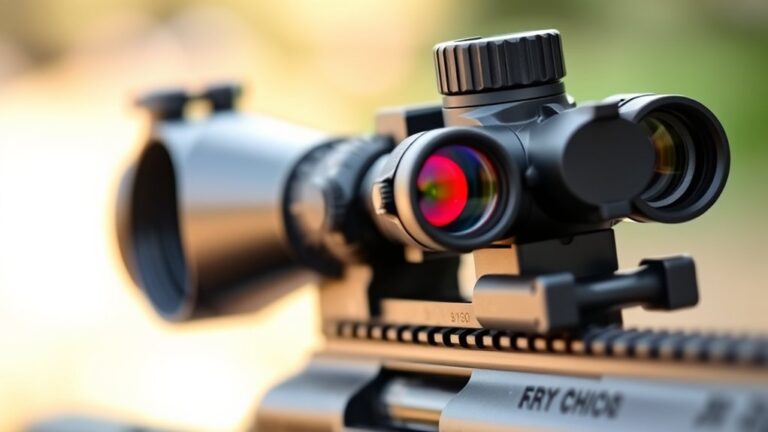
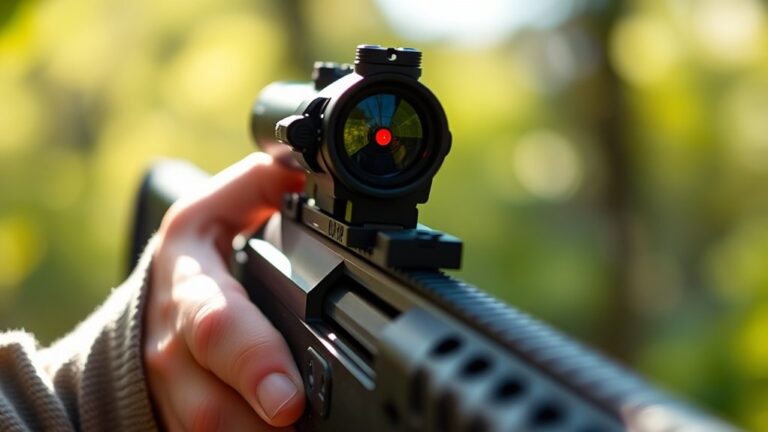
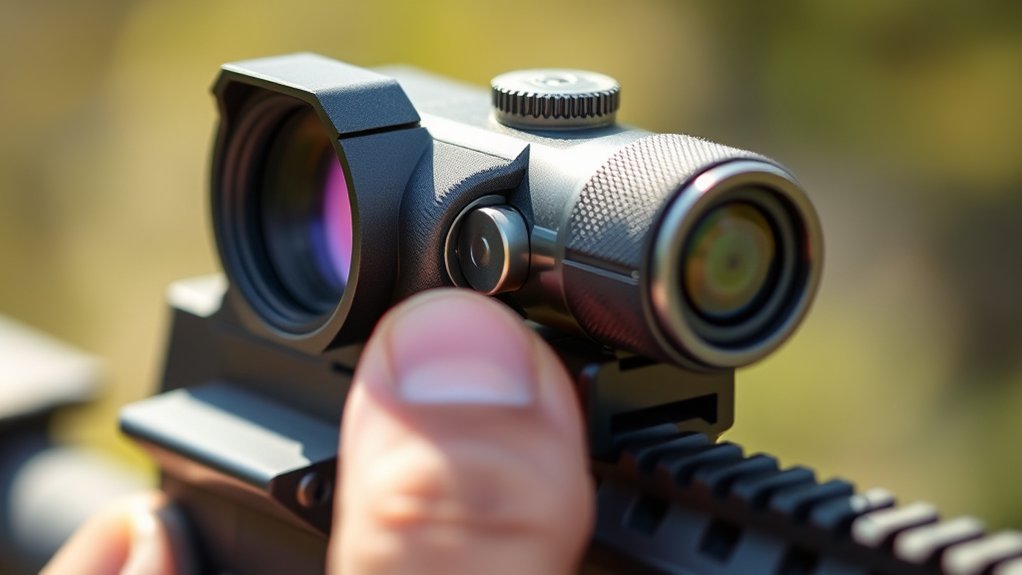
Locate the Power Button
Where exactly is the power button on your red dot sight? Typically, the power button sits on the top or side of the housing for quick access. You might find it as a push button, toggle switch, or even a touch-sensitive area designed to activate the sight effortlessly.
The power button on your red dot sight is usually on the top or side for easy access.
Pressing or touching this button will turn on the red dot sight, allowing the reticle to appear clearly on the display. Some models feature an auto-off function that conserves battery by shutting down after inactivity.
But you still need to manually activate the power button each time you want to use the sight.
Always consult your manufacturer’s guide to pinpoint the exact location and method to turn on your specific model’s power button.
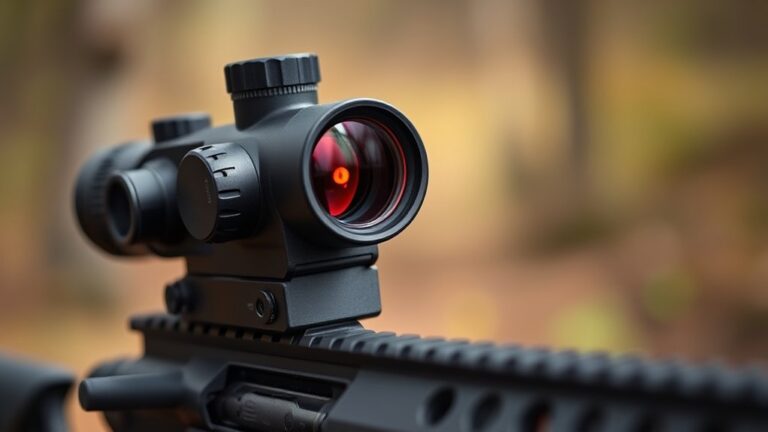
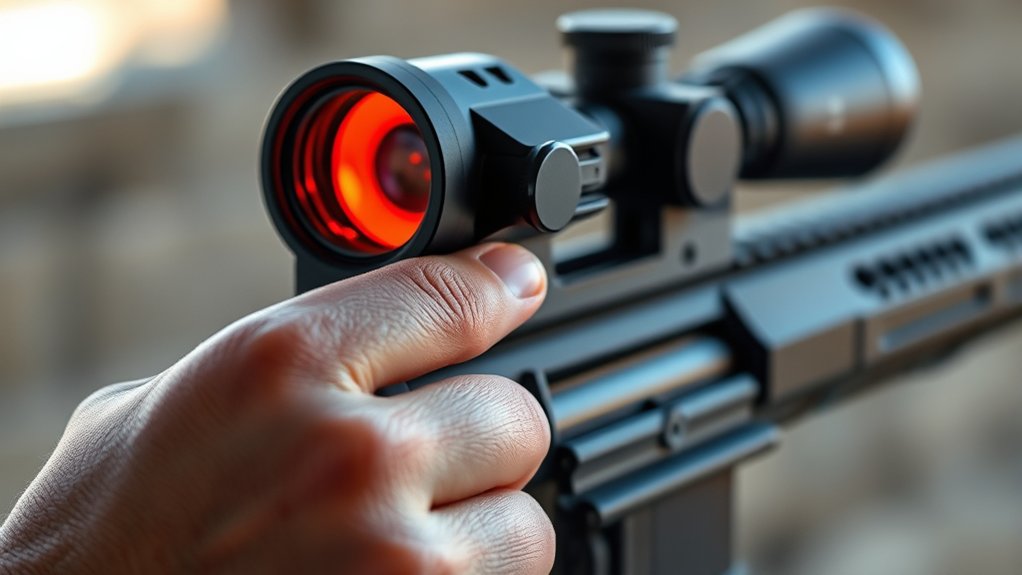
Turn On Your Red Dot Sight
Now that you’ve located the power button on your red dot sight, turning it on is straightforward. For most models, press and hold the power button on the side or top until the reticle illuminates.
Some red dot sights feature auto-on capabilities, activating when they detect motion or are mounted on a firearm, but manual operation requires this simple step.
Once your sight is on, adjust the brightness to suit your environment. Too bright can wash out the reticle, while too dim makes it hard to see.
Proper brightness ensures clear target acquisition under varying light conditions.
Remember, turning your red dot sight off when not in use helps preserve battery life. That step will be covered next.
For now, focus on mastering the power button to turn on your sight efficiently.
Check and Replace the Battery
How can you guarantee your red dot sight stays reliable when you need it most? Always check the battery first. Locate the battery compartment, usually secured by a screw or latch, and make sure the battery is properly seated and making contact.
If pressing the power button doesn’t activate the sight or the reticle appears dim or absent, it’s time to replace the battery. Use the manufacturer’s recommended battery type to avoid damage or malfunction.
Some models require you to press and hold or toggle the power button because of auto-off features, so test accordingly.
Try to inspect and replace batteries every 1-2 years, depending on how often you use it. This helps prevent unexpected failure.
Staying proactive with battery maintenance ensures your red dot sight performs flawlessly when it counts.
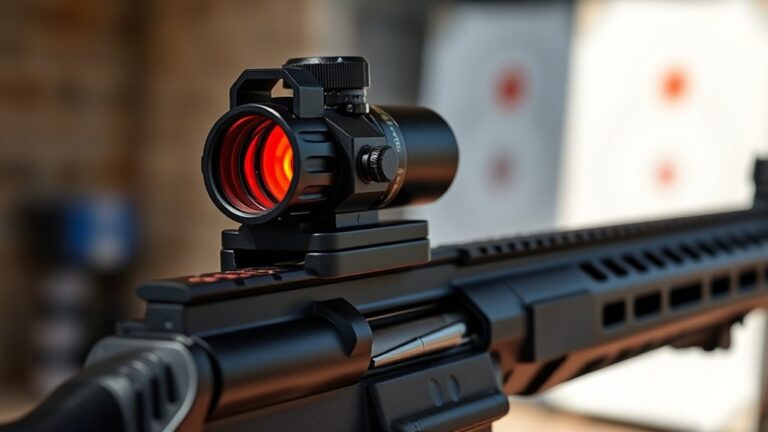
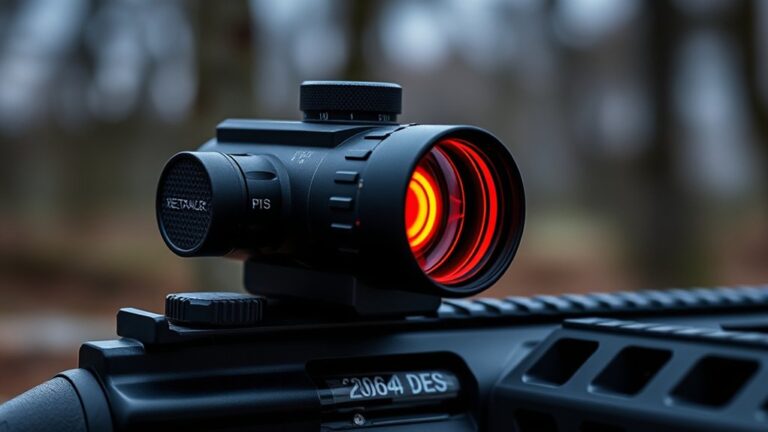
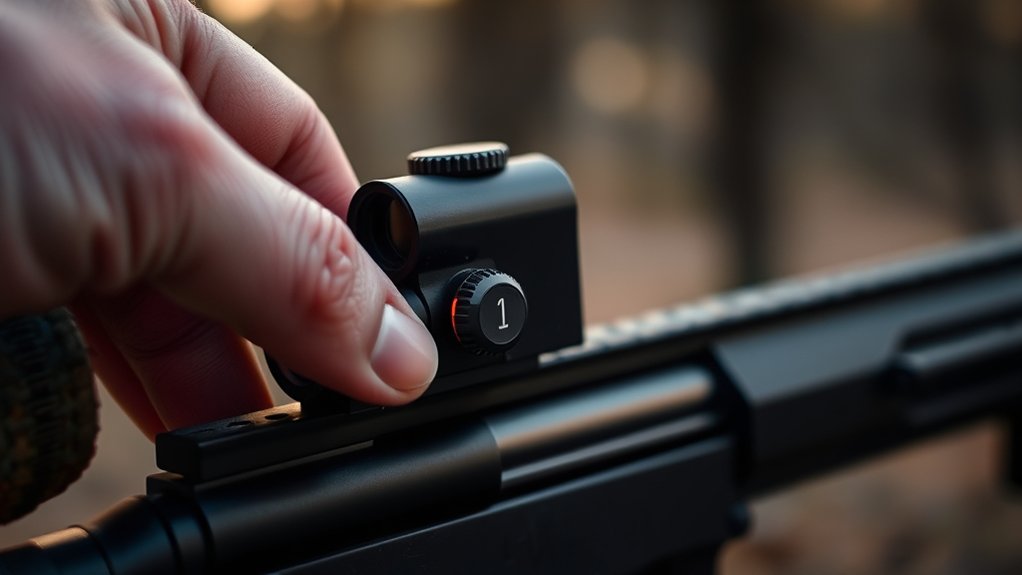
Adjust Brightness for Lighting Conditions
You’ll want to adjust the brightness level on your red dot sight to match the current lighting conditions.
For example, turning up the brightness helps when you’re out in bright sunlight.
On the other hand, lowering it reduces glare indoors or when it’s darker outside.
Getting the hang of these settings means you’ll be able to quickly acquire your target and see clearly no matter where you are.
Brightness Level Settings
Because lighting conditions vary, adjusting the brightness level on your red dot sight is crucial for clear visibility. You’ll find brightness settings controlled by a dial, buttons, or touch-sensitive panels depending on your model.
In bright daylight, increase the brightness level to keep the reticle sharp against strong ambient lighting. Conversely, lower the brightness in low-light or indoor environments to avoid glare that can obscure your sight picture.
Some sights offer automatic brightness adjustment via ambient light sensors, but many require you to manually fine-tune the settings.
Always test different brightness levels by observing how clearly the reticle stands out against your background before locking in your preferred setting.
Proper adjustment ensures maximum visibility and quick target acquisition in varied lighting conditions. It’s worth spending a little time getting it just right so you don’t miss a shot.
Adapting To Environments
Adjusting the brightness level is only the first step. Matching it to your environment guarantees your red dot sight performs at its best. Proper brightness adjustment based on ambient lighting ensures ideal reticle visibility without glare or distraction.
Increase brightness in bright sunlight to avoid a washed-out reticle, and decrease it in low light for better contrast. You can use automatic or manual brightness adjustment features to adapt quickly to changing environmental conditions. Always test reticle visibility across different lighting before shooting to fine-tune settings.
This will enhance your target acquisition speed and reduce eye strain.
| Ambient Lighting | Brightness Adjustment |
|---|---|
| Bright Sunlight | High brightness for clarity |
| Overcast | Medium brightness |
| Twilight | Low to medium brightness |
| Indoor Low Light | Low brightness |
| Nighttime | Minimal brightness to avoid glare |
Troubleshoot Power Issues
If your red dot sight won’t turn on, first check the battery installation. Make sure the battery is placed with the correct polarity and that it’s fresh.
Then, take a look at the power button—double-check that it’s fully pressed and in the “on” position.
These simple steps usually fix most power issues pretty quickly.
Battery Installation Steps
To guarantee your red dot sight powers on correctly, follow these essential battery installation steps.
First, remove the battery compartment cover, usually found on the side or bottom of the sight’s housing.
Next, install the correct battery type, making sure the positive (+) side faces the marked contact inside the compartment.
Seat the battery firmly and align it properly to confirm a solid electrical connection.
Then, securely reattach the battery compartment cover, confirming it clicks or tightens into place.
After installation, you can power on the sight using the designated button or switch, typically located on the side or top.
Proper battery installation eliminates common power issues and assures your red dot sight functions reliably every time.
Power Button Troubleshooting
When your red dot sight doesn’t power on after holding the button for 1-2 seconds, start by checking that the battery is correctly installed and fully charged. Also, take a look at the power button to see if there’s any damage or debris that might be causing the power issue.
Some models have a power switch on the side or top, so it’s a good idea to check the manual to find exactly where it is. If you’re still having trouble, try replacing the battery with a fresh one that matches the correct size and voltage—usually a CR2032.
| Issue | Cause | Solution |
|---|---|---|
| No power | Dead/incorrect battery | Replace with correct battery |
| No response | Dirty/damaged power button | Clean or replace power button |
| Unfamiliar switch | Power switch location | Check manual to find switch |
| Intermittent | Loose battery contact | Re-seat battery securely |
| No reticle | Faulty battery or button | Test with new battery or button |
Turn Off Your Red Dot Sight
Although turning off your red dot sight seems straightforward, doing it correctly guarantees your battery lasts longer and the device stays in good condition.
To turn off your sight, locate the power button, usually on the side or top. Press and hold it for a few seconds until the reticle dims or the display shuts off.
Find the power button on your sight, then press and hold until the reticle dims or the display turns off.
Some models feature an auto-off function that powers down the sight after inactivity. Check your manual to confirm if yours does.
Fully turning off the sight conserves battery life, especially if you won’t use it for a while.
For certain models, removing the battery is the most reliable way to turn off the device. But always consult your instructions before doing so.
Proper shutdown ensures your red dot sight performs at its best when you need it.
Maintain Your Red Dot Sight’s Power
Since your red dot sight relies entirely on its battery, maintaining proper power management is crucial for consistent performance. Always ensure the battery is correctly installed and fully charged before powering on the sight.
Use the power button or switch to activate the reticle, then verify the power indicator light is on to confirm functionality.
Adjust the brightness to suit ambient lighting; too bright or dim can hinder target acquisition.
When you’re done, turn off the sight to conserve battery life and extend its lifespan.
Regularly checking and managing these aspects keeps your red dot sight ready and reliable, preventing unexpected power failures during critical moments.
Proper power maintenance ultimately maximizes your sight’s effectiveness and longevity.
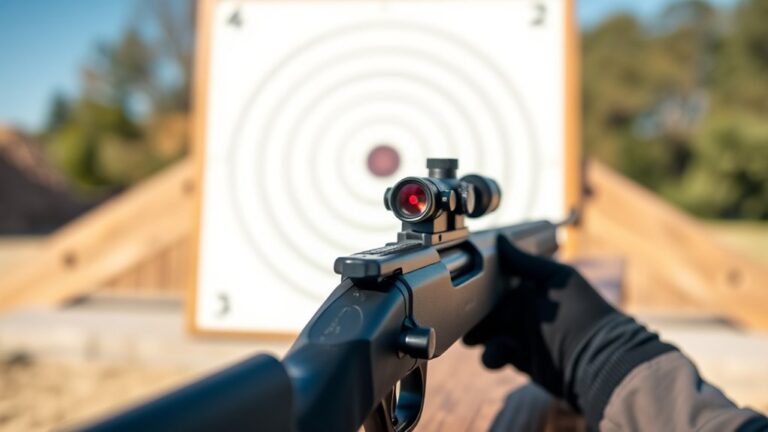
Quick Mount Check Before Use
Before you power on your red dot sight, make sure it’s securely mounted on your firearm’s rail. Proper mounting guarantees stability and accuracy when you use your sight. Perform a quick inspection to confirm everything is in place and ready for operation.
Check these key points before activation:
- Tighten all mounting screws to prevent movement and verify the sight’s alignment with the bore for precise targeting.
- Inspect the battery compartment, ensuring it’s closed properly and the battery has sufficient charge to avoid power interruptions.
- Adjust the brightness setting to suit current lighting conditions and clean the lens to remove any debris that could affect visibility.
Following this quick mount check helps maintain peak performance and reliability of your red dot sight. It’s a simple step that makes a big difference.
Frequently Asked Questions
Can I Use My Red Dot Sight in Rainy Weather?
Yes, you can use your red dot sight in rainy weather. Most are weatherproof and sealed to prevent water damage. But rain might cause droplets to blur your view temporarily.
Keep a lens cloth handy to wipe off water. You might also want to use a lens cover or rain guard for added protection during heavy rain. It really helps keep your sight clear.
Always check your sight’s specs to make sure it’s rated for wet conditions. That way, you can count on it to perform reliably when the weather turns.
How Do I Zero My Red Dot Sight?
Think of zeroing your red dot sight like tuning a musical instrument. Precision really matters here.
First, secure your firearm on a stable surface. Aim at a target about 25 to 50 yards away and fire a group of shots.
Then, adjust the windage and elevation knobs to shift the dot until it aligns with the center of your shot group.
Keep repeating this process until your point of aim matches your point of impact consistently. It might take a few tries, but you’ll get there!
Are Red Dot Sights Compatible With Night Vision Devices?
Red dot sights aren’t usually compatible with night vision devices because their bright, visible red dots can cause glare and washout.
If you want to use a red dot with night vision, look for models labeled “night vision compatible.” These have adjustable brightness and often use infrared illumination that won’t interfere with your night vision gear.
Using a standard red dot sight can seriously reduce your night vision effectiveness.
What Is the Typical Battery Life of a Red Dot Sight?
Battery life beautifully balances between brightness and brand. Typically, your red dot sight lasts from 1,000 to 50,000 hours, depending on model and settings.
Lower brightness levels boost battery longevity, while higher settings drain power faster.
Some sights smartly conserve energy with solar backups or motion-activated modes.
To keep your sight sharp, check, replace, or recharge lithium batteries regularly.
This guarantees your red dot remains reliable when you need it most.
Can I Use a Red Dot Sight on a Handgun?
Yes, you can use a red dot sight on a handgun, especially if it’s designed with slide mounts or adapter plates. Many modern handguns come ready for optics, featuring slide cuts for direct mounting.
Just make sure you pick a compact, lightweight red dot meant for handguns. Also, check that it’s compatible with your gun’s mounting system.
Proper installation and zeroing are key to keeping your accuracy sharp with a handgun red dot sight. It really makes aiming quicker and easier once set up right.
Conclusion
Now that you know how to turn on your red dot sight, you’re ready to hit the mark every time. Don’t underestimate the power of proper battery care and brightness adjustment. They’re the secret sauce to flawless accuracy.
Remember, a quick mount check before use can save you from a world of frustration. With these steps, turning on your red dot sight will feel as easy as flipping a switch. No rocket science needed!