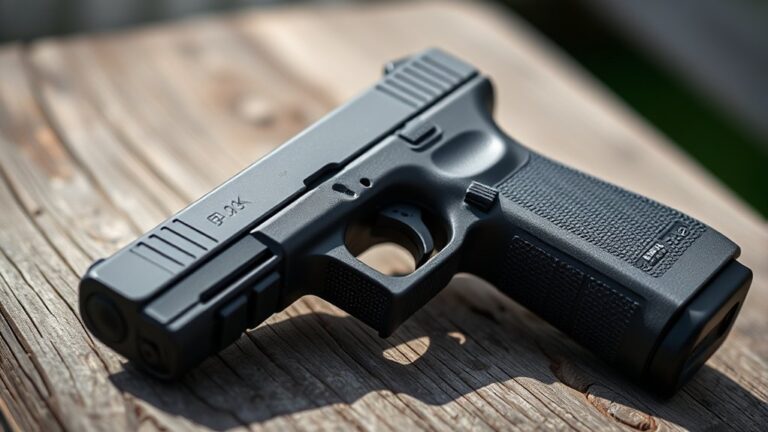
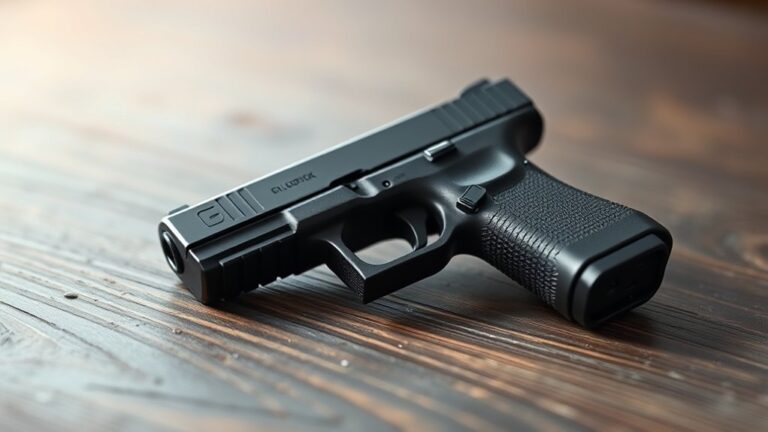
How To Disassemble A Glock – Step By Step Guide
To disassemble your Glock safely, start by making sure it’s unloaded. Remove the magazine, lock the slide open, and then visually check the chamber to confirm it’s empty.
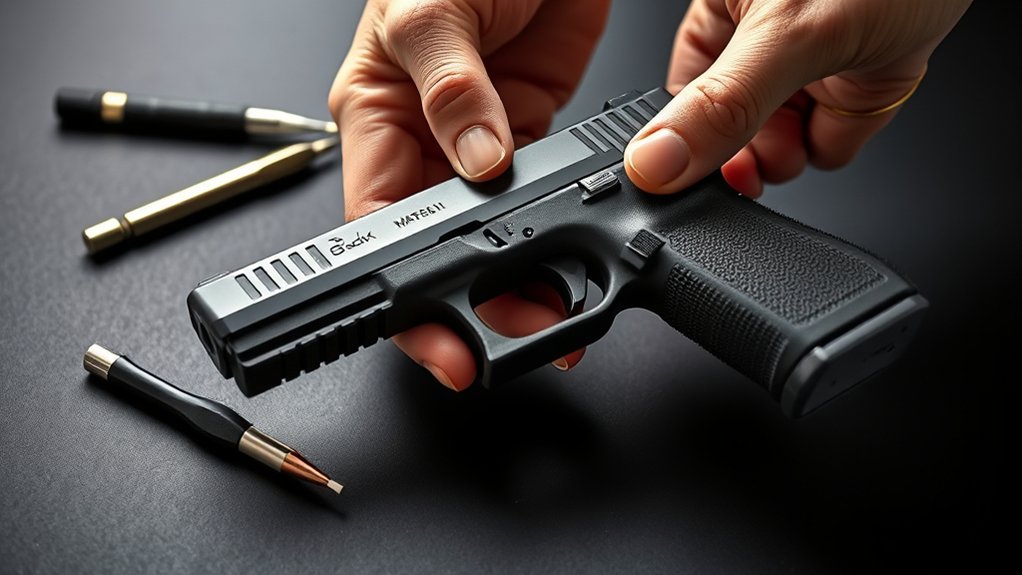
Once you’re sure it’s safe, press both sides of the slide lock lever. While doing this, pull the slide forward and off the frame. It’s a simple step but important for safety.
Next, carefully lift out the barrel and recoil spring assembly. Take your time to avoid any damage or misalignment.
After that, you can remove the trigger pin and trigger bar. Use a punch to drive out the frame pins gently. This will free the trigger components for cleaning or inspection.
Once all parts are apart, take a moment to clean and inspect everything. When you’re ready to put it back together, follow the reassembly steps carefully.
With patience and attention, reassembling your Glock will go smoothly.
How To Safely Unload Your Glock
How do you guarantee your Glock is completely unloaded before disassembly? First, always point the firearm in a safe direction. Keep your finger off the trigger and maintain proper safety procedures.
Press the magazine release to remove the magazine completely. Then, pull back the slide slightly and engage the slide lock to hold it open. This makes it easier to check the chamber thoroughly.
Remove the magazine, pull back the slide, and engage the slide lock to check the chamber safely and easily.
Next, do a visual inspection of the chamber. Sweep the pinky or back of your hand along the chamber opening three times to make sure no live rounds remain. It’s important to be thorough here.
Finally, double-check both the magazine well and the chamber once more. Confirm that the Glock is fully unloaded before you proceed with disassembly. Only after following these steps can you do so confidently and safely.
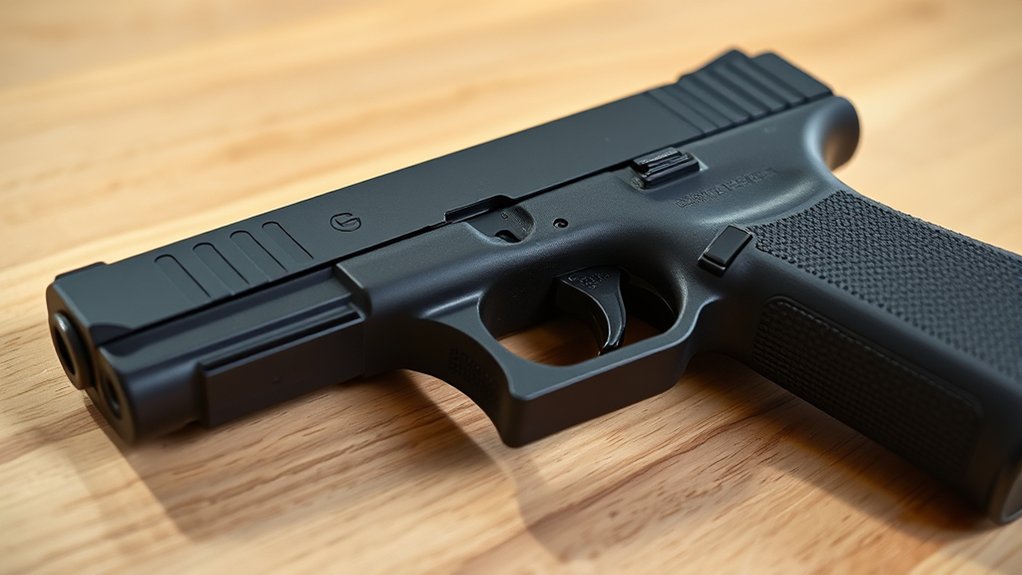
Release The Slide And Remove It From The Frame
First things first, make sure the firearm is unloaded and the chamber is completely clear. Safety always comes first, so double-check before you do anything else.
Once you’re confident it’s safe, gently pull the slide back just a little. While doing that, press down on both sides of the slide lock lever to release it. Keep a good grip on the slide so it doesn’t slip out unexpectedly.
Finally, push the slide forward off the frame. With a steady hand, you’ll have successfully removed the slide and can move on to the next step.
Slide Lock Lever Operation
Before you can remove the slide from the frame, you need to disengage the slide lock lever.
Press down on both sides of the lever at the same time until it releases.
To properly disassemble your Glock, make sure the firearm is unloaded and the slide is partially retracted.
Push down firmly on the slide lock lever to release it from the frame’s locking notch.
Once it’s fully depressed, gently pull the slide back a little to clear the notch.
Next, use a punch or your finger to push the slide lock lever out of its hole in the frame.
With the slide lock lever removed, carefully slide the entire slide forward off the frame.
Be sure to maintain control during this process.
Mastering this slide lock lever operation is essential for safe and efficient Glock disassembly.
Proper Grip Techniques
Although releasing the slide may seem straightforward, it’s important to keep a firm grip on the rear of the pistol with your dominant hand for better control.
Make sure your thumb and fingers hold the slide and frame securely. This helps you maintain a stable grip during disassembly.
Squeeze the slide slightly backward, moving it past the ejection port lip to disengage the slide lock.
At the same time, press down on both sides of the slide lock lever with your index fingers or thumbs to release the lock mechanism.
Keep a steady hold throughout and carefully control the slide’s movement. This helps prevent sudden snapping caused by spring tension.
Using this controlled grip technique ensures a smooth slide release. It also helps protect internal components and keeps safety in mind during disassembly.
Slide Removal Procedure
When you pull down on both sides of the slide lock lever simultaneously, you release the slide from the frame.
This allows you to push it forward while still applying pressure on the lever until it clears the frame.
Follow these steps for proper slide removal:
- Grasp the slide firmly and pull down the slide lock lever on both sides to release the slide.
- Push the slide forward, keeping pressure on the slide lock lever until the slide moves off the frame.
- Carefully lift the rear of the slide upward to fully separate it from the frame.
- Handle the slide cautiously to avoid accidental discharge of spring-loaded components.
This methodical slide removal process helps you safely and effectively detach the slide from the frame without damaging any parts.
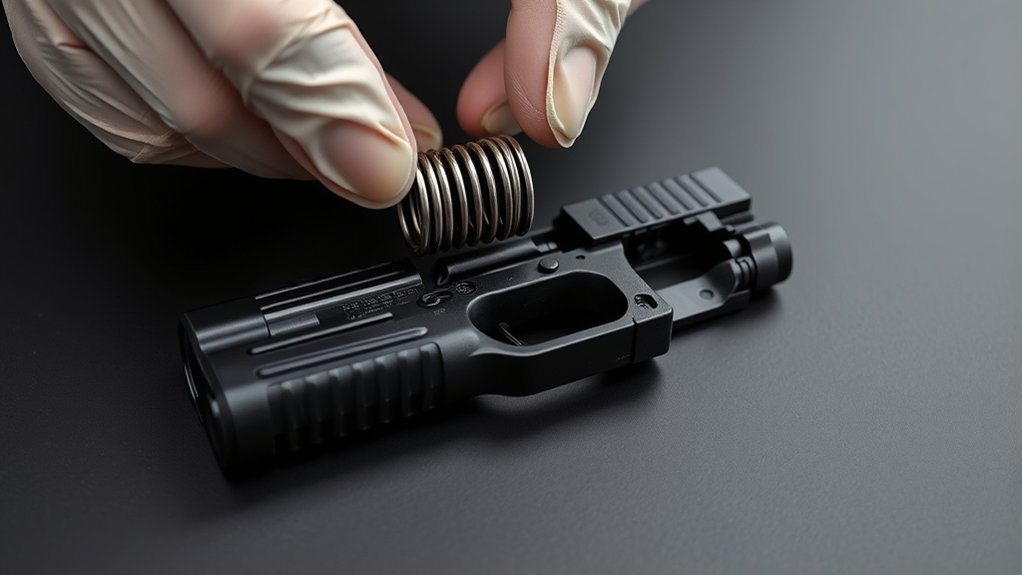
Remove The Glock Barrel And Recoil Spring Assembly
Once you secure the slide firmly, lift the front of the barrel slightly and push it forward to disengage it from the slide’s locking lugs.
With the barrel free, carefully pull the recoil spring assembly straight out of the slide. Support the recoil spring assembly as you remove it to prevent it from snapping away due to spring tension.
Remember, the assembly includes both the recoil spring and guide rod. You can separate them if needed for cleaning or replacement.
Grip the assembly by the guide rod and pull straight, avoiding any bending. Removing the barrel and recoil spring assembly this way guarantees you don’t damage components.
To reinstall, reverse the process, seating the barrel securely into the slide’s locking lugs before reinserting the recoil spring assembly.
Disassemble Slide Components
Before removing the slide from the frame, push down firmly on both sides of the slide lock lever to release it.
Once it’s disengaged, pull the slide slightly back and then push it forward to take it off the frame.
To disassemble the slide components, start by removing the slide cover plate. You can do this by pressing down on the striker’s plastic sleeve with a punch.
Carefully extract the extractor spring, plunger, and slide cover, making sure the spring doesn’t escape.
Next, disassemble the striker assembly by removing the spring cups.
If you want to adjust the trigger pull, you can experiment with different striker spring weights.
This step-by-step approach helps you disassemble the slide components safely and efficiently, keeping control over the springs and other critical parts.
Disassemble Frame Pins And Trigger Assembly
Alright, let’s start by removing the frame pins. You’ll want to use a punch to gently tap them out, giving you access to the trigger assembly. Just take your time and be careful not to damage anything.
Once the pins are out, carefully separate the trigger bar and any other components connected to it. Keep an eye on the springs—they can be tricky if they get out of alignment. Make sure everything stays in place as you work.
Finally, go ahead and extract the magazine release. That’ll wrap up this part of the disassembly. Just handle it gently, and you’ll be all set!
Removing Frame Pins
How do you safely remove the frame pins from your Glock to access its internal components?
First, make sure the frame is prepared for disassembly. This helps prevent any damage or parts from getting lost.
Use a punch that’s specifically designed for pin removal. Carefully push out the frame pins, starting with the trigger pin. Be gentle and patient during this process.
Support the Glock frame securely to avoid dropping any pins. Insert the punch on the trigger pin and gently tap until it’s fully removed.
Once the trigger pin is out, carefully take out the trigger assembly.
It’s a good idea to keep all pins and parts organized. This will make reassembling your Glock much easier.
Using the right punch helps prevent damage to the frame pins or the Glock’s structure during disassembly.
Trigger Bar Separation
Once you’ve carefully removed the trigger pin from the frame using a punch, you can start separating the trigger bar.
Gently lift the trigger bar upward to disengage it from the trigger assembly. Be careful not to lose any small springs or components that might come loose during this step.
Next, disassemble the remaining frame pins by pressing or driving them out with a popper tool. Once the pins are out, you can slide the trigger bar free from the frame pins to complete the separation.
| Step | Tool Needed | Action |
|---|---|---|
| Remove Trigger Pin | Punch | Push out from frame |
| Lift Trigger Bar | Hands | Detach from trigger assembly |
| Disassemble Frame Pins | Popper | Drive pins out |
| Separate Trigger Bar | Hands | Slide free from frame pins |
Following this process ensures correct disassembly of the trigger bar and frame pins.
Magazine Release Extraction
Where do you begin when extracting the magazine release? Start by removing the magazine to clear the workspace and ensure safe disassembly.
Next, follow these steps for precise magazine release spring removal and frame pin disassembly.
Use a small pick or a tool extraction device to carefully remove the magazine release spring. Be gentle to avoid deforming it.
Then, employ a punch tool to drive out the trigger pin first. After that, remove the trigger housing pin that secures the trigger assembly.
Lift the trigger assembly out carefully. Pay attention to the orientation of the trigger bar, connector, and safety components so you can reassemble everything correctly later.
If needed, disconnect the trigger bar from the trigger and remove the trigger spring and connector.
Following this methodical approach will help you disassemble smoothly and ensure everything functions properly when you put it back together.
Clean And Inspect All Disassembled Glock Parts
Before reassembling your Glock, take the time to thoroughly clean each disassembled part using the right solvents and brushes. Make sure to remove all residue from the barrel, slide, recoil spring, extractor, firing pin, and internal components.
Be careful while cleaning each piece. Use a lint-free cloth or cleaning patches to dry all surfaces and ensure no residue remains. This helps keep your firearm in good shape and ready for reliable operation.
Next, inspect every part carefully for wear, corrosion, or damage. Pay special attention to critical parts like the recoil spring, extractor, firing pin, slide rails, and locking block.
Check the slide rails for smooth movement and look for any scoring or debris. This detailed inspection helps make sure everything functions properly and reduces the chance of issues.
Finally, apply a light coat of firearm lubricant to key contact points. This helps prevent corrosion and keeps your Glock running smoothly before you put it back together.
Reassemble Your Glock And Perform A Function Check
Although disassembly and cleaning are important, reassembling your Glock correctly is crucial for reliable operation. Pay close attention to the alignment and seating of all components during reassembly.
Make sure the barrel, recoil spring, and slide are properly seated before attaching the slide to the frame. Take your time to confirm everything is aligned properly.
Next, reinstall the slide lock and check that it engages correctly with both the slide and the frame. This step helps ensure smooth functioning during use.
Perform a function check by pulling the slide back. If it’s safe, dry fire to verify the trigger reset and safety features are working properly.
Finally, do a thorough safety check. Inspect the chamber and magazine well before you consider the firearm ready for use.
Following this careful process will help keep your Glock functioning reliably after maintenance.
Frequently Asked Questions
What Tools Are Needed for Advanced Glock Disassembly?
Your tools checklist for advanced Glock disassembly should include punch sets, pin removal tools, and fine-tipped needle-nose pliers.
A disassembly jig is also essential to keep things steady and organized during the process.
Use specialized striker pin or extractor removal tools if needed.
Apply precise disassembly techniques and always wear safety glasses as a safety precaution.
Handle springs carefully to avoid any accidents or damage.
Follow maintenance tips closely to ensure everything stays in good shape.
If you’re unsure about any step, don’t hesitate to seek professional assistance.
This way, you’ll guarantee proper, damage-free handling throughout the process.
How Do I Troubleshoot a Glock Malfunction After Reassembly?
To troubleshoot common issues after reassembly, first make sure the firearm is unloaded for safety. Always double-check that there’s no round in the chamber or magazine.
Next, look for obvious problems like improperly seated striker springs or a misaligned barrel. These small issues can cause big malfunctions.
Perform a function check by dry firing the gun. Pay attention to how the slide moves and whether the trigger resets properly.
Inspect the slide and recoil spring installation. Make sure everything is placed correctly and that nothing is out of place or damaged.
Verify that the slide stop engages properly. If it’s not catching or releasing as it should, that could be causing your problem.
If you still have issues, try disassembling and reassembling the critical components. Take your time and ensure all parts fit smoothly without binding or obstruction.
Sometimes, a careful recheck and proper installation can fix the malfunction. Patience and attention to detail are key.
Can I Use Aftermarket Parts During Glock Reassembly?
Yes, you can use aftermarket upgrades during Glock reassembly, but you should be cautious about compatibility.
Custom modifications and part replacements can really boost performance, like making the trigger pull smoother or improving accuracy.
That said, not all aftermarket parts fit perfectly right out of the box. You might need to do some fitting or polishing to get everything working smoothly.
It’s always a good idea to choose reputable brands and check that the parts meet quality standards.
Once you’ve reassembled your Glock, be sure to test it thoroughly. This way, you can ensure everything is functioning reliably and safely with the new components.
How Often Should I Disassemble My Glock for Maintenance?
You should follow a cleaning schedule of every 1,000 to 2,000 rounds or at least every 3 to 6 months.
Adjust how often you lubricate based on how often you use your Glock and the environment you’re in.
Always make sure to follow safety precautions before disassembling your firearm.
When storing your Glock, keep it dry and in a secure place to prevent accidents or damage.
Use an inspection checklist during maintenance to spot any wear or residue buildup.
Staying methodical with your maintenance routine helps keep your Glock reliable and extends its lifespan.
Are There Any Glock Disassembly Steps Specific to Different Models?
Like a master craftsman adjusting his tools, you’ll find Glock disassembly varies with custom grips, slide modifications, or barrel replacements.
Some models require extra care when removing slide locks or trigger pins, especially if you’ve installed magazine extensions or trigger upgrades.
Subcompact designs like the Glock 42 have different pin placements, which demand a bit more precision.
Always consult your model’s manual to navigate these technical nuances and guarantee safe, efficient disassembly.
Conclusion
Now that you’ve mastered disassembling your Glock step by step, you’re ready to keep it in top shape.
Remember, practice makes perfect. Don’t rush the process or cut corners. Each part plays a vital role, so handle everything with care and precision.
By following this guide methodically, you’ll ensure your Glock functions reliably every time.
Keep your skills sharp, and you’ll always be ahead of the game when it’s time for maintenance.