How To Zero A Red Dot – Step By Step Guide
To zero your red dot, first guarantee your firearm is unloaded and securely mount the sight using the correct torque. Choose a zero distance based on typical use. For example, 25 yards for pistols or 50 yards for rifles.
Next, bore sight by aligning the red dot with the barrel’s center. Then, fire 3-5 rounds to check the grouping. Adjust windage and elevation turrets precisely to align the point of aim with the impact.
Finish with test shots to confirm accuracy and maintain your settings. Take your time with each step, and you’ll master zeroing your red dot in no time!
Key Takeaways
- Ensure the firearm is unloaded and securely mount the red dot sight following manufacturer torque specifications.
- Bore sight the red dot by aligning the reticle with the barrel’s bore at your chosen zero distance.
- Fire 3-5 rounds at the target, then evaluate the shot group for horizontal and vertical deviations.
- Adjust windage and elevation turrets precisely based on group analysis to bring point of impact to point of aim.
- Confirm zero with final test shots, document settings, and perform regular maintenance to maintain accuracy.
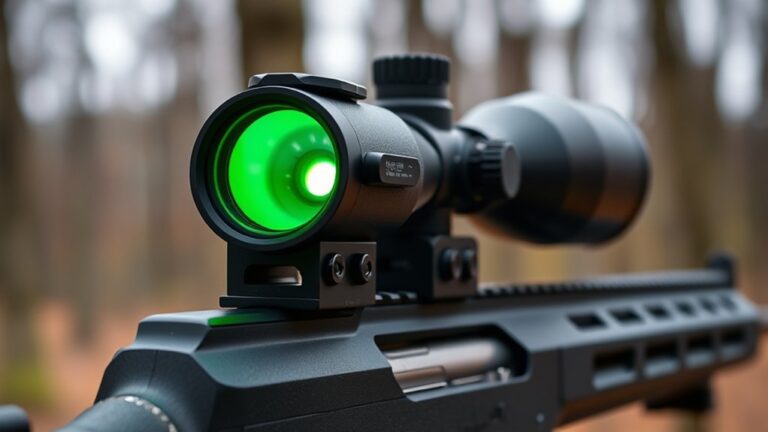
Understanding Red Dot Sights and Zeroing Importance

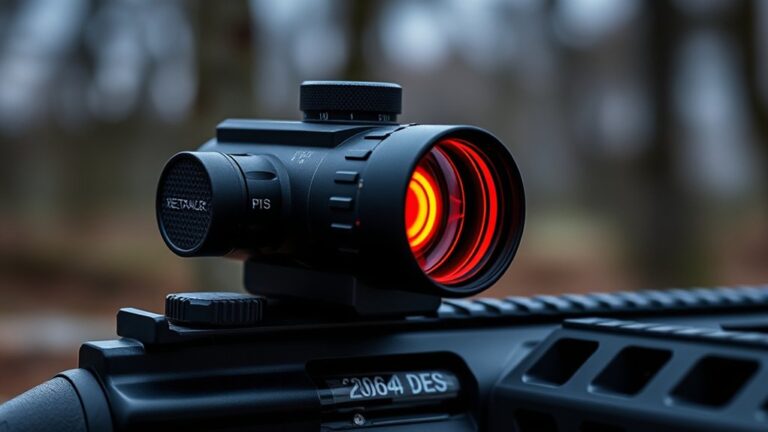
Although red dot sights might seem simple, understanding how they work and why zeroing is important is key to accurate shooting. A red dot sight projects an illuminated reticle—usually a red dot—that helps you quickly get your aim on target.
Zeroing a red dot means making sure your point of aim matches exactly where your shot will hit at a specific distance. This is super important because even a tiny misalignment can make your shots go off target.
Getting your zero right not only boosts your accuracy but also speeds up your shooting. It helps you trust your sights no matter the conditions you’re shooting in.
Keep in mind, your zero’s accuracy depends on mounting the sight correctly and making steady adjustments. Checking and maintaining your zero regularly will keep your shots tight and reliable every time you use your red dot sight.
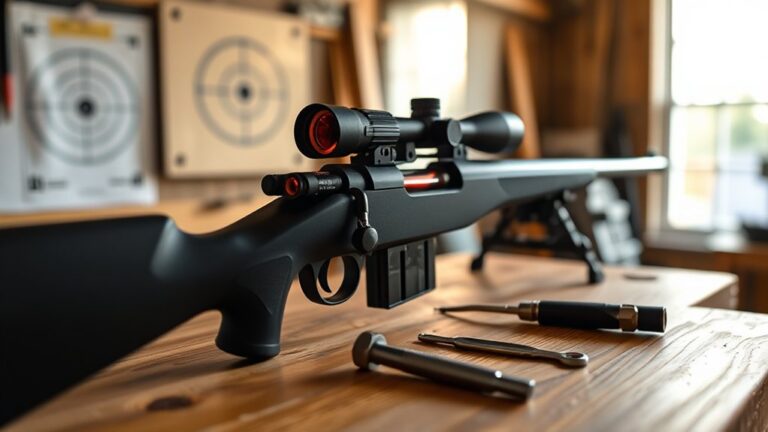
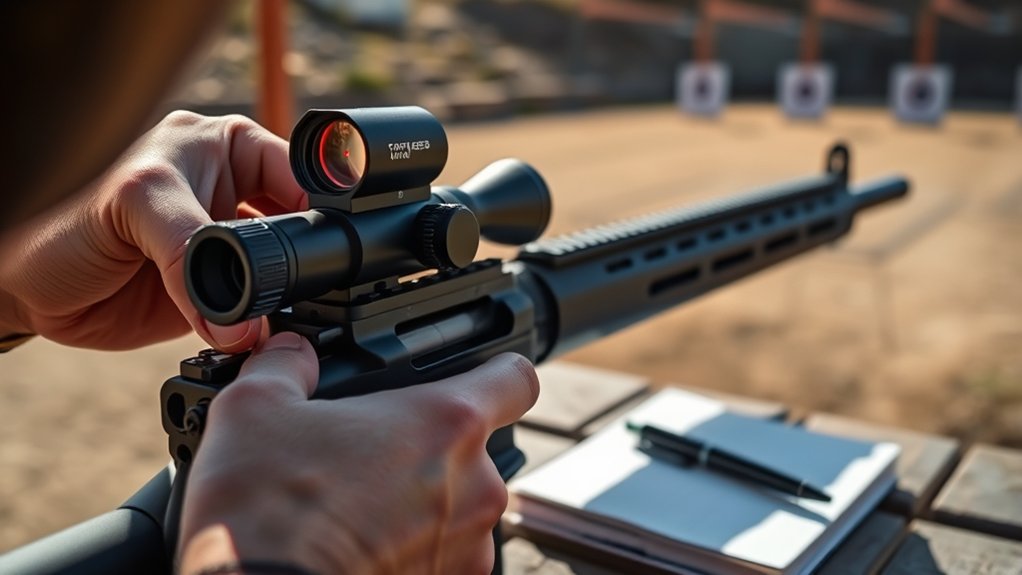
Safety Checks and Mounting Your Red Dot Sight
Getting your red dot sight zeroed starts with proper safety checks and mounting. First, always confirm firearm safety by making sure the weapon is unloaded before handling or attaching the sight.
Begin zeroing your red dot sight by ensuring the firearm is unloaded and performing safety checks.
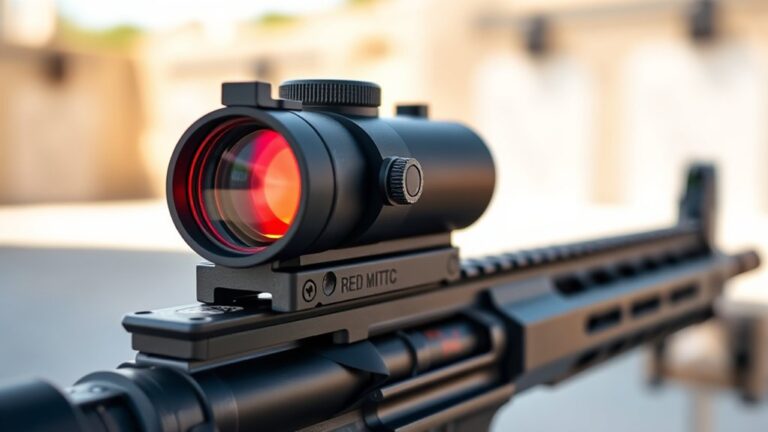
Follow the manufacturer instructions precisely for mounting to achieve secure attachment to the firearm’s rail.
Use a torque wrench to tighten screws to recommended specs, usually 15-20 inch-pounds, to prevent loosening under recoil.
Verify sight alignment by checking that the optic sits evenly and isn’t canted, as misalignment compromises zeroing accuracy.
After mounting, regularly inspect screw tightness, especially after heavy use, to maintain zero and reliability.
By prioritizing firearm safety and precise mounting, you ensure your red dot sight performs accurately and consistently in the field.
It really pays off to keep these steps in mind every time you set up your sight.
Choosing the Best Zero Distance for Your Red Dot
Where should you zero your red dot sight to get the best accuracy? Well, it really depends on your typical engagement range and the shooting scenarios you find yourself in.
For pistols, zeroing at 25 yards usually works well. Rifles, on the other hand, benefit from a zero distance of 50 yards because it gives you a flatter trajectory.
If you often engage targets up close, zeroing at 10 to 15 yards is a smart move. This helps with quick target acquisition and makes sure your point of aim matches your point of impact.
Keep in mind, things like environmental factors and the type of ammunition you use can affect your ideal zero distance.
So, by matching your zero distance to how and where you shoot, you make sure your red dot is properly zeroed. This reduces the need to adjust your hold-over.
When everything lines up, you can confidently aim and point, which maximizes your precision across the range you expect to shoot.
Bore Sighting to Save Ammo
Because bore sighting aligns your firearm’s barrel with the target before firing, it saves you valuable ammunition during the zeroing process. Using a bore sight tool, you insert it into the chamber to project a reticle that helps you align your red dot with the barrel’s true point of aim.
Aim your firearm at the target set at your chosen zero distance, then adjust the red dot to match the bore sight’s reference. This initial setup guarantees your point of aim is close to the true point of impact. It considerably improves accuracy before live firing.
Regularly bore sighting maintains your zero over time and reduces the rounds needed for fine adjustments during zeroing. This makes your process more efficient and precise.
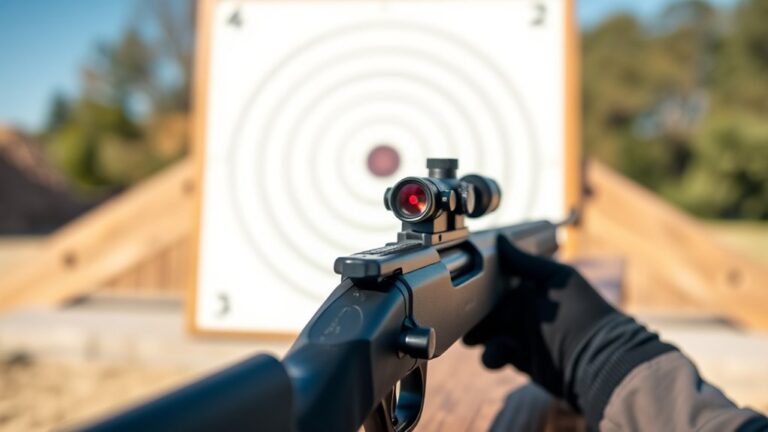
Shooting Test Groups to Evaluate Your Zero
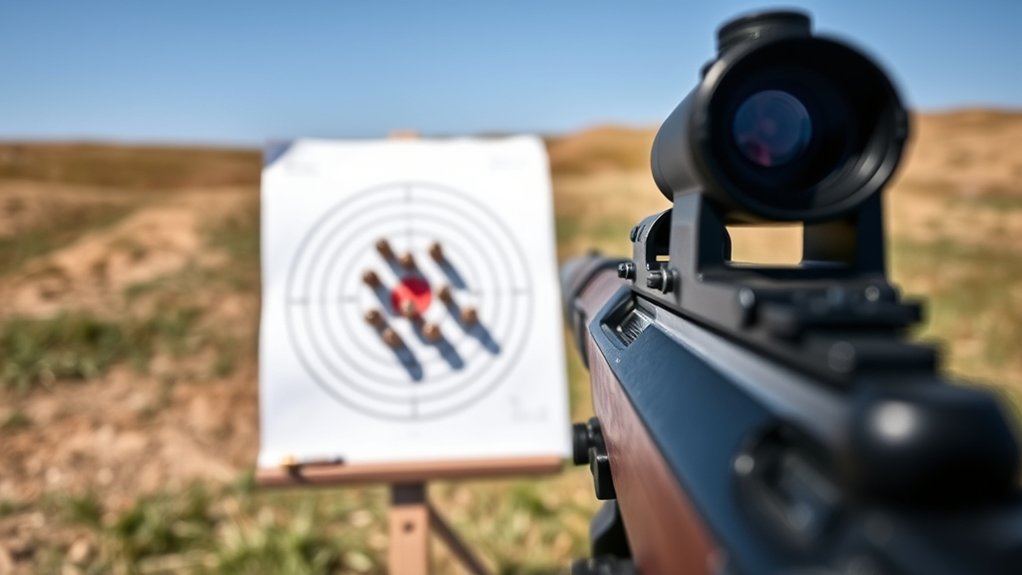
Once you’ve completed bore sighting, you’ll need to verify and fine-tune your zero by shooting test groups. Fire 3 to 5 rounds per group at a consistent target while maintaining a stable stance and grip. Analyze the group’s center to determine the deviation from your point of aim.
Measure this offset in MOA to calculate necessary adjustments for your red dot zeroing. Repeat test groups after each adjustment to confirm accuracy.
| Step | Action |
|---|---|
| 1 | Fire 3-5 rounds at target |
| 2 | Identify group center |
| 3 | Measure deviation in MOA |
| 4 | Confirm zero with repeat groups |
This method guarantees precise zeroing and reliable red dot performance. Just take your time and be consistent with each shot.
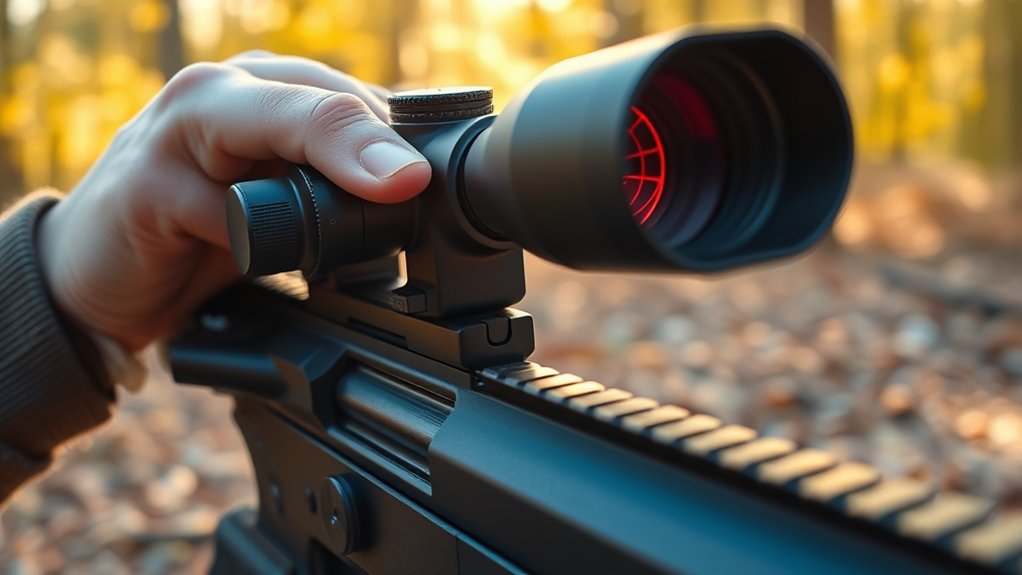
How to Adjust Windage and Elevation for a Perfect Zero
To achieve a perfect zero, you’ll need to adjust windage and elevation by carefully manipulating the turrets on your red dot sight.
Start with windage by turning the side turret to shift the red dot horizontally, aligning it with the point of impact. Each click moves the reticle a specific MOA, so count clicks to track your adjustments.
Next, correct elevation by turning the top turret to raise or lower the reticle until the impact matches your point of aim at your zero distance.
Use multiple shots on a known-distance target to measure deviation, then make precise turret adjustments.
Recheck both windage and elevation, fine-tuning as necessary to ensure consistent sight alignment and accurate zeroing.
It might take a few tries, but with some patience, you’ll get it dialed in perfectly.
Verifying Zero With Final Test Shots
After making your initial adjustments, fire a group of final test shots at your zero distance to verify the alignment. Measure the impact points and compare them to your point of aim. If shots deviate, calculate the difference in MOA and make precise turret adjustments.
Then, repeat the final test shots to confirm consistent hits at the target’s center. It’s a good idea to document your final sight settings and zero distance for future reference.
Use this simple table to track your verification process:
| Test Shot Group | Impact Points (MOA) | Turret Adjustments (Clicks) |
|---|---|---|
| 1 | +1.5 Right, -0.5 Down | 0 |
| 2 | +0.2 Left, +0.1 Up | 3 Left, 1 Up |
| 3 | 0, 0 | None |
| 4 | 0, 0 | Confirmed |
Keep Your Zero: Caring for Your Red Dot
Although zeroing your red dot sight takes careful effort, maintaining that zero requires consistent care and attention. To preserve zero, start with regular inspection and cleaning. Focus on the lens to ensure clear visibility and prevent dirt or smudges from affecting accuracy.
Use proper mounting techniques and tighten screws securely. Applying thread locker can help if needed. Avoid exposing your red dot to extreme temperatures or impacts. These can misalign the optic.
Ensure secure mounting with tight screws and thread locker; protect your red dot from extreme conditions to maintain alignment.
For storage, keep your firearm and red dot in a safe, dry environment. Always use protective covers to prevent dust and moisture buildup.
Finally, incorporate periodic re-zeroing, especially after handling, impacts, or extended storage. This will ensure your red dot remains accurate and reliable every time you use it.
Frequently Asked Questions
Can I Zero a Red Dot Sight in Low Light Conditions?
Yes, you can zero a red dot sight in low light conditions, but you’ll need to adjust the brightness for better reticle visibility. Using a flashlight or weapon-mounted light helps you see both the target and the reticle clearly.
Make certain to verify your zero under proper lighting afterward to confirm accuracy.
Practicing zeroing in low light will boost your confidence and ensure reliable performance when visibility is limited.
How Often Should I Re-Zero My Red Dot Sight?
You should re-zero your red dot sight every 6 to 12 months to keep it accurate.
If you drop or bump your firearm, re-zero immediately, because even minor impacts can throw off alignment.
Also, re-zero whenever you switch ammo or change your setup.
Environmental factors like temperature swings can affect performance. So, verify zero if your shots start grouping oddly.
Staying proactive ensures your red dot stays reliable and precise.
Will Changing Ammunition Affect My Zero?
Yes, changing ammunition can affect your zero. Different bullet weights, velocities, and powder charges can shift your point of impact, even if you’ve zeroed your red dot with another load.
Manufacturers’ variations and subsonic versus high-velocity rounds also play a role.
So, to keep things precise, you should always re-zero your red dot whenever you switch to considerably different ammunition types or loads.
That way, your shots stay accurate and consistent every time.
Can Red Dot Sights Be Zeroed for Left-Handed Shooters?
Absolutely, you can zero red dot sights for left-handed shooters. It’s as essential as finding the North Star in a pitch-black sky. You’ll adjust windage to match your dominant eye’s perspective, making sure the reticle aligns naturally with your line of sight.
Some sights have ambidextrous controls, which makes this easier. But if not, you can reposition or reverse the turrets.
Just fine-tune by shooting groups until your point of aim and impact perfectly align from your stance.
Does Temperature Affect Red Dot Sight Zeroing?
Yes, temperature affects red dot sight zeroing. When you expose your sight to extreme heat or cold, its components can expand or contract, causing shifts in the reticle alignment.
Rapid temperature changes might also cause condensation inside, reducing clarity.
To keep your zero consistent, you should zero your red dot in the environment where you’ll use it. That way, you account for any temperature variations that could impact performance.
It really helps to match the conditions as closely as possible.
Conclusion
Zeroing your red dot sight takes patience, precision, and practice. You’ll start with safety checks, move to mounting and bore sighting, then choose your zero distance carefully.
Next, you’ll shoot test groups, adjust windage and elevation, and verify your zero with final shots. By following each step methodically and maintaining your sight, you’ll guarantee accuracy, consistency, and confidence every time you pick up your firearm.
Stay sharp, stay safe, and keep your red dot on target.