How To Clean A Glock – Maintenance Guide
To clean your Glock, start by making sure it’s completely unloaded. Then, disassemble it by removing the slide, barrel, and recoil spring.
Use a bore brush and cloth patches along with a quality gun cleaner to thoroughly clean the barrel, slide, and frame. Take your time to get rid of any residue or dirt.
Once everything is clean, lightly lubricate the slide rails, barrel hood, and contact points. This helps ensure smooth operation when you reassemble.
Put your Glock back together and perform a function check. Make sure everything moves freely and operates properly.
Following these simple steps will help keep your Glock reliable and safe to use. If you want to get even better at maintenance, there are more detailed tips out there to help perfect your routine.
Getting Your GLOCK Ready for Cleaning

Before you start cleaning your Glock, make sure it’s completely unloaded. Remove the magazine and rack the slide twice to check the chamber. Safety is the top priority, so double-checking that the firearm is unloaded is essential before moving on.
Always ensure your Glock is fully unloaded before cleaning to prioritize safety above all else.
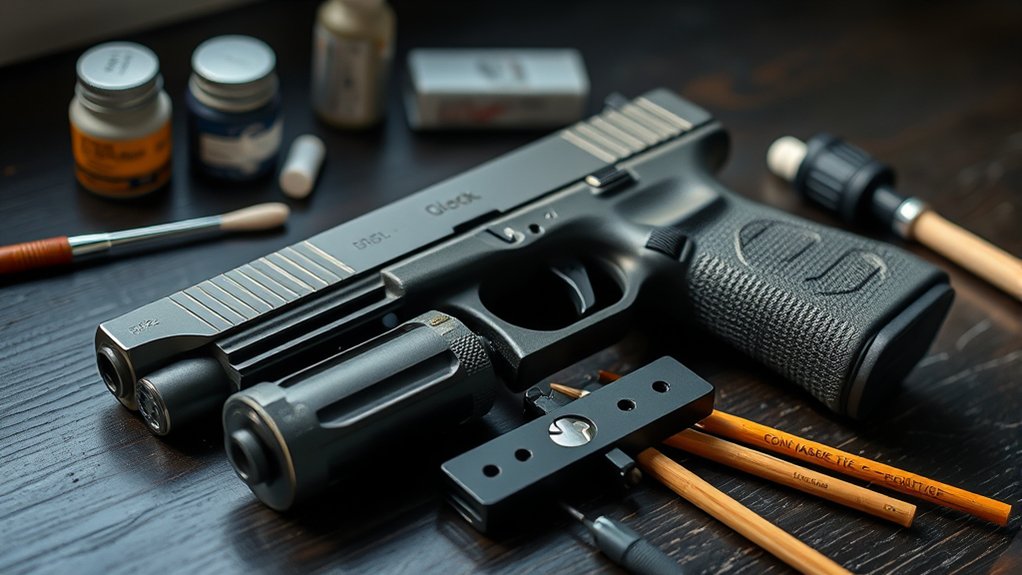
Next, gather all the tools you’ll need. This includes a bore brush, cleaning rod, cotton patches, nylon brushes, and a good gun cleaner like Ballistol. Find a clean, well-lit workspace to make the process easier and more efficient.
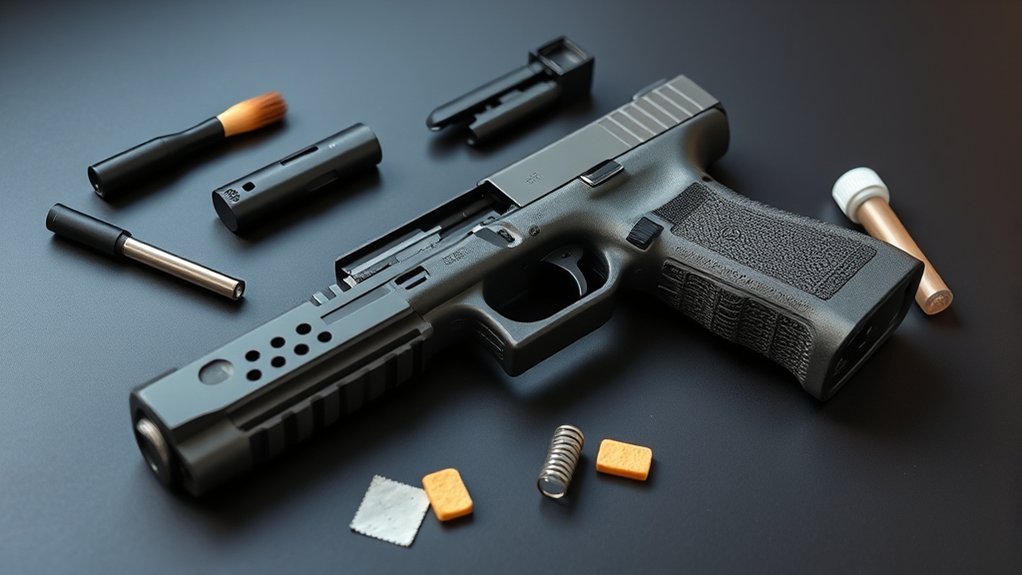
To disassemble, start by pulling the slide back slightly. Lower the slide lock, then push the slide forward off the frame. Once it’s separated, remove the recoil spring assembly and barrel for thorough cleaning.
Following these steps helps you handle your Glock safely and prepares it properly for the detailed cleaning ahead.
Field Strip Your GLOCK
Before you start field stripping your Glock, it’s a good idea to gather all the necessary tools first. And, of course, double-check that your firearm is completely unloaded—safety first!
Once you’re sure it’s safe, follow each step carefully as you disassemble it.
Start by releasing the slide lock tabs, and then gently remove the barrel and recoil spring assembly.
Just take your time and handle each part carefully to avoid any damage.
This way, everything will go smoothly when you’re ready to reassemble.
Safe Disassembly Steps
Although disassembling your Glock might seem complicated at first, following the right steps makes it safer and easier.
First, make sure the firearm is unloaded. Remove the magazine and rack the slide twice to double-check that the chamber is empty.
Next, pull the slide back just a little and lower the slide lock. This is a small plastic piece in front of the trigger that helps release the slide from the frame.
Once the slide lock is released, carefully push the slide forward off the frame. Take your time to avoid any mishaps.
After that, remove the recoil spring assembly from the slide. Pay attention to the slide grooves to ensure a smooth disassembly.
Finally, take out the barrel from the slide. Always keep control during each step to prevent accidental discharges.
Proper disassembly is key for effective cleaning and maintenance, so don’t rush through it.
Essential Tools Required
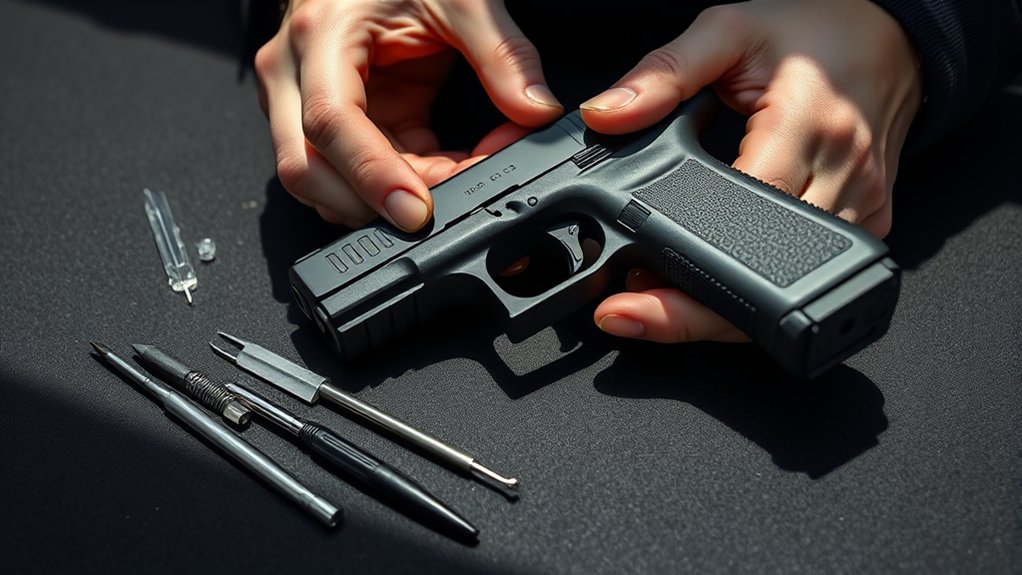
When field stripping your GLOCK, having the right tools is key to making the process smooth and safe. Start with proper disassembly tools like a Glock-specific armorer’s tool or a flat-head screwdriver to efficiently release the slide lock.
For thorough maintenance, gather your cleaning tools. This includes a nylon bore brush, barrel brush, cleaning patches, cotton swabs, and a nylon brush to clean internal parts effectively. Using the right tools helps ensure a deep clean without damaging your firearm.
Make sure to use a dedicated cleaning rod or a GLOCK cleaning rod to access the barrel safely. Incorporate quality gun cleaning accessories like lubricant or gun oil—Ballistol is a popular choice—to keep everything properly lubricated during reassembly.
Always check your tools beforehand. Keep them clean and free from damage to avoid scratching or harming your firearm parts during disassembly. Proper tools and care make all the difference in maintaining your GLOCK safely and effectively.
Handling Components Carefully
Having the right tools at hand makes it easier to handle your GLOCK’s components carefully during field stripping.
First, always confirm safety by making sure the firearm is completely unloaded. Check the chamber both visually and physically to be sure.
Engage the slide lock to hold the slide open securely. This helps prevent any accidental movement while you’re disassembling.
To remove the slide, pull it slightly back. Then lower the slide lock and slide it forward off the frame.
Handle each component with care, especially the recoil spring assembly and barrel. Avoid using forceful movements that could damage internal parts.
Follow the manufacturer’s instructions closely throughout the process. Proper handling during disassembly not only protects your GLOCK’s components but also keeps you safe.
It also helps maintain the firearm’s reliability for future use.
Essential Tools and Cleaning Supplies for Your GLOCK
To keep your Glock in top shape, you’ll want to have some essential tools on hand. Things like a nylon AP brush, a bore brush, and patches are great for getting into those hard-to-reach spots.
And don’t forget to use gun-specific lubricants like Ballistol or CLP—they’re made for firearms and will keep everything running smoothly.
It’s best to steer clear of motor oils or generic solvents since they can actually damage your gun over time.
Keeping your cleaning supplies organized makes the whole process easier and safer.
And of course, always follow safety precautions—your Glock and your well-being will thank you!
Recommended Cleaning Supplies
Although cleaning a Glock might seem straightforward, using the right tools and supplies guarantees effective maintenance and prevents damage.
For proper Glock maintenance, you’ll need essential cleaning supplies like a nylon bore brush, cleaning patches, cotton swabs, a cleaning rod, and a nylon brush for detailed areas. Use firearm cleaning tools specifically designed for guns—Ballistol or CLP are ideal. Avoid motor oils or generic solvents that can harm your firearm.
The bore brush is vital for thorough barrel cleaning, scrubbing residue inside the barrel. Patches help wipe away fouling and debris. Cotton swabs are perfect for reaching tight spots like slide grooves and the ejection port.
Always keep a clean rag handy to remove excess cleaner. This helps guarantee proper lubrication, preserving your Glock’s performance and longevity.
Safety Precautions
Before you start cleaning your Glock, always double-check that it’s completely unloaded. This step is crucial to eliminate any risk of accidental discharge. Safety should always come first, so never skip this part.
Protect yourself by wearing gloves and safety glasses. This shields your skin and eyes from solvents and debris that might splash or spray during cleaning. Work in a well-ventilated area to avoid inhaling harmful fumes from cleaning agents.
Use only firearm-specific cleaning supplies like nylon brushes, cotton patches, and proper gun oil such as Ballistol. Avoid motor oils or non-specialized solvents, as they can damage your gun or affect performance. Never over-apply lubricant—excess oil can impair your Glock’s function.
Gather essential tools like a bore brush, cleaning rod, and cleaning jag before you start. Following these safety precautions helps keep you safe and ensures your Glock performs reliably.
Cleaning Your GLOCK: Barrel, Slide, Frame, and Recoil Spring
When cleaning your Glock, start with the barrel. Use a bore brush and run Ballistol-soaked patches through it until they come out clean. This helps remove carbon buildup effectively.
Next, focus on the slide. Use nylon brushes and cotton swabs to scrub it thoroughly. Pay close attention to the grooves, the breech face, and the ejection port.
Wipe down the slide with a clean rag to remove any remaining dirt or residue.
Then, move on to the frame. Use a cloth and cotton swabs to wipe down the rails and contact points. This will help remove dirt and debris that can interfere with proper function.
For the recoil spring, spray Ballistol on the assembly and scrub it well. Wipe it dry before putting everything back together.
Make sure all parts are completely dry and free of excess cleaner.
This routine will keep your Glock reliable and ready to go whenever you need it.
Lubricating Your GLOCK: Where and How Much
Since proper lubrication is key to your Glock’s performance, apply a small drop of lubricant to each slide rail groove and spread it evenly along their length.
Proper lubrication is essential—apply a small drop evenly along each slide rail groove for optimal Glock performance.
Next, place one drop on the barrel hood and lug area to guarantee smooth operation during cycling.
Inside the slide, add a drop where it contacts the barrel to reduce friction further.
Don’t forget the frame; a tiny amount under the connector hook will facilitate a crisp, reliable trigger pull.
Remember, over-lubricating can attract debris and impair function, so stick to a few well-placed drops.
This precise lubrication approach keeps your Glock running reliably without excess buildup or wear, ensuring peak performance every time you handle your firearm.
Reassemble Your GLOCK and Perform a Function Check
After thoroughly lubricating your Glock, you’ll want to reassemble it carefully to ensure it functions properly.
Start by inserting the barrel into the slide. Make sure it seats correctly in the barrel bushing or recoil spring assembly.
Next, slightly compress the recoil spring and attach it securely to the slide.
Then, align the slide grooves with the frame tabs and push the slide back until it locks in place.
Once everything is reassembled, it’s time to perform a function check. Rack the slide several times and pull the trigger.
You want to confirm that the slide moves freely, the trigger resets correctly, and the firearm functions smoothly.
Follow these steps precisely: insert the barrel into the slide and seat it properly, compress and attach the recoil spring, align the slide grooves with the frame tabs, and lock the slide in place.
Finally, rack the slide and pull the trigger to make sure everything is working as it should.
Essential Maintenance Tips to Keep Your GLOCK Reliable
To keep your GLOCK firing reliably, you need to clean it regularly—ideally after every 400 to 500 rounds.
Start by using Ballistol or a similar firearm-specific cleaner to spray all parts. This helps loosen any carbon buildup before you start scrubbing.
Carefully disassemble the slide, barrel, recoil spring, and frame, following the manufacturer’s instructions for thorough cleaning.
Wipe each component with patches and a rag until they’re free from dirt, residue, and excess lubricant. This step is important to prevent debris from sticking and causing issues.
Proper cleaning and maintenance are key to keeping your GLOCK reliable and long-lasting.
Once everything is cleaned, reassemble the firearm correctly.
Then, perform a function check by testing the slide and trigger to make sure everything is working properly.
Sticking to a regular maintenance routine will keep your firearm dependable, safe, and ready whenever you need it most.
Frequently Asked Questions
Can I Use Other Lubricants Besides Ballistol on My Glock?
Yes, you can use different lubricants besides Ballistol on your Glock, but make sure they’re compatible oils designed specifically for firearms.
There are other options like CLP or Slip2000 that provide good lubrication and are safe for firearm use. These products are formulated to protect your gun’s parts without causing damage.
Just avoid using motor oils or general-purpose lubricants. They can harm your polymer frame or attract dirt and debris, which can lead to malfunctions.
Always choose products labeled for firearm use, and apply them sparingly.
Following the manufacturer’s guidelines is key to ensuring your Glock operates reliably and stays in good condition.
How Often Should I Deep Clean My Glock for Optimal Performance?
You should set your cleaning schedule based on how often you use your Glock. For daily use, it’s best to deep clean your Glock every 400-500 rounds. This helps keep your gun in top shape and performs reliably.
If you’re firing around 1,000 rounds or more, a thorough cleaning becomes even more important. It’s a good idea to clean it after such sessions to prevent any buildup that could cause issues.
In tough or dirty environments, you might need to clean your Glock more often. This prevents dirt and debris from accumulating and keeps everything functioning smoothly.
Always adjust your cleaning routine depending on how often you shoot and the conditions you’re in. Staying on top of maintenance will ensure your Glock performs at its best every time.
What Should I Do if My Glock Misfires After Cleaning?
If your Glock misfires after cleaning, start by inspecting the cartridge. Make sure the ammunition is in good condition and free from damage. If you find any damaged rounds, discard them.
Next, check the firing pin to see if it moves freely and isn’t obstructed. Always remember to unload the firearm before doing any inspection. It’s important to follow safety procedures.
Clean the firing pin channel thoroughly. Once that’s done, test the gun with different types of ammo. This helps you figure out if the issue is from cleaning or a faulty part.
Taking a step-by-step approach like this can help you identify what’s causing the misfire and fix it safely.
Are There Any Parts I Should Never Attempt to Disassemble?
Over 70% of firearm malfunctions happen because of improper handling during maintenance. It’s really important to know what parts you should never disassemble.
You should never take apart your Glock’s internal components, like the trigger mechanism or firing pin assembly, unless you have the proper tools and training. Following the manufacturer’s guidelines is the best way to make sure you disassemble it safely.
This also helps prevent corrosion risks or accidental damage. Avoid tampering with sealed parts or the magazine spring beyond removing the floor plate. Doing so can void your warranty and might affect how well your Glock works.
When in doubt, it’s always better to seek professional repair. Keeping your Glock reliable means knowing your limits and asking for help when needed.
How Do Temperature and Storage Affect Glock Maintenance?
Temperature effects and storage conditions directly impact your Glock’s maintenance.
Cold weather causes parts to contract, which can lead to malfunctions. On the other hand, heat exposure breaks down lubricants faster, making your gun more prone to issues.
Humidity can cause condensation inside your firearm, increasing the risk of corrosion. To keep your Glock in top shape, store it in a consistent, moderate environment.
Regular lubrication is key, especially if you’ve been exposed to extreme temperatures.
Also, clean your gun promptly after exposure to heat or cold.
These simple steps help prevent rust, preserve function, and ensure your Glock performs reliably when you need it.
Conclusion
Regular cleaning keeps your GLOCK reliable and safe. Studies show that over 80% of firearm malfunctions come from poor maintenance.
By following this guide—field stripping, thorough cleaning, proper lubrication, and reassembly—you’ll prevent jams and extend your pistol’s lifespan.
Don’t skip the function check. It guarantees everything’s working smoothly.
Commit to consistent upkeep, and your GLOCK will perform flawlessly when it matters most.
Clean it right, every time.