How To Field Strip A Glock – Step By Step Guide
To field strip your Glock, start by making sure it’s unloaded. Remove the magazine first, then check the chamber to be sure no rounds are in the gun.
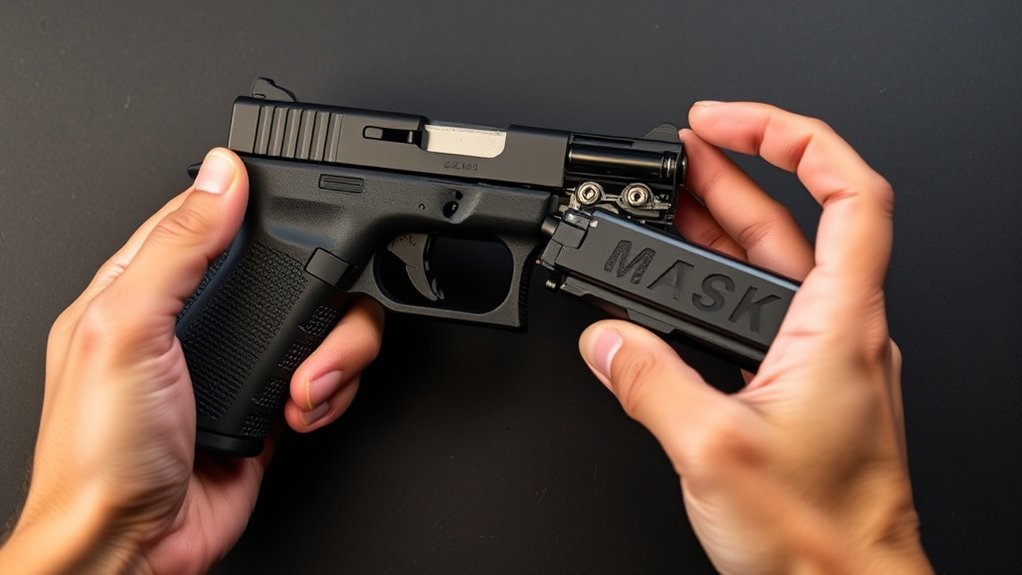
Next, pull the slide back just a little. Engage the slide lock to hold it in place. Then, carefully release the slide forward off the frame.
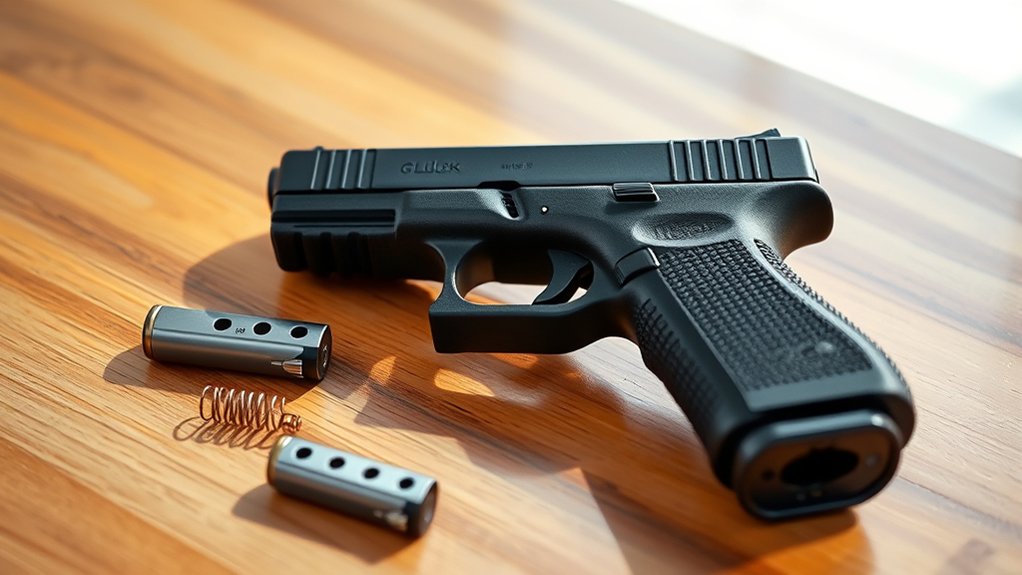
Once the slide is off, take out the recoil spring assembly and the barrel. This makes it easier to clean all the parts.
When you’re ready to reassemble, put the barrel and spring back into the slide. Align the slide with the frame and cycle it to make sure everything functions properly.
Following these simple steps will keep your Glock reliable and ready for use. This way, you’ll be all set for thorough maintenance whenever needed.
Benefits of Regular Glock Field Stripping
Although it might seem tedious, regularly field stripping your Glock is really important for keeping it reliable and performing well.
Regularly field stripping your Glock is key to maintaining reliability and peak performance.
It allows you to give the slide assembly and internal parts a thorough clean. This helps prevent residue buildup that can mess with how it functions.
Doing routine disassembly also lets you spot early signs of wear or damage. That way, you can fix issues before they turn into bigger problems.
Staying on top of maintenance reduces the risk of corrosion. This helps extend your Glock’s lifespan and makes sure it works smoothly when you need it most.
Besides cleaning, practicing field stripping builds your confidence and familiarity with your pistol. It makes handling it safer and more comfortable.
Making this a regular part of your routine ensures your Glock stays dependable, safe, and ready for any situation where top performance matters.
Essential Safety Steps Before Field Stripping Your Glock
Before you dive into field stripping your Glock, make sure it’s completely unloaded. That means removing the magazine first and then taking a good look inside the chamber to double-check that there’s no round in there. It’s always better to be safe than sorry!
Also, keep your finger off the trigger and point the muzzle in a safe direction—like down or at the floor. These simple safety habits help protect you and make the disassembly go much more smoothly.
Taking these steps beforehand really makes all the difference.
Confirm Firearm Is Unloaded
When you start field stripping your Glock, always remove the magazine first and keep it separate. This helps prevent any accidental chambering of a round.
Next, cycle the slide several times to eject any round in the chamber. Then lock the slide back using the slide lock. This keeps the slide open for thorough safety checks.
Visually inspect the chamber to confirm it’s unloaded. Then, physically check with your finger to ensure no round remains.
Never skip these steps—removing the magazine and inspecting the chamber are critical for firearm safety. Keep your finger off the trigger and stay aware of the firearm’s orientation throughout.
Maintain Trigger Discipline
Since trigger discipline is essential for safety, you must always keep your finger off the trigger and outside the trigger guard until you’re ready to reassemble and test your Glock. This practice helps prevent accidental discharges during disassembly.
Before you start, make sure the firearm is unloaded. Remove the magazine, lock the slide back, and visually inspect the chamber to confirm there’s no ammunition inside.
Throughout the entire process, stay committed to trigger discipline. Keep your finger off the trigger at all times, and point the firearm in a safe direction.
Be careful when removing the slide and barrel. Avoid touching the trigger during these steps.
Always stay aware of your surroundings and follow all safety protocols during disassembly. This way, you keep yourself and others safe.
How to Remove the Slide and Barrel on a Glock

Although removing the slide and barrel on a Glock might seem complicated at first, it really isn’t too bad once you get the hang of it.
Start by pulling the slide back and engaging the slide lock to lock it open.
Next, press down on the takedown lever inside the frame, just above the trigger guard.
While holding the takedown lever down, carefully release the slide lock.
Slowly pull the slide forward off the frame to remove it.
Once the slide is off, lift the barrel up from the front of the slide.
Guide it out through the ejection port.
This step is really important for a proper field strip.
Following these simple steps will help you remove the slide and barrel safely without damaging any parts.
Removing and Reinstalling the Glock’s Recoil Spring Assembly
Before you start removing the recoil spring assembly, just double-check that your Glock is completely unloaded and the slide is locked back. It’s always better to be safe than sorry!
When you’re ready to take out the spring, gently compress it so you can lift it out without bending or damaging anything. Take your time with this part—it’s better to be careful.
And when you’re putting the spring back in, make sure it’s aligned properly and seated fully.
Once everything’s in place, cycle the slide a few times to make sure everything’s functioning smoothly. That way, you’ll know your Glock is ready to go!
Recoil Spring Removal
When you pull the slide slightly back, you can compress the recoil spring with your finger or a tool to start removing the recoil spring assembly. This step is really important for safe and effective disassembly.
First, press down on the recoil spring to compress it within the slide.
Then, carefully lift the guide rod and recoil spring assembly out of the slide.
Hold the guide rod firmly so it doesn’t snap free and cause injury.
Always make sure the slide is secured to keep things safe during removal.
Before moving on, take a moment to inspect the recoil spring and guide rod for any signs of wear.
Removing the recoil spring assembly correctly helps everything come apart smoothly and prevents damage or malfunctions when you put it back together or use it later.
Recoil Spring Installation
After removing the recoil spring assembly, you’ll need to reinstall it carefully to make sure your Glock works reliably.
Start by checking the recoil spring’s orientation. The flat end should face the rear of the slide.
Align the recoil spring assembly with the guide rod, making sure both are properly lined up.
Gently compress the spring a little and press the assembly into the opening at the back of the slide.
Make sure it seats fully and securely, with no gaps or misalignment.
A properly seated recoil spring assembly is essential for your Glock’s cycling and overall function.
Take your time and double-check everything before reassembling the slide onto the frame.
Installing it correctly now helps prevent malfunctions and keeps your gun performing at its best.
How to Reassemble Your Glock Step-by-Step
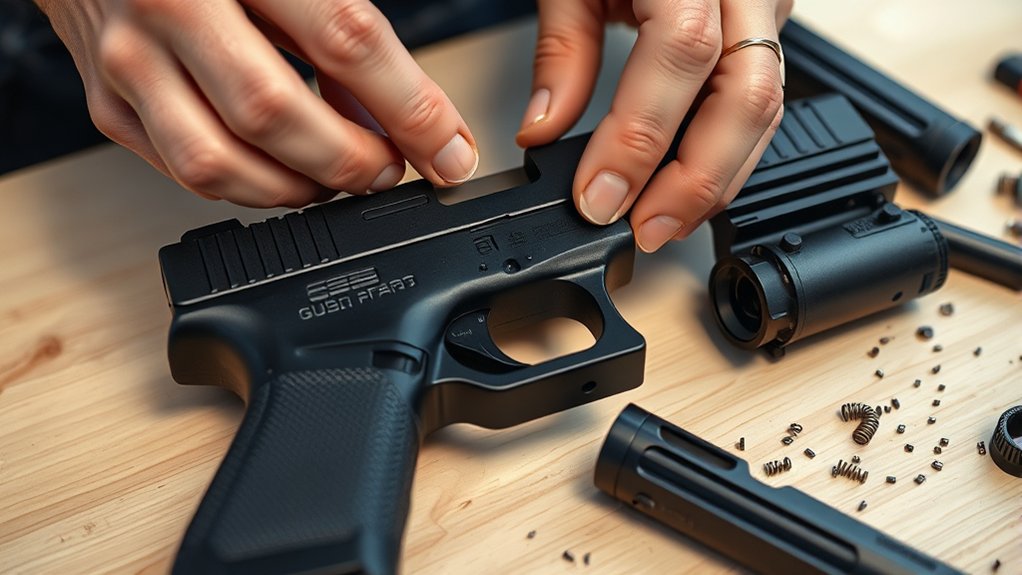
Although reassembly might seem tricky at first, you can confidently put your Glock back together by taking it step by step.
Start by making sure the recoil spring and barrel are seated correctly. This will make sliding the components together much smoother.
Next, carefully align the slide with the frame. Take your time to avoid any misalignment.
Once everything lines up, push the slide fully rearward until the slide lock clicks into place. This locks the slide securely and ensures everything is in the right position.
Finally, double-check that all components, like the slide lock and spring, are properly oriented.
Skipping any step can lead to issues with safety or smooth operation, so make sure you don’t miss anything.
Following these simple steps will help you reassemble your Glock correctly, keeping it reliable and ready for use.
Performing a Glock Function Check After Reassembly
Before you test your Glock’s function, always make sure it’s completely unloaded and the chamber is empty.
After you’ve disassembled and reassembled your Glock, doing a thorough function check is really important. Start by dry firing the pistol in a safe direction. This helps you verify the trigger resets properly and makes sure the trigger moves smoothly.
Next, cycle the slide several times. This confirms that the lock-up is correct and the recoil spring is functioning as it should.
Insert and remove the magazine to check that it engages smoothly. Also, make sure the slide locks back when you insert an empty magazine.
Finally, pull the trigger to verify that the trigger resets consistently and that the firing pin safety engages correctly. This entire process helps ensure your Glock is reassembled properly and is safe for use.
Maintenance Tips to Keep Your Glock Reliable and Long-Lasting
To keep your Glock reliable and long-lasting, it’s important to clean and lubricate it regularly. After each field strip and disassembly, take the time to do a thorough cleaning. This helps remove carbon buildup, dirt, and fouling that can affect performance.
Focusing on proper maintenance ensures smooth slide movement and helps the recoil spring function properly. Use firearm-specific solvents and brushes for effective cleaning. These tools make it easier to reach all the nooks and crannies.
Don’t forget to lubricate the slide rails, barrel, and recoil spring with quality oils. This keeps everything moving smoothly and reduces wear.
During disassembly, inspect parts for signs of wear or damage so you can replace them if needed.
After reassembling, perform a function check to make sure everything works correctly. Store your Glock in a dry place and apply corrosion inhibitors to prevent rust.
Regular cleaning and lubrication keep your Glock safe, reliable, and ready to perform when you need it most.
Frequently Asked Questions
What Tools Do I Need for Advanced Glock Disassembly?
You’ll need punch tools and a small hammer for advanced disassembly techniques. Make sure these tools are compatible with Glock pins to avoid any damage.
Always remember to unload the firearm first before starting any disassembly. Safety first, right?
Use cleaning brushes and cloths for a thorough cleaning.
When it comes to lubrication, apply oil sparingly to key components. It’s better to start with a little and add more if needed.
During component inspection, carefully check each part for wear or damage.
Finally, use proper reassembly methods to ensure your Glock functions reliably. Taking your time during reassembly helps maintain the firearm’s performance and safety.
How Often Should I Field Strip My Glock for Optimal Performance?
Even like a knight sharpening his sword before battle, you should field strip your Glock after every range session or at least once a month.
Follow the proper disassembly sequence, and always observe safety precautions. Use effective cleaning techniques to keep your firearm in top shape.
Inspect all components thoroughly, looking for any signs of wear or damage. Apply lubrication tips to ensure smooth operation and prevent corrosion.
Sticking to a consistent maintenance schedule is key.
Store your Glock in a dry, secure place to protect it from the elements and unauthorized access.
This routine helps keep your firearm reliable and ready whenever you need it.
Can I Use Aftermarket Parts During Reassembly?
Yes, you can use aftermarket parts during reassembly, but it’s important to be mindful of compatibility concerns. If parts aren’t compatible, it could lead to malfunctions or safety issues.
Focus on choosing high-quality parts from reputable brands. This helps ensure reliability and proper function.
Upgrades can improve performance, but make sure to follow the installation instructions carefully.
When customizing your Glock, look for parts designed specifically for your model. Proper selection and installation are key to maintaining safety and performance.
What Common Mistakes Should I Avoid When Field Stripping?
Think of field stripping like disassembling a delicate clock—every piece matters.
Avoid skipping safety precautions, always ensure the gun is unloaded first.
Don’t neglect proper lubrication; it helps prevent wear and keeps your firearm functioning smoothly.
Use correct cleaning techniques to avoid damaging parts or forcing things out of alignment.
Follow reassembly tips closely so everything lines up correctly and works properly.
Make sure your tools are well-maintained and check magazine compatibility before reassembling.
Never rush the process; taking your time reduces mistakes and keeps you safe.
Finally, practice good storage safety to keep your Glock secure and ready for use.
How Do I Troubleshoot Slide Lock Issues After Reassembly?
To troubleshoot slide lock issues after reassembly, start by checking the reassembly alignment. Misaligned parts can often cause problems with the slide lock.
Next, inspect the slide lock spring to make sure it has the proper tension. If the spring looks worn out or damaged, adjust or replace it as needed.
It’s also important to verify that your magazine is compatible with your firearm. An incompatible magazine can prevent the slide lock from engaging properly.
Finally, examine the trigger mechanism for any obstructions or damage.
Before using the firearm, always perform a thorough safety check.
Following these steps will help ensure the slide lock functions reliably and that your firearm operates safely.
Conclusion
Now that you’ve mastered field stripping your Glock, you hold the key to its smooth, reliable performance.
Like a skilled mechanic tuning a finely crafted engine, your hands ensure every part moves flawlessly.
Regular maintenance isn’t just routine—it’s the heartbeat of your Glock’s longevity and safety.
Keep this dance of precision alive, and your firearm will serve you faithfully.
It’ll be ready whenever duty calls.
Stay sharp, stay safe, and handle with confidence.