How To Draw A Glock – Easy Drawing Tutorial
To draw a Glock easily, start with a straight vertical line and a light rectangle to get the basic shape. This will help you establish the overall proportions right from the beginning.
Use reference images from multiple angles to see how the different parts fit together. Focus on key features like the barrel and trigger to make your drawing look accurate.
Set up a two-point perspective grid and bounding boxes to keep your drawing balanced. These guides will help you place everything correctly as you go.
Block in simple shapes for the grip and barrel. Don’t worry about details at this stage—just get the basic forms down.
Then, add details like ellipses for depth and textured grip sections. These little touches make your drawing more realistic.
Keep working on refining and shading your Glock. With patience, you’ll end up with a really realistic finish.
Starting Your Glock Handgun Outline
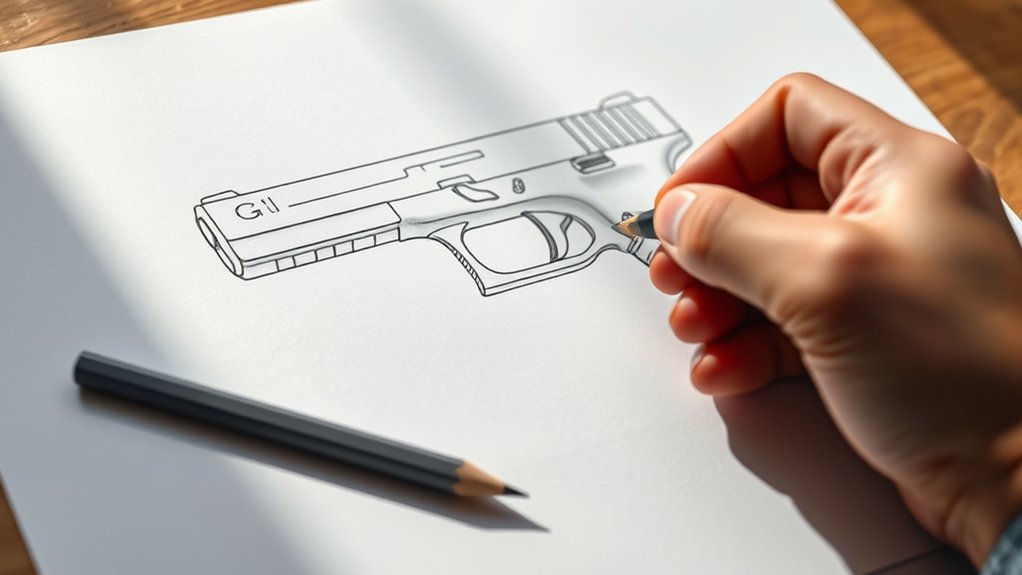
Before you dive into the details, start by drawing a straight, vertical line to represent the top of the Glock. This will help you keep your hand steady and your proportions accurate.
Next, sketch a simple rectangle to outline the main body and barrel of the Glock handgun. Use light strokes so you can easily adjust as needed.
Add a horizontal line across the top to clearly mark the slide.
To capture the grip’s shape, draw a smooth, curved line that hints at its contour.
Using guidelines or a perspective grid can help you maintain proper angles and realistic proportions.
Focus on this drawing outline stage to get the Glock’s silhouette right before moving on to finer details.
This foundation will make your drawing solid and precise.
Using Reference Images to Capture Proportions
When you want to capture accurate proportions in your Glock drawing, start by gathering multiple reference images from reliable sources like the official Glock website. It’s a good idea to pick a simple, recognizable model such as the G34 9mm with an extended barrel. This will make your work easier and more straightforward.
Next, collect images showing different angles—side, front, and three-quarter views. This helps you get a full understanding of the Glock’s shape and structure. Pay attention to how the gun divides into thirds to find key features like the trigger and barrel sections.
Gather multiple angles—side, front, and three-quarter—to fully grasp the Glock’s shape and key features.
Use measurements and reference points from your images to keep details like the trigger guard and ejection port proportional. If you can, handling a physical model or toy can really help you feel the structure and solidify your understanding.
Following this approach will help ensure your drawing’s proportions are accurate and look realistic.
Setting Up Perspective and Bounding Boxes
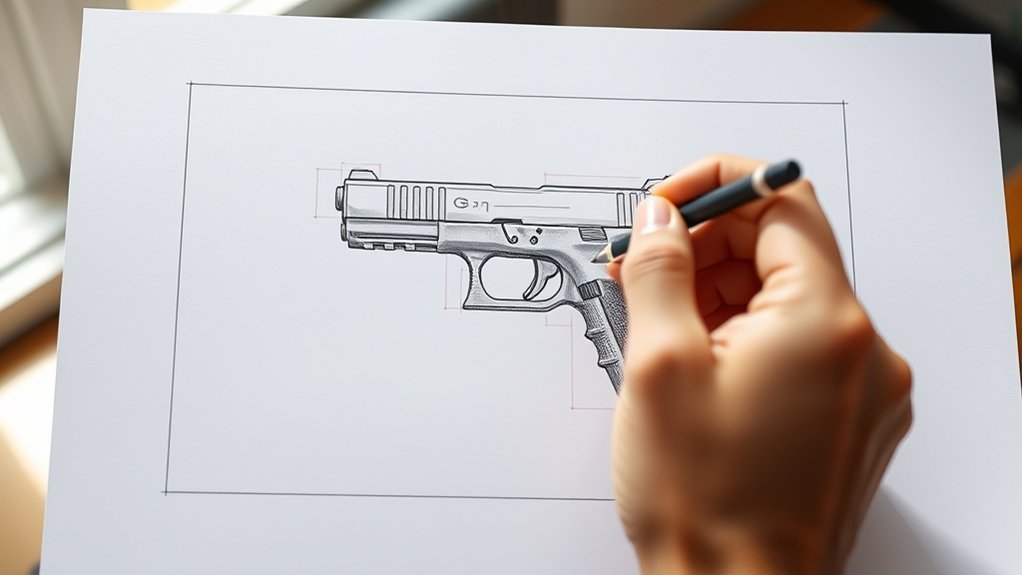
Although capturing accurate proportions is crucial, setting up a solid perspective framework really takes your Glock drawing to the next level.
Start by establishing a two-point perspective grid. Place the vanishing points far off the page to create realistic depth. This will help you visualize the gun in a believable space.
Next, overlay a grid of perfect squares to map out the gun’s overall shape in side view. This helps keep the proportions consistent as you go along.
Then, draw a bounding box aligned with the grid. Think of it as your foundational framework, giving your drawing structure.
Connect the corners of the bounding box to the vanishing points with straight lines. Be careful to maintain proper perspective so everything lines up correctly.
This setup guarantees dimensional accuracy before you move on to details. It gives your Glock drawing a solid structure and balanced look from the start.
Blocking Basic Glock Shapes
Since you’ve established your perspective and bounding boxes, you can now start blocking in the basic shapes of the Glock.
Focus on simple geometric forms to capture the overall silhouette before diving into details. This step lays the foundation for your drawing’s accuracy and proportion.
Begin by sketching a rectangular bounding box to define the Glock’s size and side view shape.
Next, divide this box into sections using guidelines. For example, place the trigger roughly a third from the left.
Use rectangles and ellipses to block in the barrel, grip, and trigger guard. Match their sizes to your reference.
Reinforce perspective by connecting bounding box corners to vanishing points. This creates a three-dimensional outline.
Keep your shapes simple and confident. Doing so will make the rest of your Glock drawing smoother and more precise.
Adding Barrel, Trigger, and Grip Details
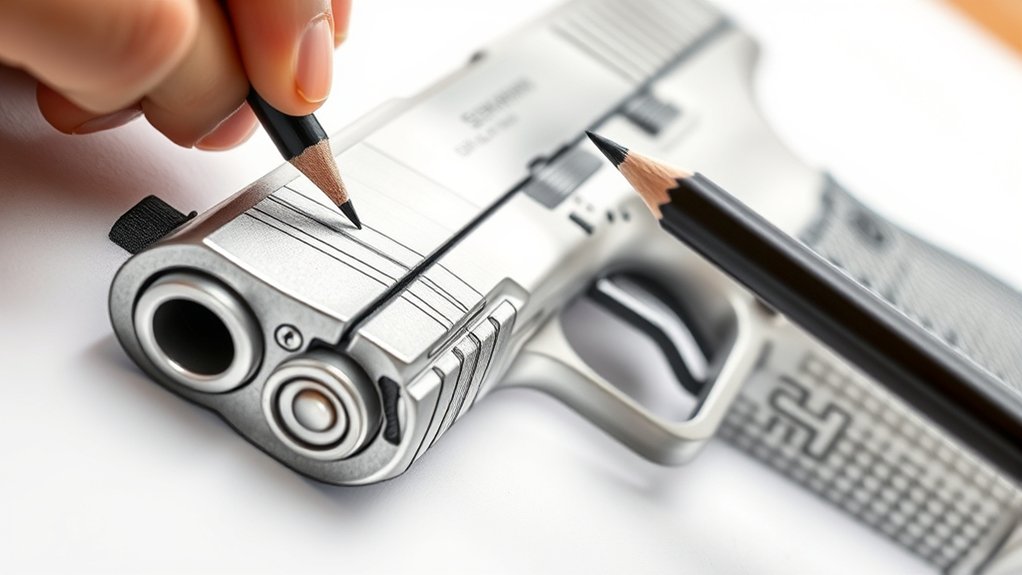
As you build on the basic shapes, focus on extending the barrel to match its exact length and width. Keep the thickness consistent from the front to the back for a realistic look.
Add an elliptical shape at the front of the barrel. This helps give your drawing depth and the right perspective.
Next, sketch the trigger as a small curved shape or a triangle inside the trigger guard. Be sure to check the proportions carefully against your guide.
For the grip details, divide the handle into sections using horizontal lines. Then, add textured squares or ridges to suggest finger placement.
Make sure the barrel, trigger, and grip align properly and match your reference measurements.
Taking these steps will help bring your Glock drawing to life. Adding clear, precise details will make it look more realistic and well-structured.
Refining Your Glock Drawing With Ellipses and Silhouettes
Now that you’ve added the barrel, trigger, and grip details, it’s time to refine your Glock drawing using ellipses and silhouettes. These tools really help bring depth and clarity to your sketch.
Start by using ellipses to accurately depict the front and top of the barrel. This creates a realistic sense of perspective and makes your drawing look more three-dimensional.
Next, incorporate silhouette lines to define the openings, like the ejection port. This adds more detail and makes the shape of your gun clearer.
Focus on refining the contour of the trigger guard and grip. Make sure they flow smoothly and look proportional.
Finally, emphasize the silhouette to identify any awkward areas. Fixing these will make your drawing cleaner and instantly recognizable.
Shading and Final Touches to Bring Your Drawing to Life
Although your Glock drawing already has solid outlines and shapes, adding shading and final touches will really make it pop.
Use shading techniques like cross-hatching or smooth gradients to create realistic light and shadow on the gun’s surface. This helps give it a more three-dimensional look.
To make the metallic texture stand out, add highlights with an eraser or white pencil. Think of these as reflections on polished areas that catch the light.
Darken the shadows in crevices and beneath protruding parts to add depth. Keeping your light source consistent will make the shading look believable and avoid confusion.
Finally, reinforce your drawing with a bold contour line. This makes the silhouette stand out and adds a stylistic touch.
These shading and finishing touches will help your Glock look dynamic and convincingly lifelike.
Frequently Asked Questions
What Type of Paper Is Best for Drawing a Glock?
You’ll want to choose high-quality paper with a smooth surface to capture all those fine details when drawing a Glock.
Look for heavyweight paper, around 80-100 lb, so it can handle shading and erasing without tearing. This kind of paper is great for different drawing techniques like precise lines and smooth blending.
Using good paper really makes your pencil strokes stand out clearly. It helps your drawing look sharper and more professional.
Don’t skimp on the paper. Better quality paper improves your entire drawing process.
Can I Use Colored Pencils Instead of Markers for Shading?
You can absolutely use colored pencils instead of markers for shading. They’re like a soft breeze blending colors gently across your paper.
Colored pencils give you great control for color blending. You can layer shades gradually, which helps create a rich, textured look.
Try using light, circular motions for smooth shading. Building up layers slowly will help you avoid harsh lines.
With a bit of patience, your drawing will come alive with subtle depth and vibrant tones.
How Do I Erase Mistakes Without Damaging My Drawing?
To erase mistakes without damaging your drawing, use gentle correction techniques and the right erasers.
Pick a soft, high-quality eraser like a kneaded eraser. It lifts graphite smoothly without the need for harsh scrubbing. Instead of rubbing hard, lightly dab or roll it over the mistakes.
Work slowly and be careful not to press down too firmly. If your paper is delicate, consider using a precision eraser for small areas.
These steps help keep your artwork clean and intact while fixing any errors.
What Tools Help Achieve Clean, Straight Lines Quickly?
You’ll want to use tools like rulers, French curves, and fine-tip pens to get those lines straight and neat quickly.
These tools help you create clean, precise lines without any guesswork. Rest your elbow on the table and draw slowly—that’s a simple trick to keep your hand steady and your lines accurate.
Try using mechanical pencils for consistent lines. When you’re confident, go over your work with ink. This combo makes your drawing look crisp and professional while saving you time.
Is It Necessary to Learn Glock’s Mechanical Parts for Drawing?
You don’t have to master every mechanical detail to draw a Glock, but understanding key parts can really help improve your firearm accuracy in your drawings.
Knowing how the slide, barrel, and trigger interact allows you to capture realistic shapes and proportions more easily.
This kind of knowledge can boost your confidence and make your illustrations look more authentic.
Conclusion
Don’t worry if your Glock drawing doesn’t look perfect at first—you’re learning, and every line gets you closer.
Start with simple shapes and use reference images. This helps you build a strong foundation, making it easier to refine your drawing later.
Keep practicing those details and shading. They’ll really help bring your drawing to life.
Trust the process, and you’ll be amazed at how much you improve. Remember, every artist started exactly where you are now!