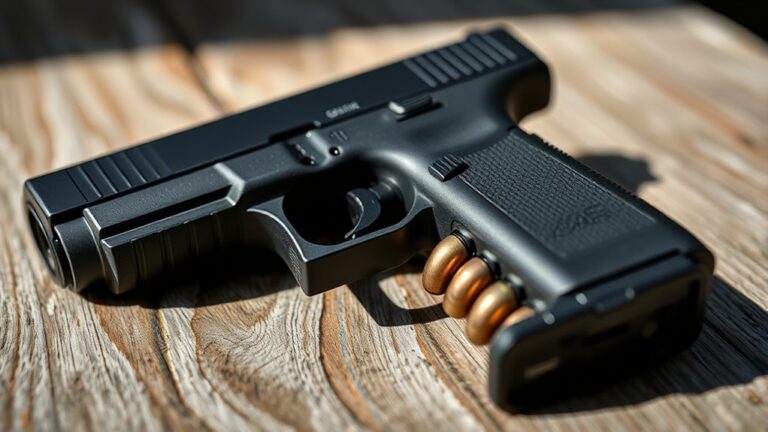
How To Build A Glock – Assembly Basics Explained
To build a Glock, start by selecting quality parts and tools that match your frame’s caliber and generation.
Install the trigger group carefully, making sure pins and connectors are aligned securely. Take your time with this step to avoid any issues later on.
Fit the locking block and slide release with the proper spring tension. It’s important they move smoothly without too much resistance.
Next, assemble the slide components, including the firing pin safety and extractor. Once that’s done, install the barrel and recoil spring.
After everything is assembled, thoroughly test the gun’s function. Check for any malfunctions or issues and address them as needed.
With proper assembly and regular maintenance, your Glock should run reliably. Keep practicing and you’ll get better at the process every time.
How to Choose Tools and Parts for Your Glock Clone
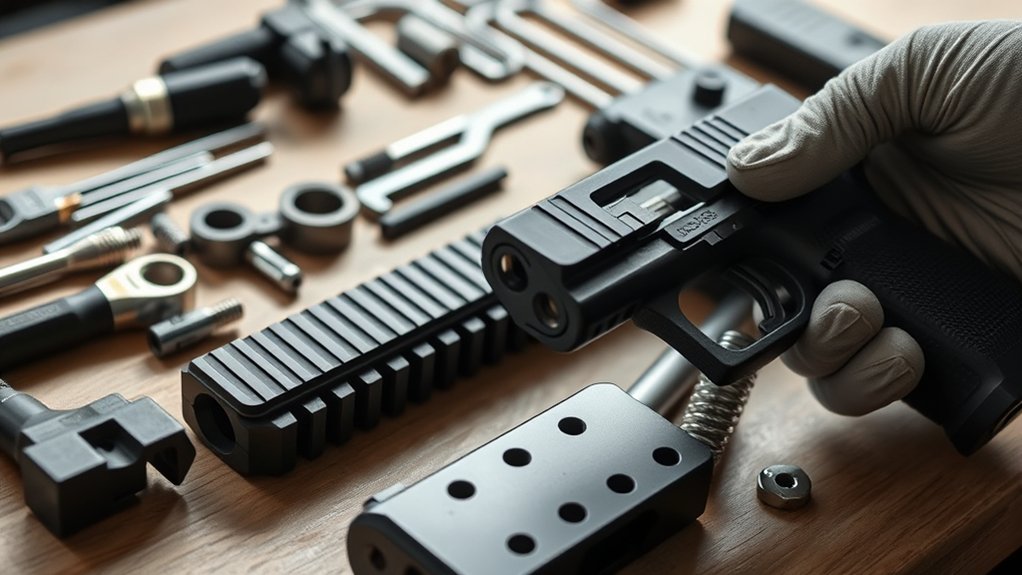
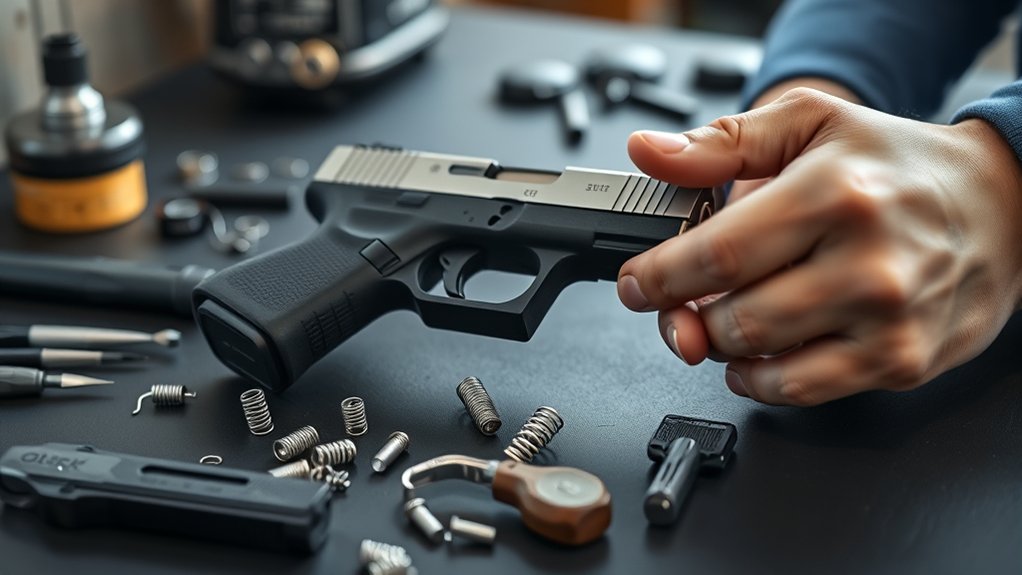
Where should you begin when selecting tools and parts for your Glock clone? Start by gathering essential tools like punch sets (1/16, 3/32, 1/8 inch), an armorers block or padded vise, and a Glock-specific tool set to ensure precision during assembly.
Next, focus on sourcing high-quality, Glock-compatible parts — including the frame, slide, barrel, recoil spring, and lower parts kit — from reputable vendors such as NDZ Performance or Lone Wolf. It’s important to verify compatibility by confirming the frame’s caliber rating and matching it precisely with your slide profile.
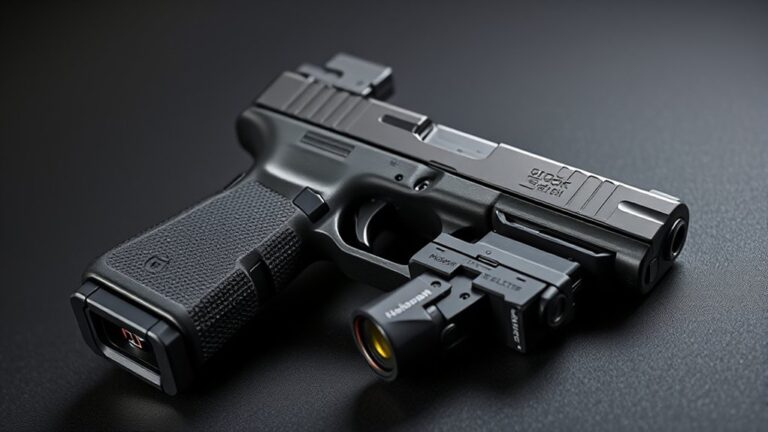
Consider aftermarket components like optic-ready slides or match-grade barrels to customize your build further.
Always perform thorough verification to guarantee all parts meet legal standards and function reliably in your Glock clone assembly.
How to Select the Right Frame for Your Glock Build
After assembling the right tools and sourcing compatible parts for your Glock clone, the next step is selecting the correct frame.
Start by choosing a frame that matches the caliber of your slide and barrel—whether 9mm, .40 S&W, or .45 ACP—to guarantee proper compatibility.
Begin with a frame that aligns with your slide and barrel caliber for seamless compatibility.
Verify the frame’s generation rating, like Gen 3 or Gen 4, to ensure the internal components will fit correctly.
Consider aftermarket frames such as Polymer80 or Lone Wolf if you want more customization options and better grip.
Pay close attention to the material quality. A durable polymer with adequate reinforcement is crucial for longevity and safe handling.
Make sure the frame includes essential safety features, like integrated trigger safeties.
Selecting the right frame is all about balancing durability, safety, and performance.
It provides a solid foundation for your Glock build and helps ensure everything functions smoothly.
How to Install the Trigger Group in Your Glock Frame
How exactly do you install the trigger group into your Glock frame?
Start by inserting the trigger housing into the frame assembly from the rear. Make sure it seats fully and that the locking tabs engage properly.
Next, drop the trigger bar into the trigger housing. Align it with the trigger slot so it can move freely without any obstruction.
Attach the trigger connector to the housing. Push the connector’s longer leg into the designated slot until it’s secure.
Then, secure the entire trigger mechanism by inserting the trigger pin from the left side. Pass it through the housing, trigger bar, and connector.
Finally, check the trigger function. The trigger safety should engage correctly, and the trigger should operate smoothly with a proper reset.
This precise installation helps ensure your Glock operates reliably and safely.
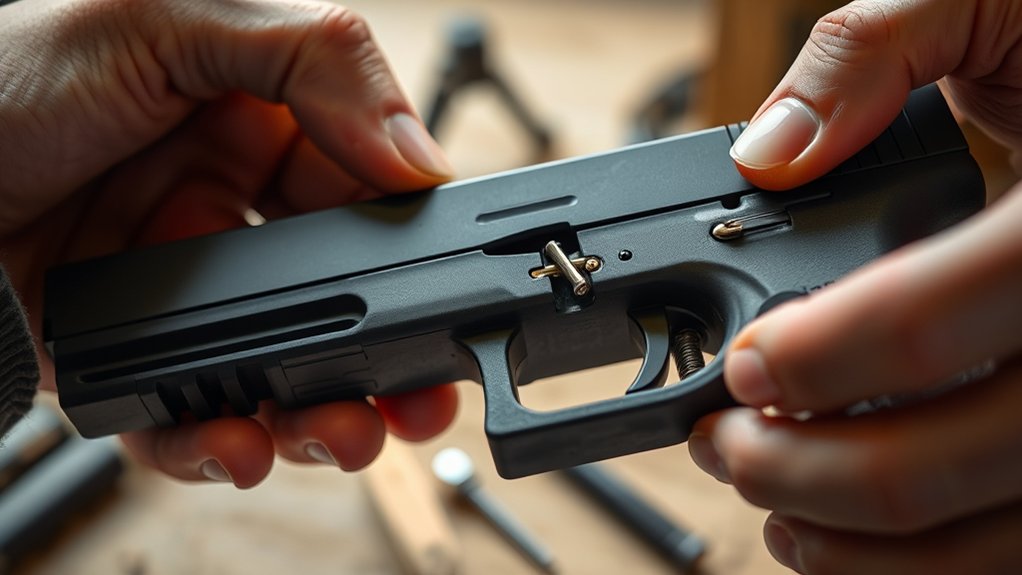
Installing the Locking Block and Slide Release
Although it may seem straightforward, installing the locking block and slide release requires careful alignment to guarantee smooth operation.
Begin by inserting the locking block into the frame assembly with the notch facing rearward.
Push it in until the holes are aligned for the locking block pin. Make sure the pin seats fully to secure the locking block in place.
Next, attach the slide stop or release lever. Hook its spring onto the lever first, then position it under the locking block pin.
Push the lever fully onto the pin, ensuring the spring tension holds it downward.
You want to make sure the lever can move freely without binding.
After everything is in place, test the slide by cycling it. This helps confirm that the slide stop engages properly and moves smoothly.
How to Assemble the Glock Slide Components
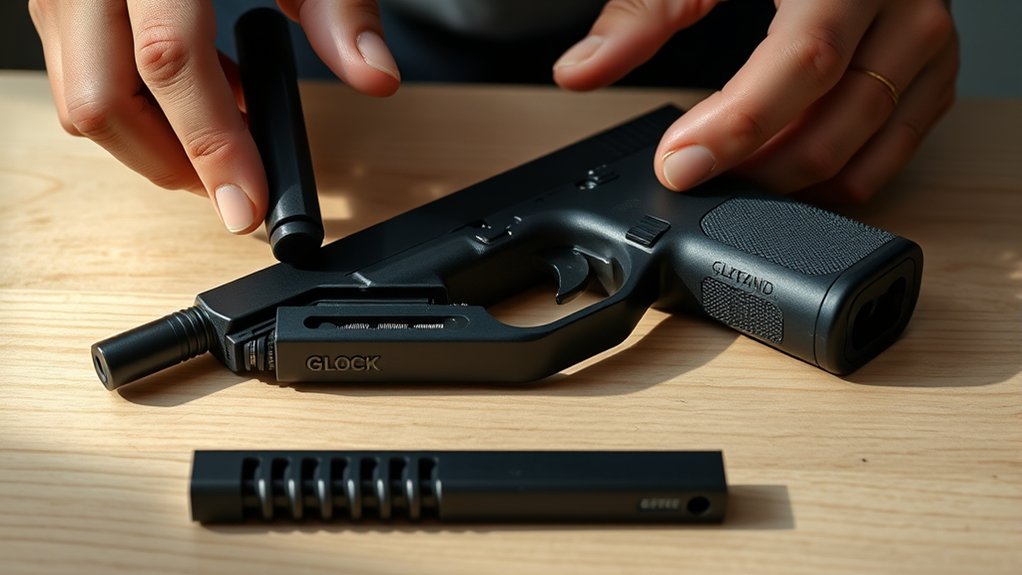
With the locking block and slide release properly installed, you can move on to assembling the slide components. Start by installing the firing pin safety and spring into the slide, making sure the spring seats correctly in the safety groove before inserting the firing pin.
Next, insert the extractor with the rounded pin side facing rearward. Align it behind the ejection port. Secure the extractor using the depressor plunger, spring, and plunger pin. Make sure the spring tension holds it firmly in place.
Attach the slide cover plate over the firing pin assembly. Use a punch to press it firmly until you hear a click, indicating it’s securely in place.
Finally, install the barrel into the slide with the chamber facing downward. Then, insert the recoil spring and guide rod. Confirm that the guide rod sits properly in the bottom notches to complete the slide assembly.
How to Test and Troubleshoot Your Glock Clone
First things first, do a thorough function check. Make sure the trigger resets properly and that all safety features are working as they should. It’s a good way to catch any obvious issues early on.
After that, move on to live fire testing. This helps you see if the gun reliably ejects spent casings and feeds new rounds smoothly, without any jams or hiccups.
If something doesn’t seem right during these tests, don’t panic. Take the slide and frame apart carefully to inspect everything. Look for parts that might be misaligned or damaged, and fix or replace them as needed.
Function Check Procedures
How can you be sure your Glock clone functions reliably before live firing? Start with a thorough function check after assembly.
First, make sure the firearm is unloaded. Rack the slide and check that it moves smoothly. Also, verify that the slide lock engages properly.
Next, press the trigger and cycle the slide. This helps confirm the trigger reset and that the firing pin safety activates correctly.
It’s also a good idea to dry fire the gun in a safe environment. This allows you to test the trigger pull, reset, and safety features without live rounds.
Finally, inspect the magazine release and slide lock to ensure they operate smoothly.
Key steps in your function test include ensuring smooth slide operation with correct slide lock engagement, checking trigger pull and reset with firing pin safety activation, and confirming the magazine release and slide lock work properly.
Dry firing helps you confirm safety and trigger response before live firing.
Following this process helps ensure your Glock clone is assembled safely and will perform reliably when you need it.
Common Assembly Issues
Why might your Glock clone fail to function smoothly after assembly? Common issues often come down to pin misalignment or parts not seating properly.
Start by inspecting the slide assembly. Check if it moves smoothly—if it’s hard to rack, you might have a problem with the recoil spring or guide rod.
Make sure the firing pin and firing pin safety are seated correctly. Improper placement here can cause binding and malfunctions.
Also, examine the slide lock spring and slide stop lever. If these aren’t aligned properly, your gun might not cycle correctly.
When troubleshooting the trigger mechanism, ensure the trigger bar and connector can move freely without any obstruction. They should reset cleanly every time.
It’s a good idea to remove the slide and manually test each component. This way, you can spot any misalignment or parts that are binding.
Fixing these issues before you finish your build will help ensure your Glock clone functions reliably.
Live Fire Testing
When should you begin live fire testing your Glock clone? Only after you’ve done a thorough function check by dry-firing to make sure the trigger resets correctly and the safety stays engaged.
Once that’s done, live fire testing helps verify cycling, ejection, accuracy, and overall reliability under real conditions. It’s really about making sure everything works smoothly when the gun is actually firing.
During testing, pay close attention to how consistently the gun ejects and feeds rounds. Fire between 50 and 100 rounds at a controlled range to get a good feel for recoil and accuracy.
Keep an eye out for malfunctions like stovepiping or failure to feed. After firing, do a quick inspection for any wear, loose pins, or alignment issues.
If you notice any problems, troubleshoot by inspecting the internal parts carefully. Making precise adjustments can often fix these issues.
Regular inspection and testing are key to ensuring your Glock clone functions reliably and safely over time.
Maintenance Tips to Keep Your Glock Clone Running Smoothly
After each range session, it’s a good idea to clean and lubricate your Glock clone. Make sure to focus on the barrel, slide, and those key contact points—that way, you’ll help prevent wear and keep everything cycling smoothly.
Every 500 rounds or so, take some time to inspect the pins and internal parts. If you notice any signs of damage or looseness, it’s best to replace them to keep your gun in top shape.
And don’t forget, swapping out the recoil spring between 3,000 and 5,000 rounds can really help ensure reliable performance over time.
Cleaning And Lubrication
How often should you clean and lubricate your Glock clone to keep it running flawlessly?
After every range session, make sure to thoroughly clean the barrel, slide, and feed ramp. Use proper solvents and brushes to prevent fouling buildup. This simple step helps keep your gun functioning smoothly and reliably.
Once cleaned, apply a light coat of high-quality gun oil at four key contact points: the barrel hood, slide rails, trigger connector, and recoil spring guide rod. Be careful not to over-lubricate, especially on pins and springs. Too much oil can attract dirt and debris, which can cause issues down the line.
Regular maintenance is essential for preserving the reliability of your Glock clone and extending its lifespan. Remember to follow a routine schedule for cleaning and lubrication, and don’t forget to check the recoil spring and other parts for wear and tear.
Keeping up with these steps will make sure your firearm stays in top shape.
Regular Inspection And Replacement
Although regular cleaning and lubrication keep your Glock clone running smoothly, consistent inspection and timely replacement of worn parts are just as important.
After every 500 rounds, take a close look at pins, springs, and internal components. Check for any signs of wear, deformation, or corrosion. Pay special attention to the firing pin and safety plunger. Replace any parts showing cracks or excessive wear.
It’s also a good idea to replace the recoil spring every 3,000 to 5,000 rounds. Doing so helps keep the slide functioning properly and reduces stress on other parts.
Regular maintenance includes thoroughly cleaning the barrel, chamber, and feed ramp. This helps prevent residue buildup that could affect reliability.
Don’t forget to lubricate key contact points like the barrel hood, slide rails, and connector. This ensures smooth cycling and helps prevent unnecessary wear.
Diligent inspection and prompt replacement are key to maintaining your Glock clone’s performance and extending its lifespan.
Frequently Asked Questions
What Legal Requirements Apply to Building a Glock Clone?
You must guarantee legal compliance by checking local ordinances and state laws before building a Glock clone.
Licensing requirements often don’t apply for personal builds, but age restrictions and background checks are still important.
Manufacturing restrictions may require serial numbering and firearm registration, especially in states like California.
Import and export laws also come into play when sourcing parts, so make sure to stay within legal boundaries.
It’s a good idea to keep detailed records of your build to avoid liability issues down the line.
Always verify that your build aligns with both federal and local regulations to stay fully compliant.
Can I Customize the Glock Slide Finish or Color?
If you want to personalize your Glock slide, you can definitely customize the slide finish and color.
Many shooters choose Cerakote because it’s durable and resistant to corrosion. It’s a popular option for a reason!
You can also go for coating options like anodizing or even custom paint. Just keep in mind that paint mightn’t be as durable and could require touch-ups or removal if you decide to change things later.
Think about your color matching and whether you prefer a gloss or matte finish. Both can really change the look of your gun and help you achieve your style.
How Do I Safely Store My Glock Clone After Assembly?
You should store your Glock clone in a secure locking storage container, like a gun safe, placed in a safe location following accessibility guidelines.
Use safety gear when handling it and keep it unloaded with proper labeling.
Control environmental conditions by adding humidity control packs to prevent rust.
To prevent theft, guarantee solid theft prevention measures.
Finally, conduct regular inspections to maintain its condition and security.
This method keeps your firearm safe and compliant.
Are There Warranty Considerations for Assembled Glock Clones?
You should know manufacturer warranties usually exclude assembled Glock clones, limiting coverage due to clone liability and warranty exclusions.
Aftermarket parts might have their own warranties, but these rarely transfer to the full firearm. Always check repair policies and avoid unauthorized modifications.
Keep detailed records for defect claims and warranty registration.
Working with authorized dealers guarantees better support, but expect limited or no warranty transfer on assembled clones.
What Are the Best Practices for Cleaning Glock Barrels?
For effective barrel cleaning, start by choosing the right solvent to break down fouling. This helps loosen carbon, lead, and other residues.
Next, use a nylon or bronze brush to scrub the rifling thoroughly. Make sure to work the brush through the entire length of the barrel.
Follow up by running solvent-soaked patches through the barrel until they come out clean.
Then, use dry patches to remove any remaining moisture.
It’s also a good idea to inspect the bore regularly for signs of wear or damage. This can help catch issues early before they become bigger problems.
Don’t forget to apply a light coat of lubricant on the exterior of the barrel. This helps prevent rust and corrosion over time.
Always keep your cleaning tools in good condition and follow safety precautions during the process.
Make it a habit to clean your Glock after every range session. This ensures your firearm stays reliable and lasts longer.
Conclusion
Building your Glock clone is like assembling a precision clock. Every part needs to fit perfectly for smooth operation.
Choosing the right tools is crucial. Carefully installing each component is key to a reliable build.
Once everything is assembled, thoroughly test your gun to ensure it works properly.
Regular maintenance is also important. It helps keep your Glock clone accurate and durable.
By paying attention to these steps, you’ll turn your build into a finely tuned masterpiece. Ready for action!